Adding & Deleting CONTACTS
Managing your sync career contacts is easy in TrackStage, with multiple options to add contacts and oops-free deleting.
Adding Contacts
TrackStage provides three ways to easily add individuals or companies to the CONTACTS database.- In the CONTACTS module
- Via Contact Lookup
- From an Imported Spreadsheet
Adding from the CONTACTS Module
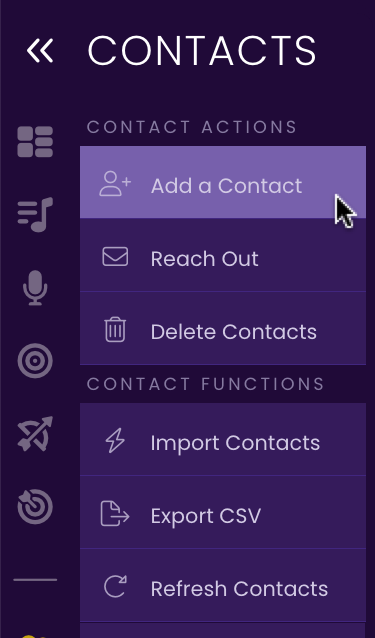
- Click Add a Contact.
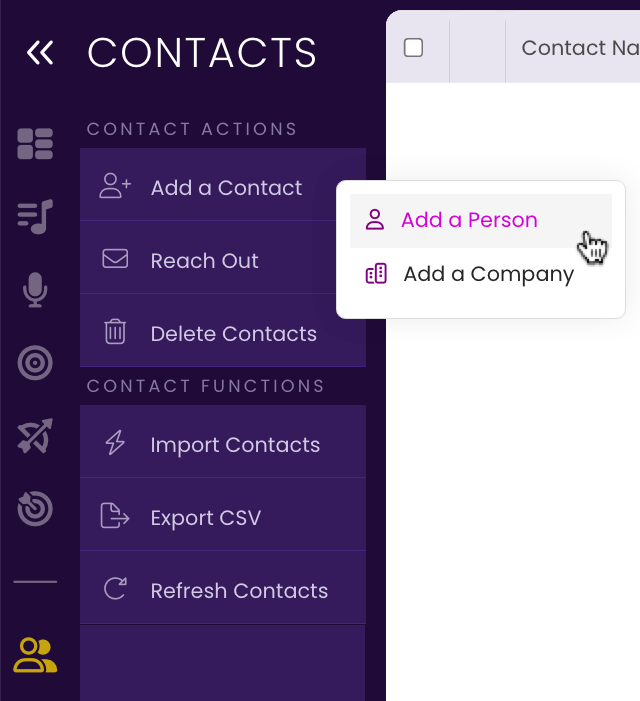
- Select Person or Company.
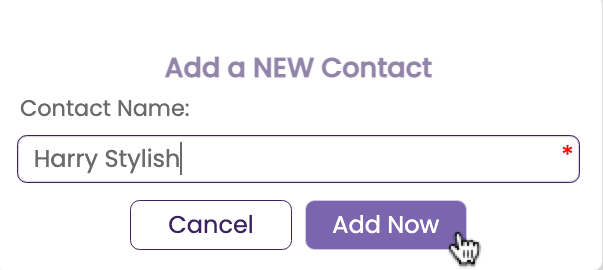
A dialog opens. - Enter the name of the Contact and click Add Now.
The contact is added to the CONTACTS database and the EDIT Tab opens. - Select a Contact Category.
This sets up the ability to filter by categories and also helps facilitate adding the contact to projects appropriately.
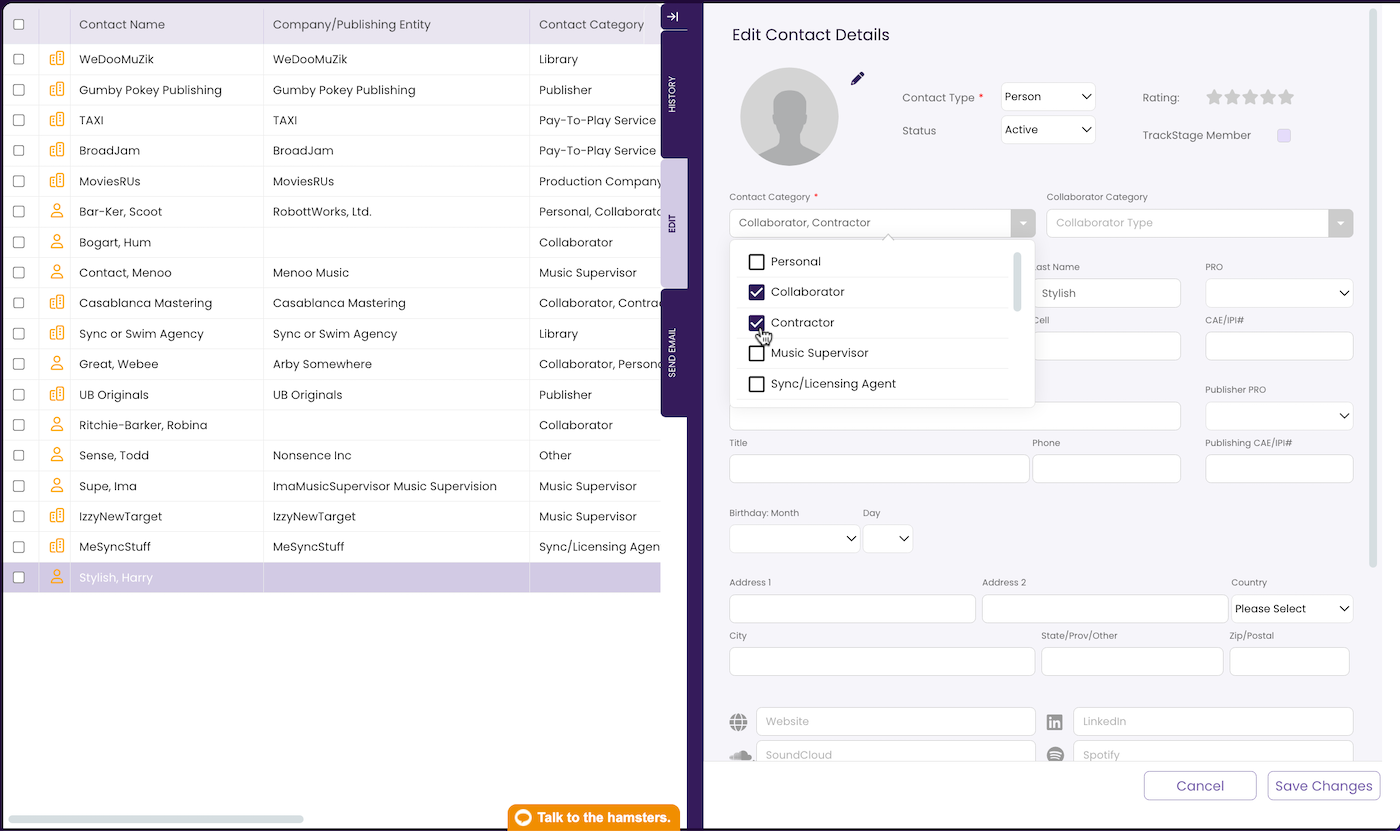
- Select a Collaborator Category (optional).
This can be handy if you work with many collaborators on different projects and would like to be able to search for collaborators by their specialty.
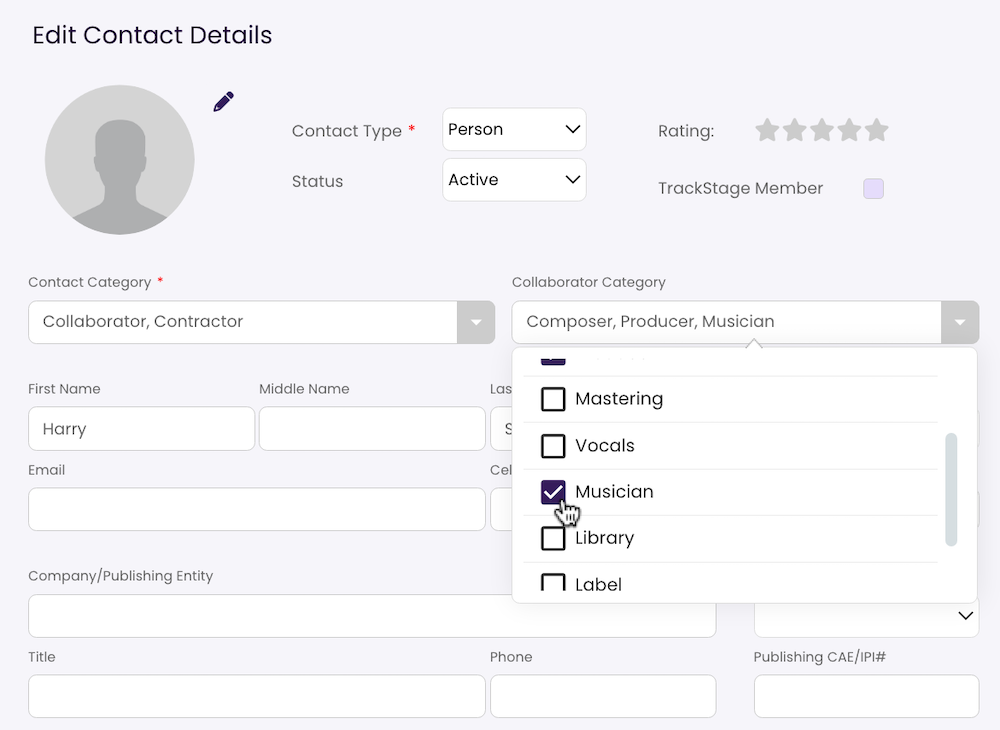
- Add the Contact’s PRO & IPI/CAE#.
This is especially helpful for auto-filling split information on tracks.

- Complete any additional information you like.
- Contact Image
You can add an image for the Contact if desired.
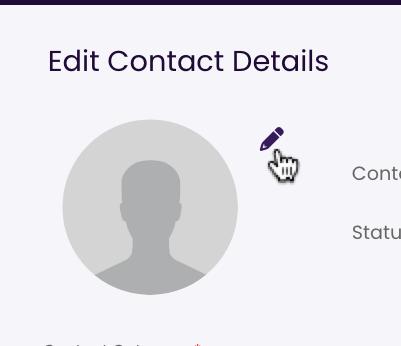
- Click on the
 icon.
icon.
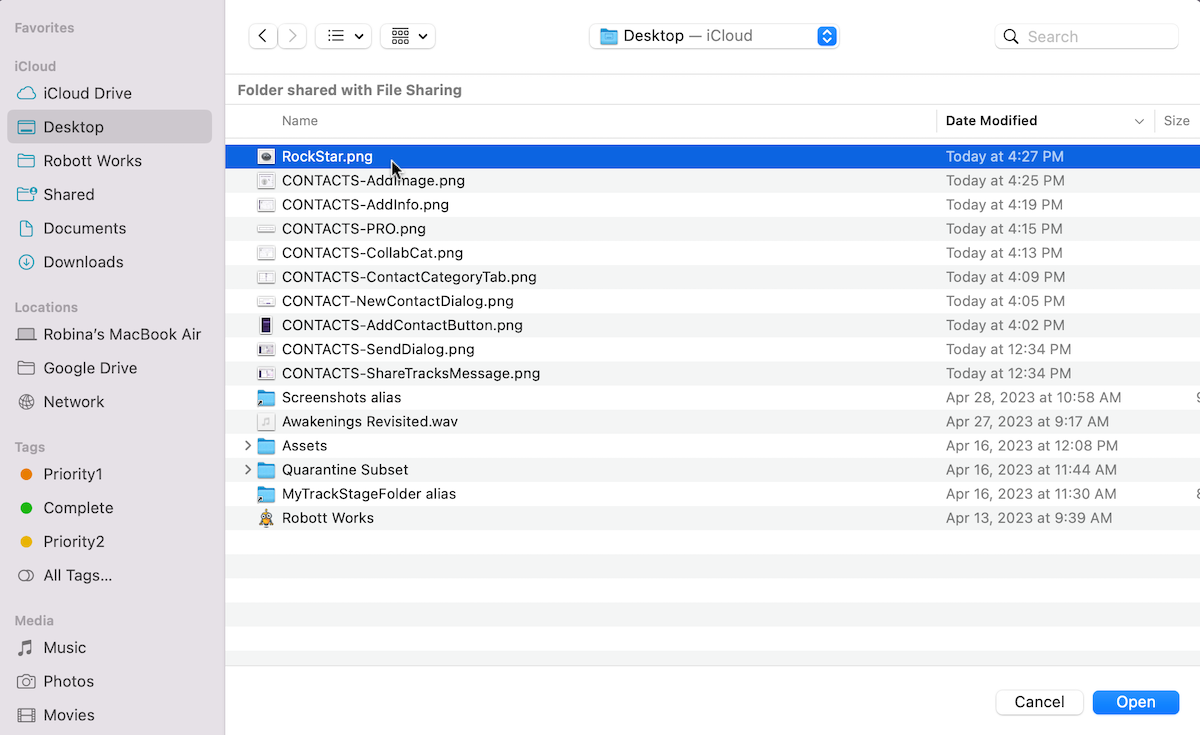
- Select an image from your hard drive and click Open.
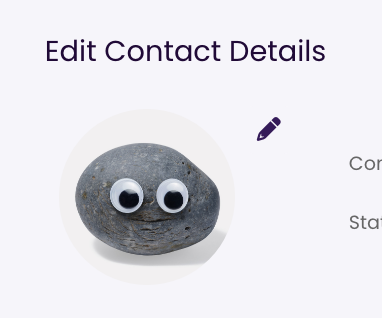
The image is added.
- Click on the
- Rating
You can add a rating to the Contact, if desired. Click on a star to set the rating.

- TrackStage Member
This is a non-editable field. If the contact’s email belongs to a current TrackStage member this box will be automatically checked when you Save Changes. If the Contact is a TrackStage member, you will be able to add them as a Collaborator in the CREATIVE module. See Working with Collaborators.

- Company/Publishing Entity
This is the Contact’s PERSONAL Publishing entity – not a Publisher or Publishing company. This will get recorded in the PUBLISHING Tab in the CATALOG.
- Publishing PRO & IPI/CAE#
Enter the Contact’s Publishing Entity PRO information. This will auto-fill for any split information in the PUBLISHING Tab in the CATALOG.

- Birthday
Entering birthday information here will give you a reminder in the DASHBOARD – another great way to build a positive professional relationship with the Contact.
- Links
Enter any social media or other web links you would like to have for the Contact.

- Notes
Enter any notes you would like to have saved on the Contact.
- Contact Image
- Click Save Changes.
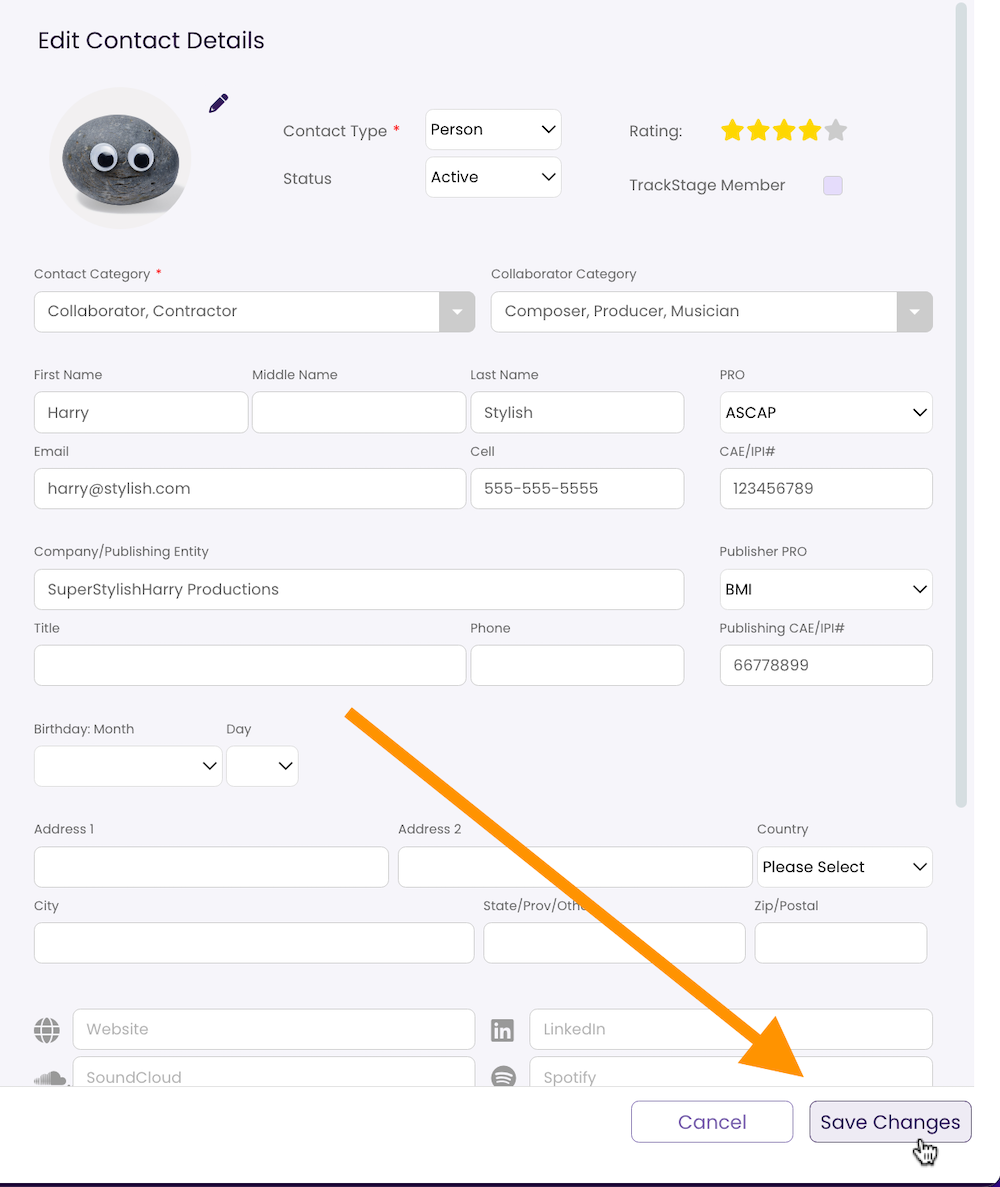
A dialog box opens. - Confirm the Save.
If this is a new contact, you can click Just Save. If you are updating an existing contact and want those changes to be reflected in any split, targeting or pitching information the contact may have in the system, click Save to All.

The Contact information is saved.
Adding via Contact Lookup
- Click a Contact Lookup Action.
There are many opportunities throughout the TrackStage platform to add a Contact on the fly using the Contact Lookup window.
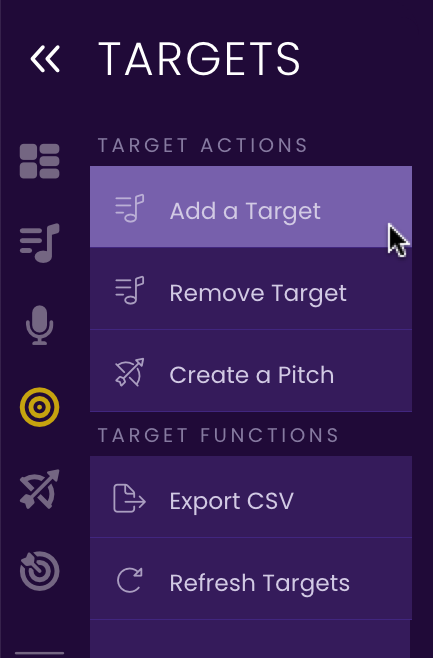

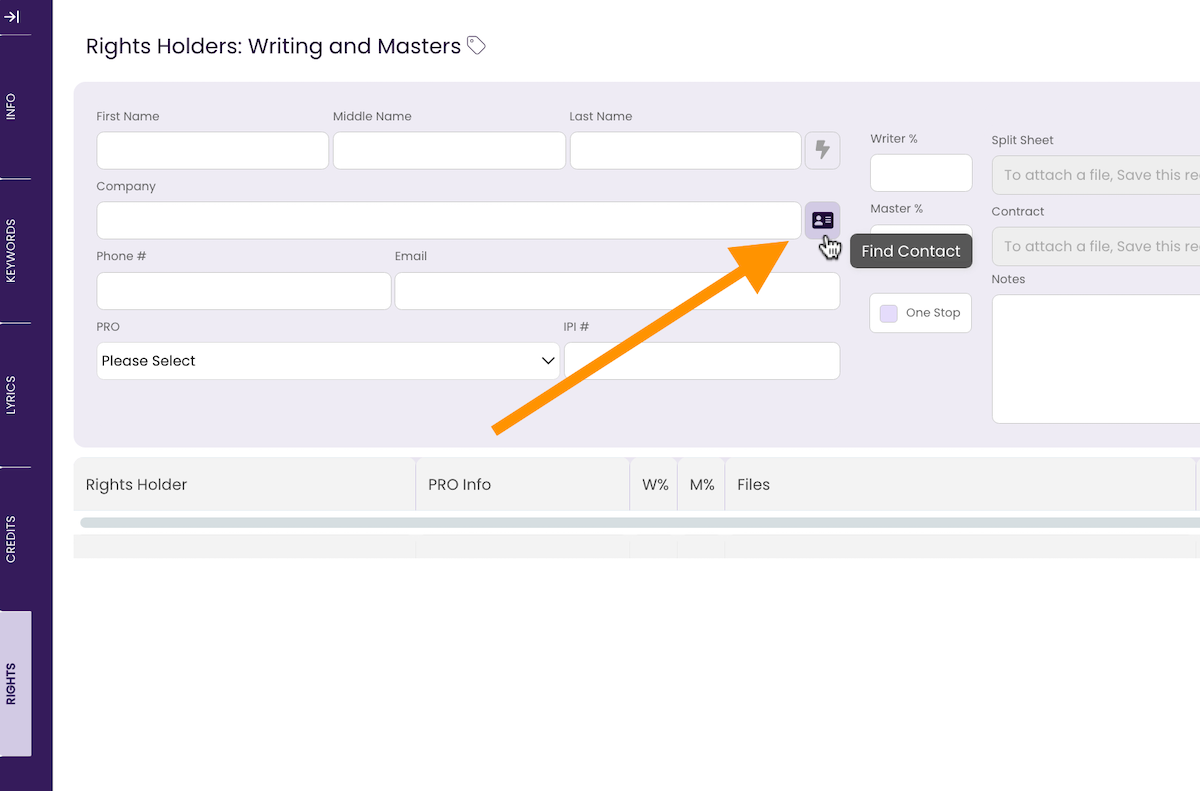
The Contact Lookup window opens. - Click add/Edit.
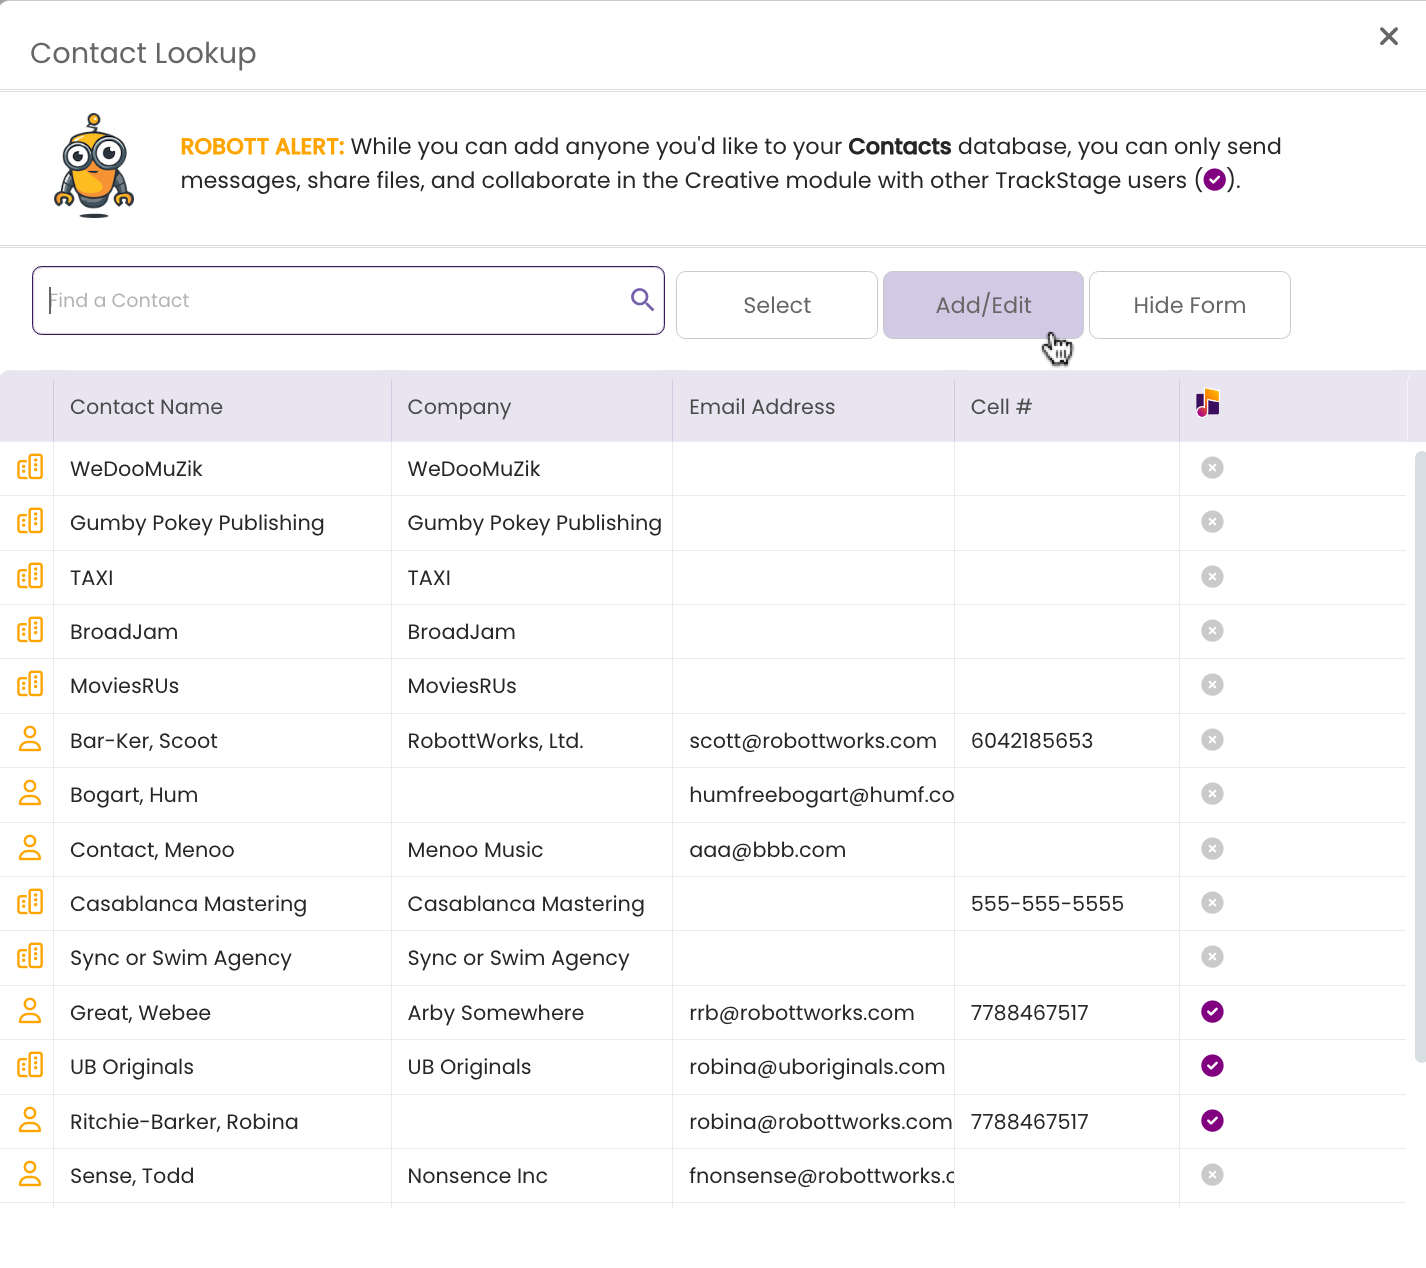
The Edit pane opens.
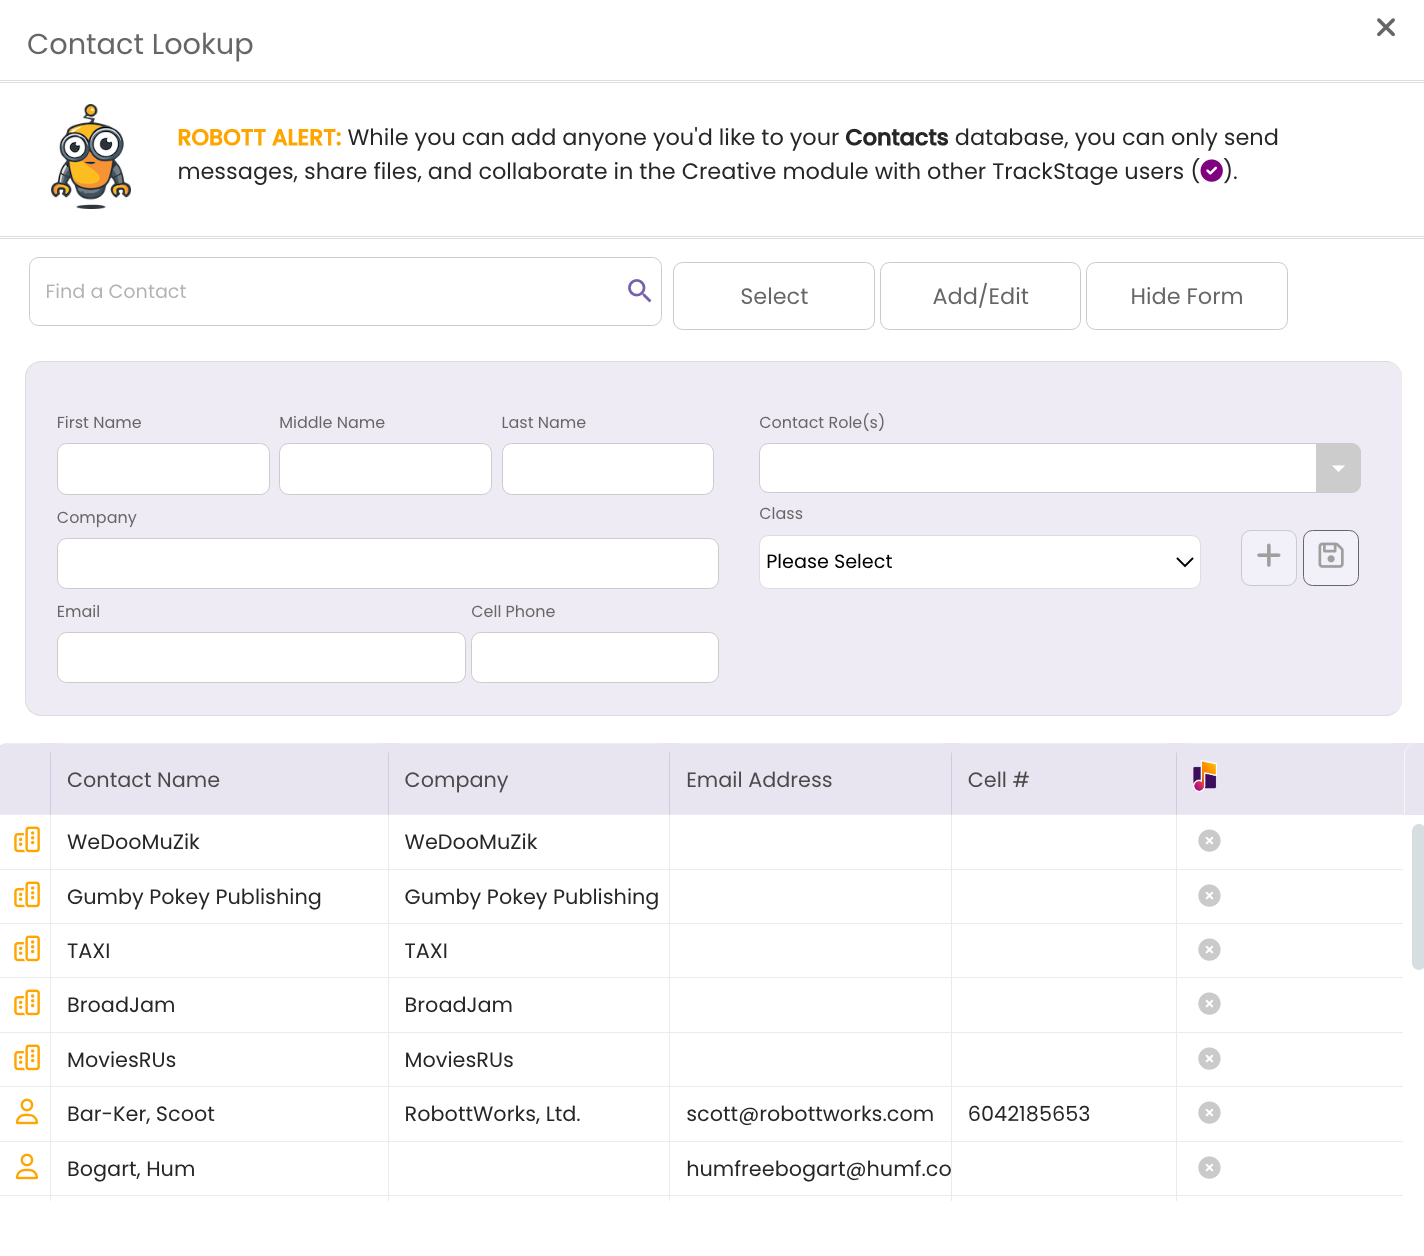
- Enter the Contact Info and hit the Save button.
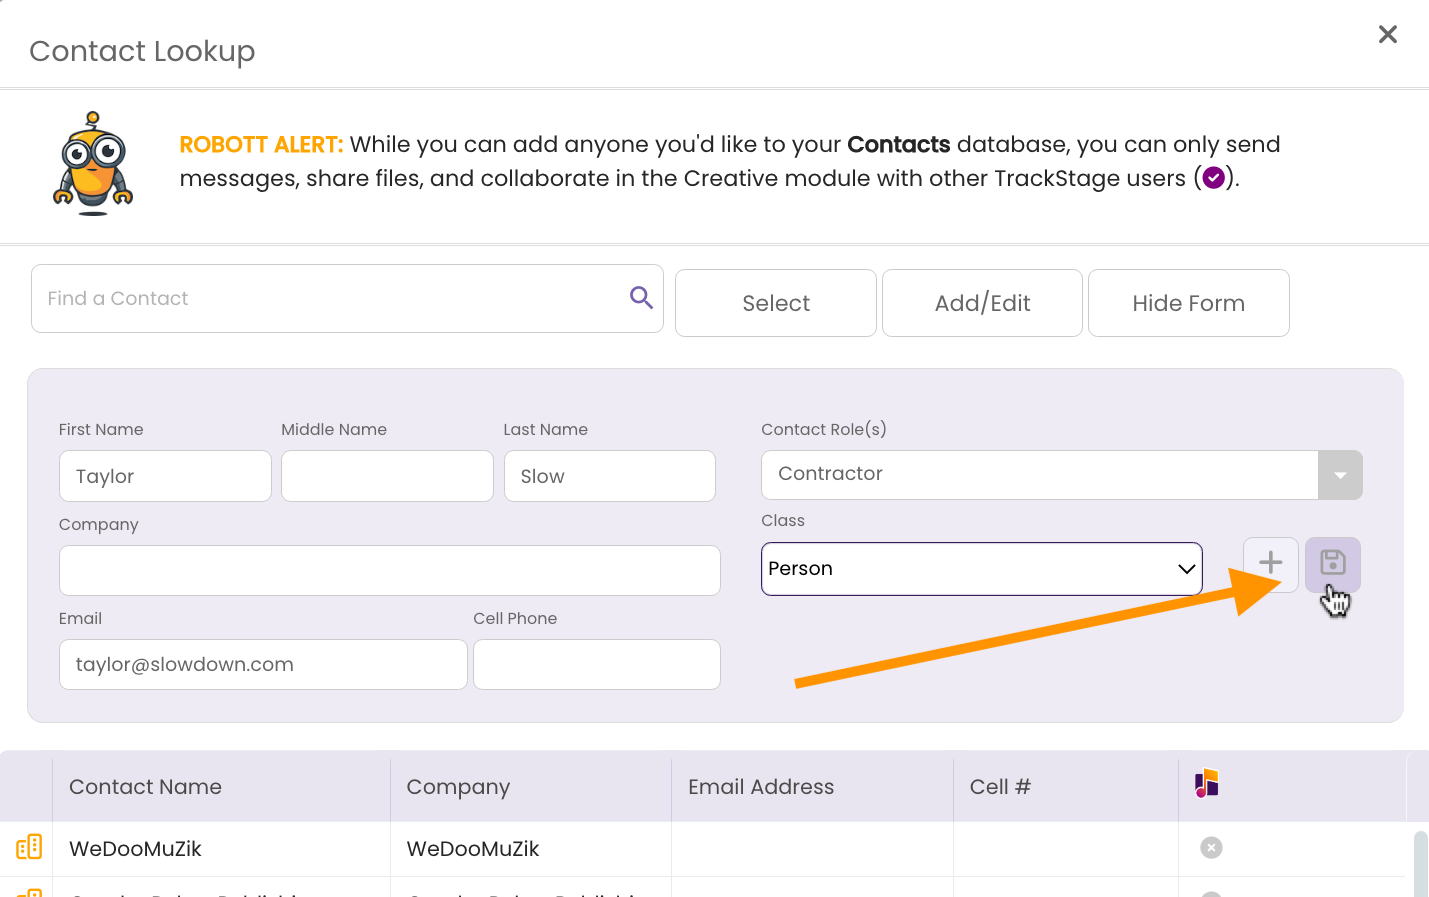
- Add information as desired.
Select the new contact in the CONTACTS Module and click on the EDIT Tab.
Import CSV Spreadsheet
Bringing contacts in from an external database or platform is easy. You can import a .csv file of contacts directly into the CONTACTS module.- Make sure your spreadsheet uses separate columns for First and Last names.
If your spreadsheet combines First and Last names into a single column, you'll need to separate them before importing your file to TrackStage. You can get instructions on how to complete that here.
- Save your spreadsheet as a .CSV.
- Click Import Contacts.
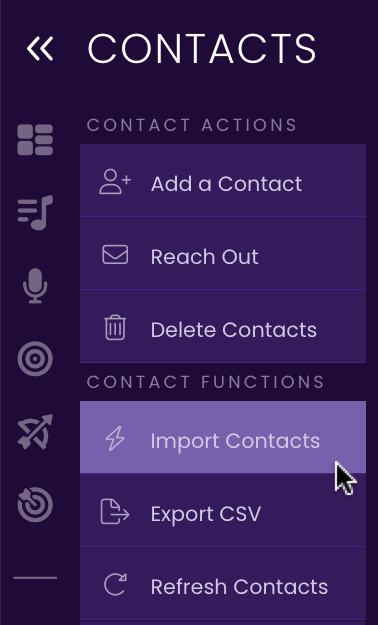
The Import Window opens. - Click Select.

- Select the file.
Navigate to the .CSV file on your hard drive and click Open.
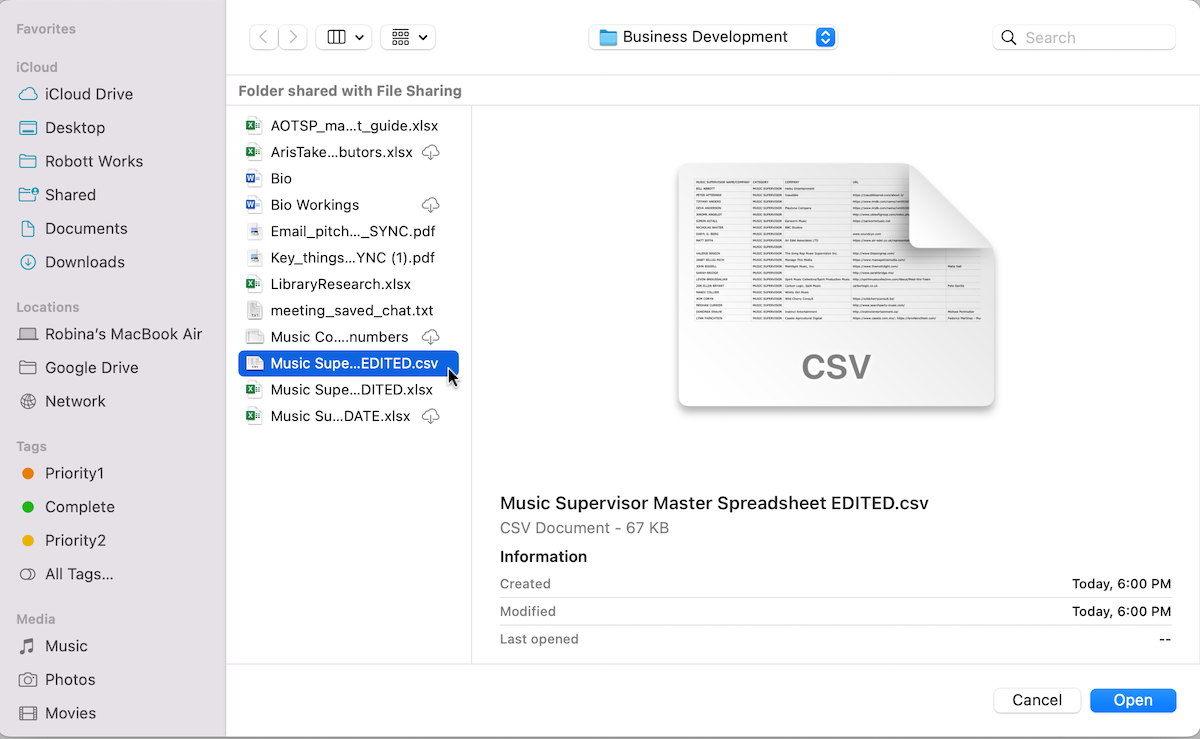
TrackStage will scan the CSV file and list all the headers in the Import Window.
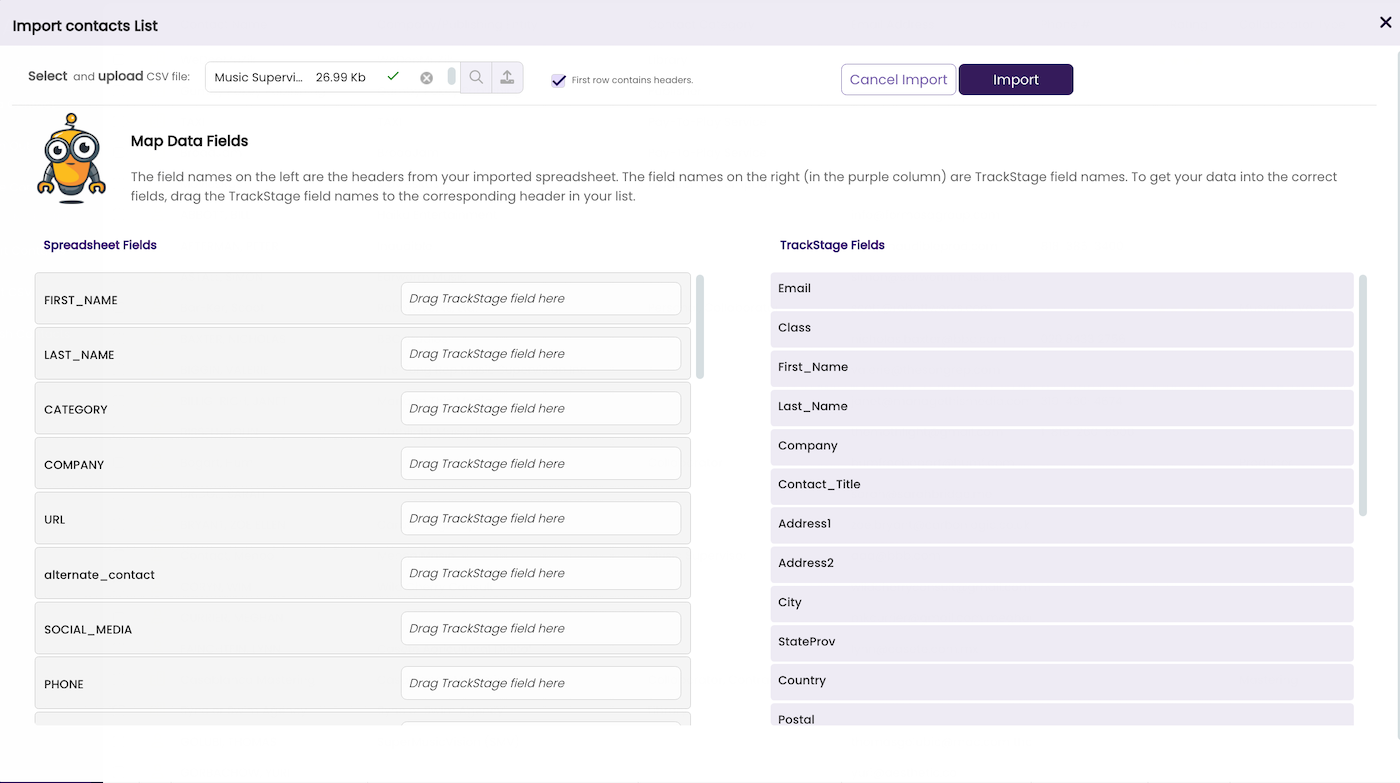
If you do not have headers in your CSV file, then deselect the First row contains headers checkbox.

- Match the CSV fields to TrackStage’s CONTACT fields.
Drag the TrackStage fields on the right side of the screen (in purple) to the corresponding spreadsheet fields on the left of the screen.
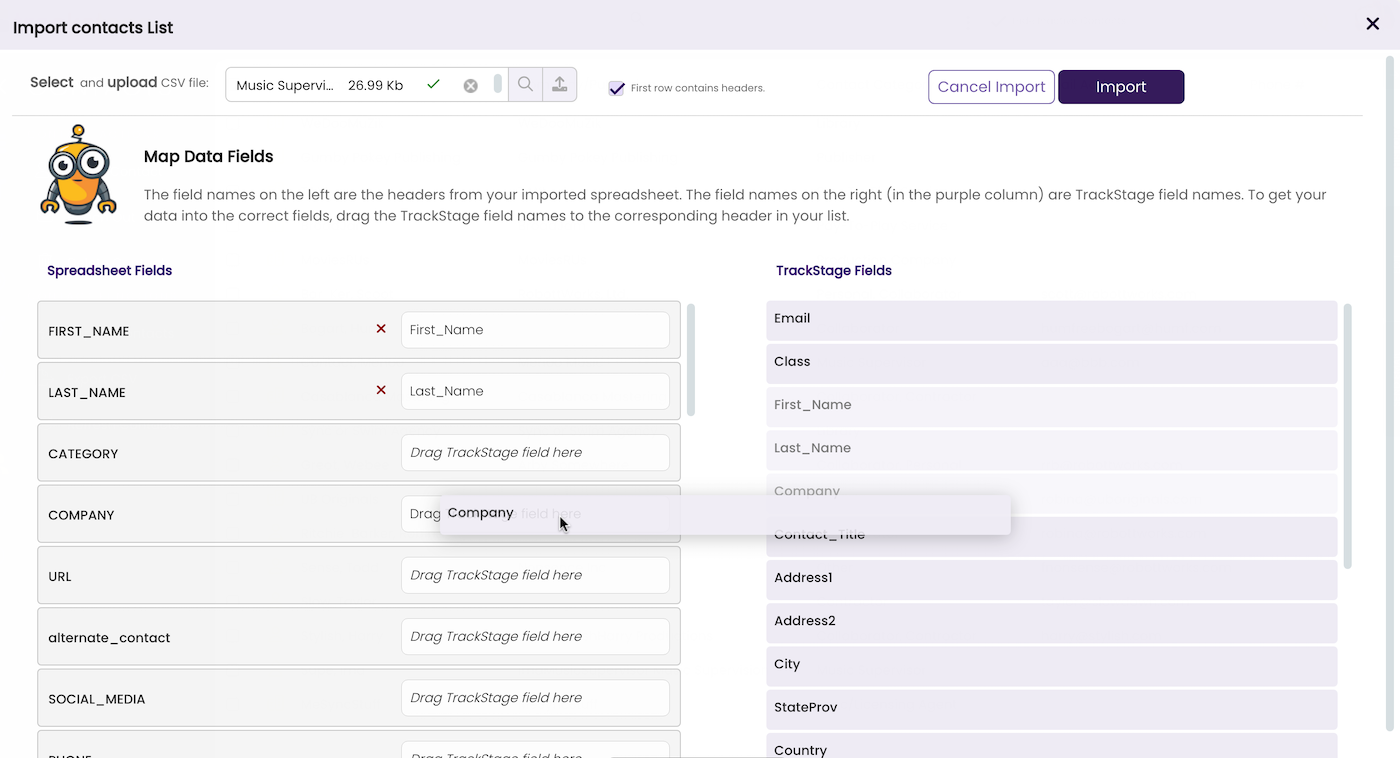
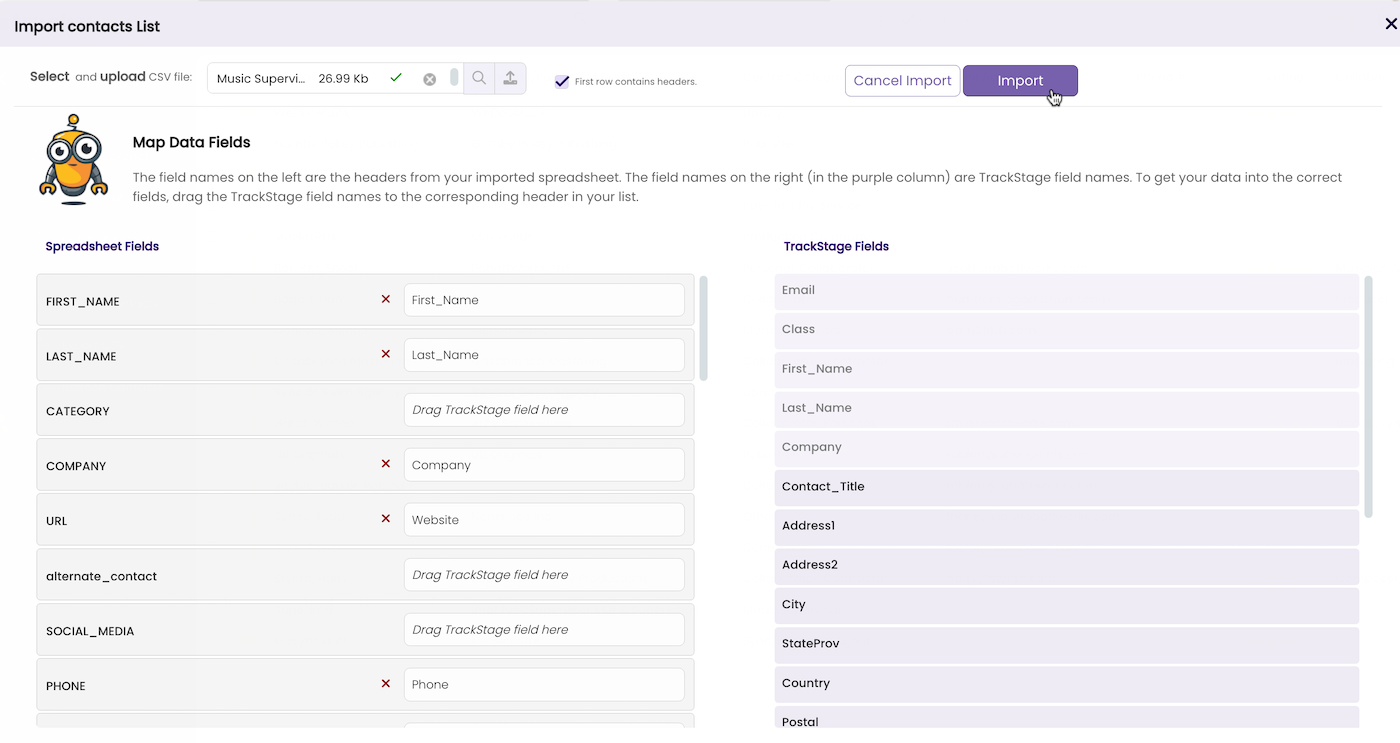
Any fields that do not have corresponding TrackStage fieldnames set will not be imported. - Click the Import button.
A dialog opens. - Click Ok to start the import process.
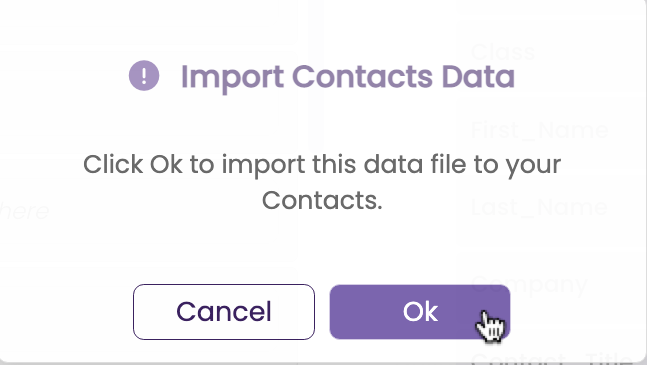
TrackStage imports the spreadsheet and notifies you that the import is complete.
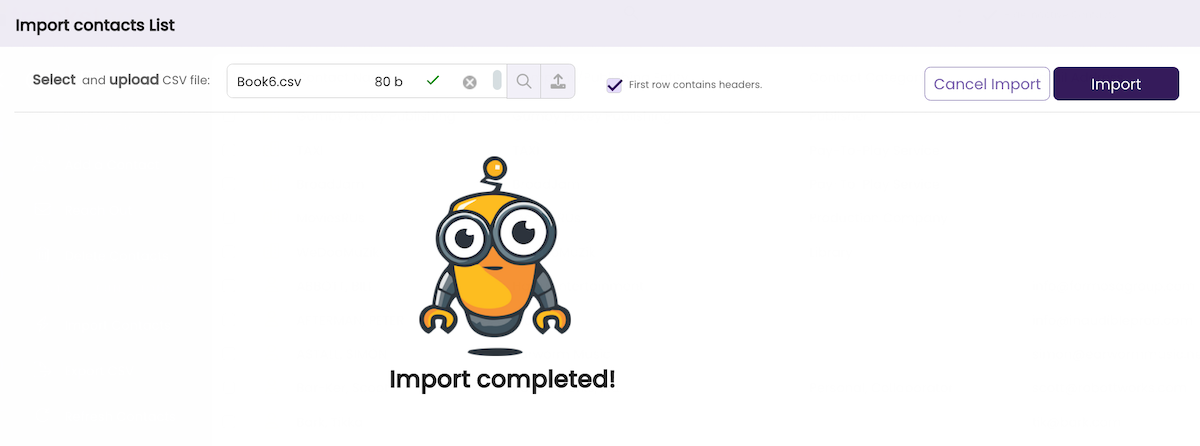
- Close the Import Window.
The Contacts are added to the CONTACTS module.
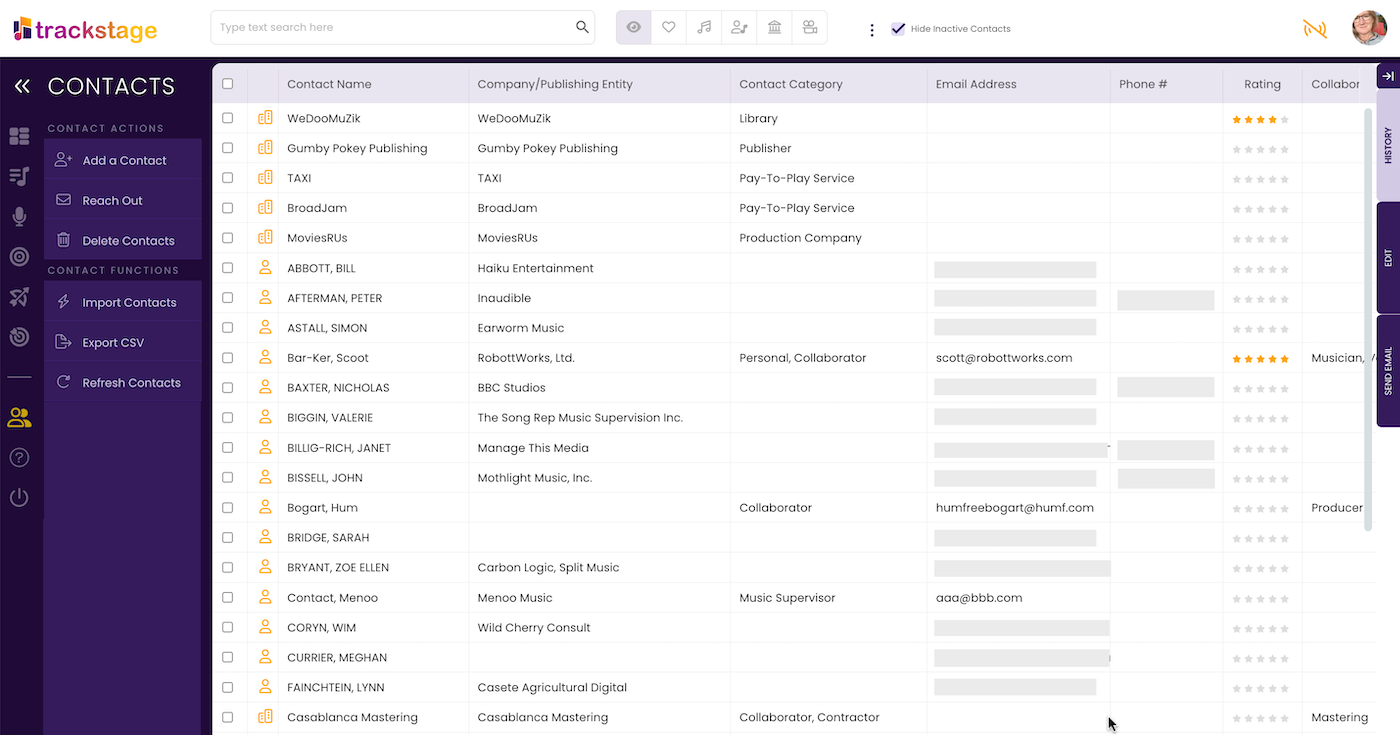
- Complete the EDIT Tab for the imported contacts as desired.
Deleting a Contact
TrackStage treats Contacts that have activity associated with their record vs. those that do not. Contacts with no activity will be removed from the database when you Delete them. Contacts with activity will be marked as Inactive but will remain in the CONTACTS database.- Select the Contact(s) you wish to delete.
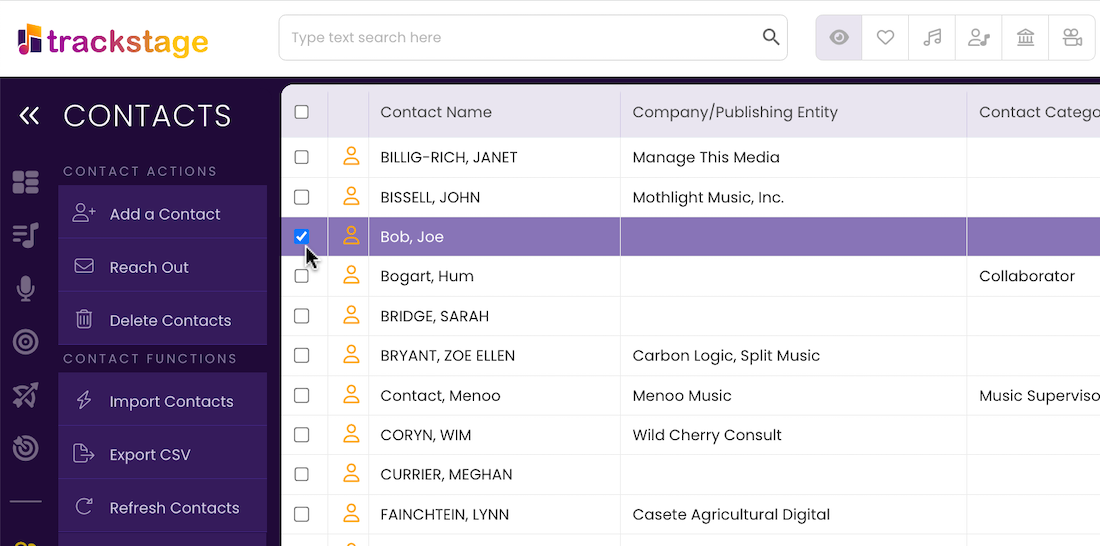
- Click the Delete Contact button.
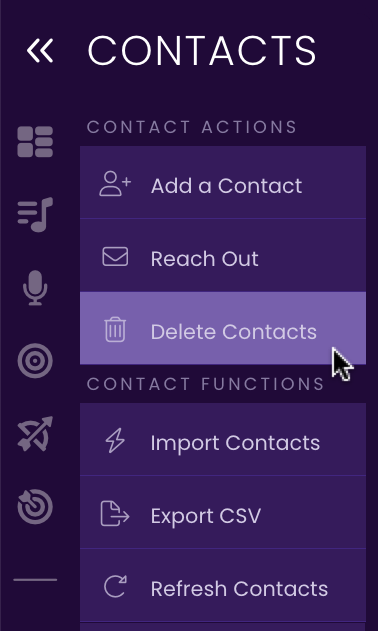
A dialog opens. - Click Ok.
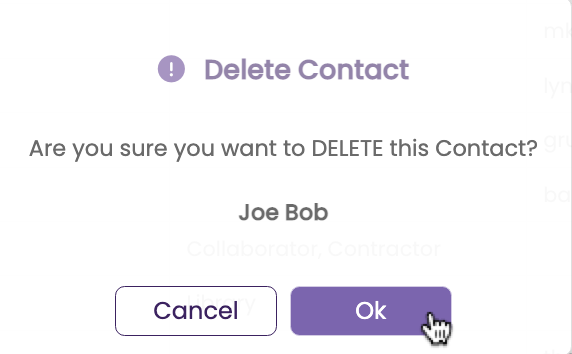
The Contact is removed from the database.
Inactive Contacts
If you delete a Contact that has in any connected records within TrackStage (splits, opportunities, pitches, etc.) they will NOT be removed from the database, but instead will be marked as Inactive.View Inactive Contacts
To view Inactive Contacts, deselect the Hide Inactive Contacts.
Change an Inactive Contact to Active
- Uncheck Hide Inactive Contacts

- Select the Contact you wish to edit.

- Open the Edit Tab.
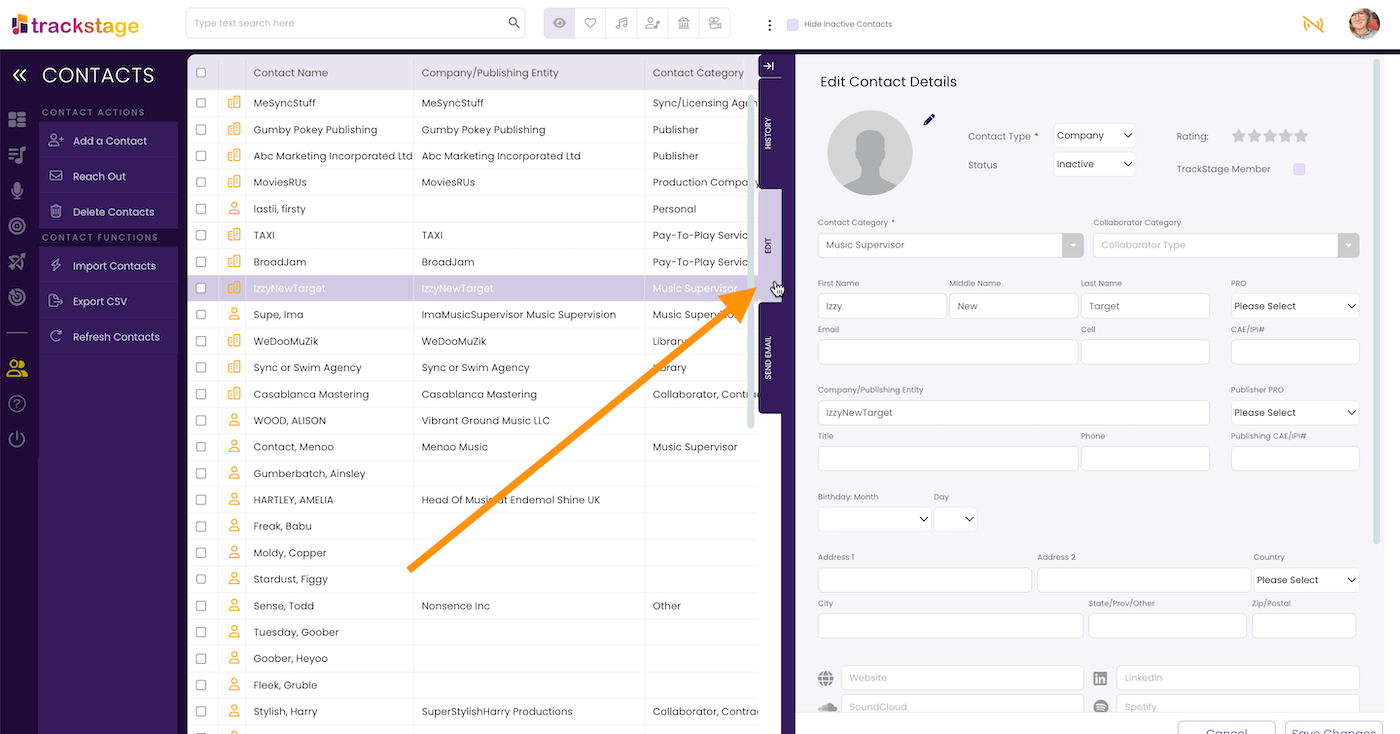
- Change the Contacts Status to Active.
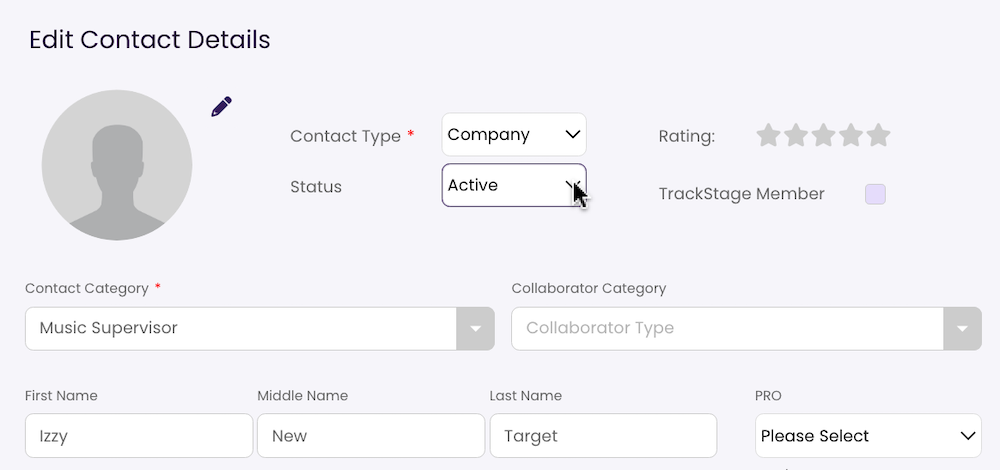
- Click Save Changes.