Working with Collaborators
The CREATIVE module goes from awesome to supercharged when you combine forces with Collaborators in TrackStage.
Collaborators in CREATIVE
You can invite collaborators who also have TrackStage accounts to join you on your Projects in the CREATIVE module at any stage of a track's development. Once they accept your invitiation, the Project card will appear in their Project Board as well as yours. You will be able to assign them tasks, send messages back and forth within TrackStage, and you can both attach Notes and Files.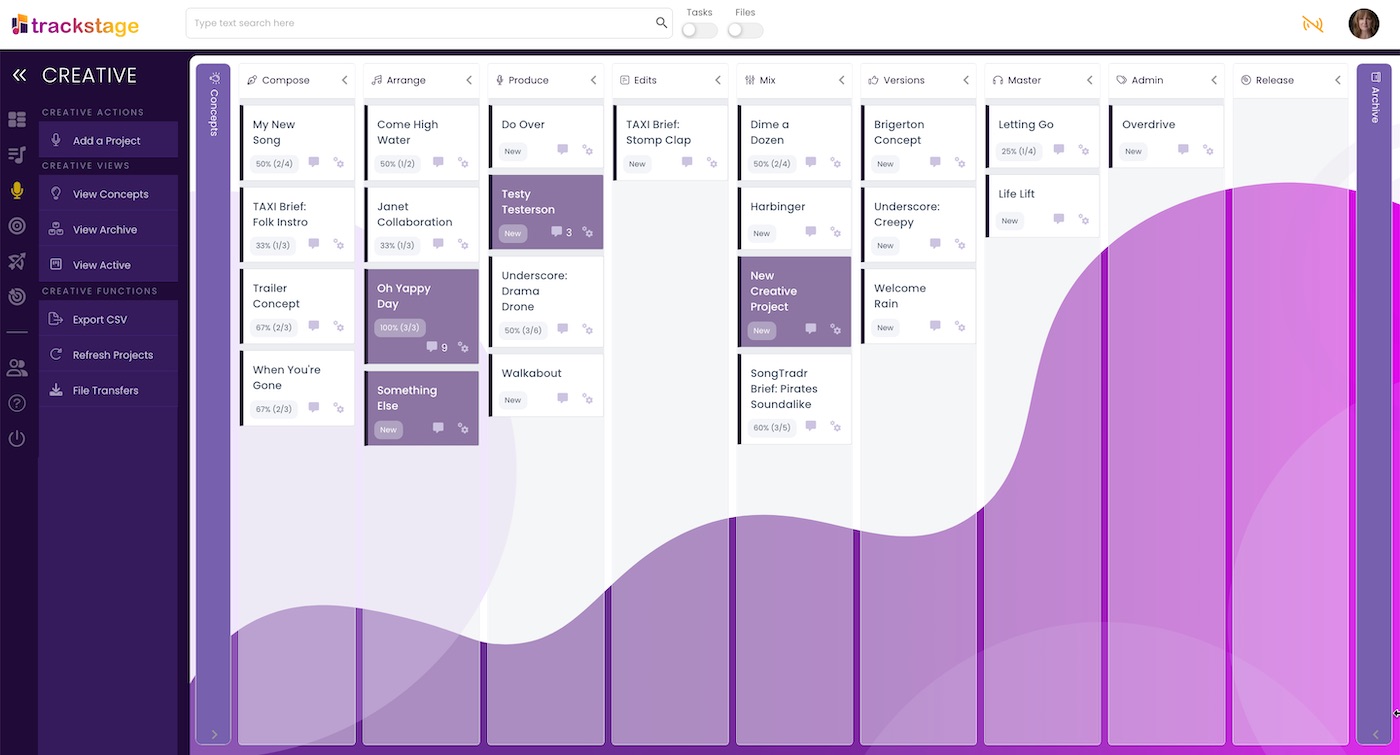
Add a Collaborator
Adding collaborators happens within the Project Card in the Collaborators tab.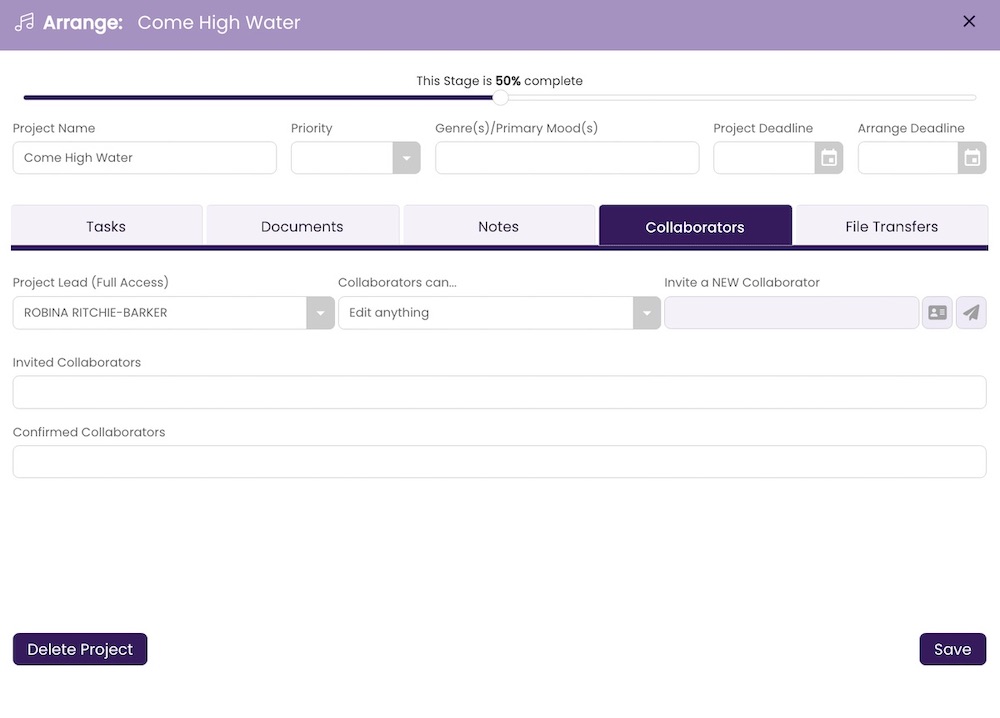
- Access your Contact List.
Click on the address book button to the right of the Invite a NEW Collaborator field.

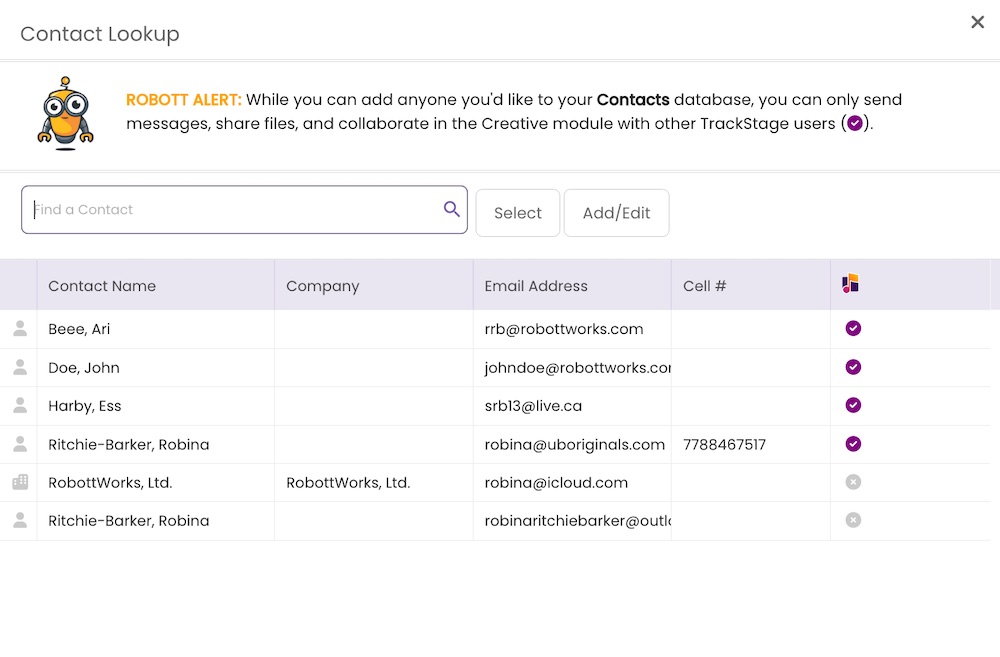
The Contact Lookup window opens, displaying all your contacts.
- Select a Contact.
Contacts who are eligible to be added to your Project will show up with a in the TrackStage column. Those with an
  do not have TrackStage accounts and can't be added as Collaborators in the Project Card.
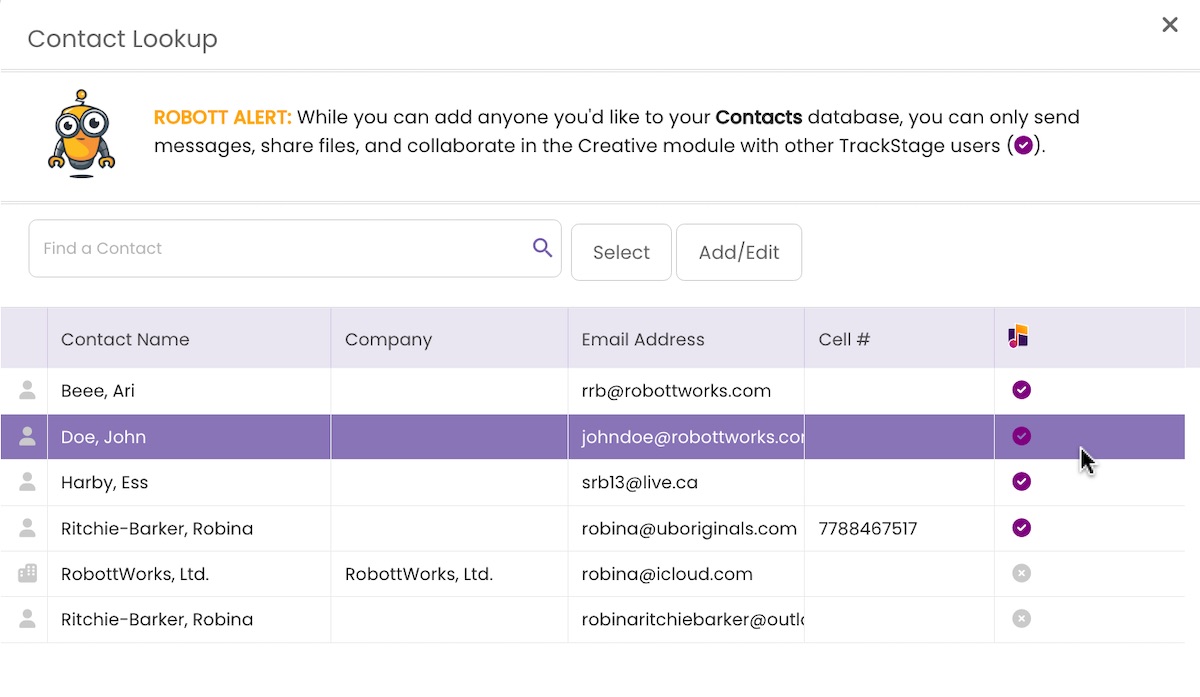
- Click Select.
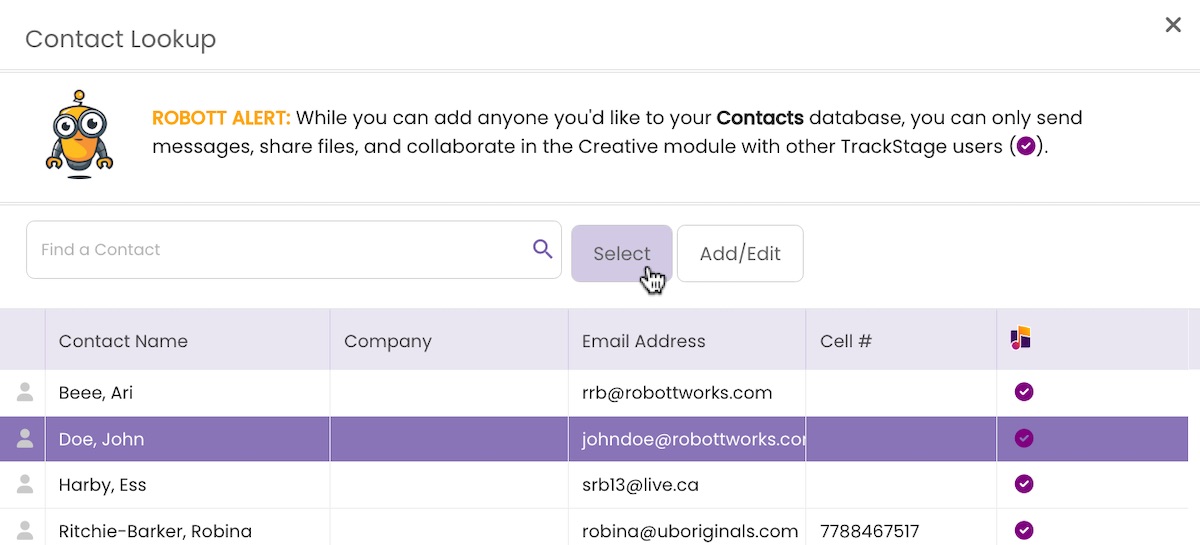
The contact shows up in the Invite a NEW Collaborator field and Wigit appears reminding you to click the Send button to complete the invite.
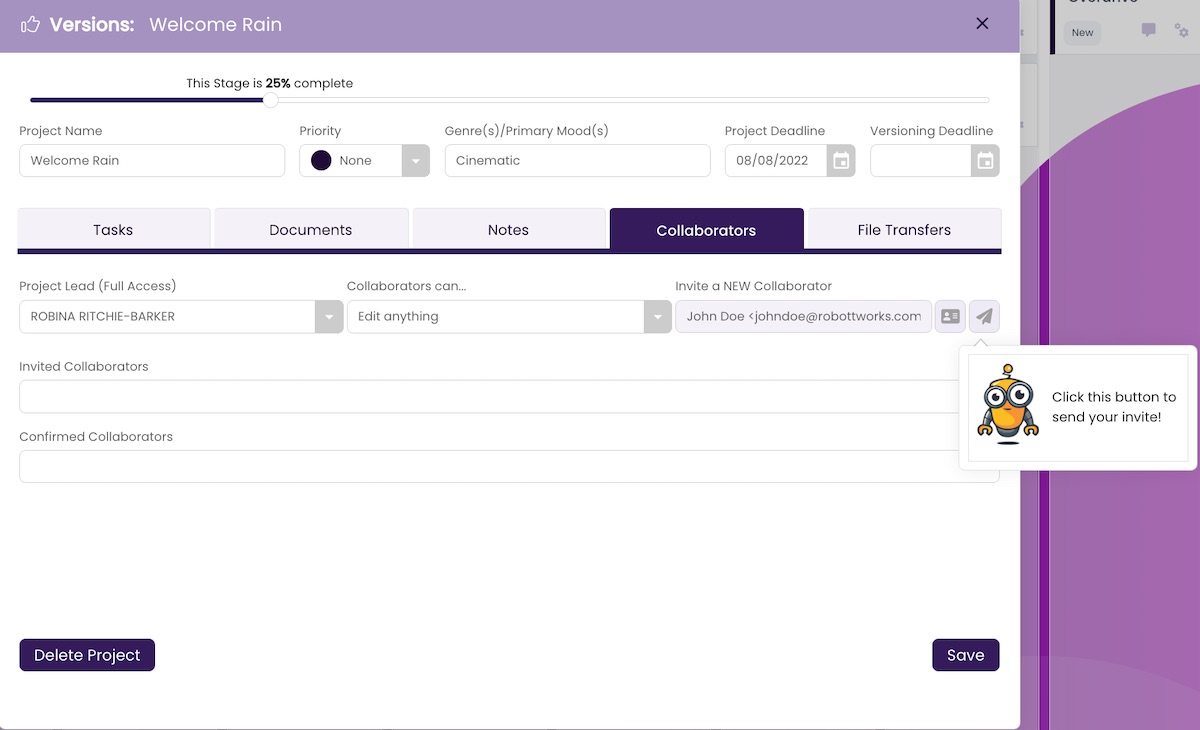
- Click the Send button.
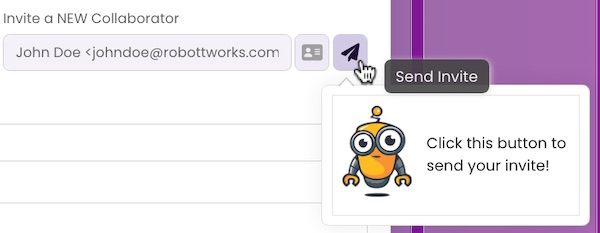
A confirmation dialog box opens.

- Click Send.
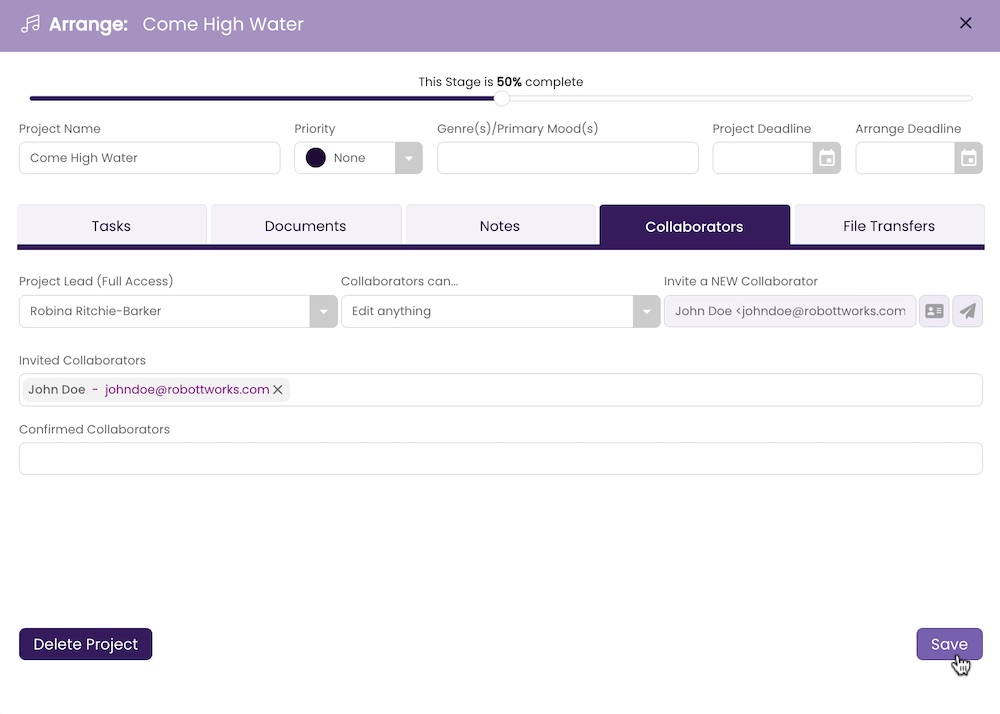
The contact moves to the Invited Collaborators field.

- Click Save.
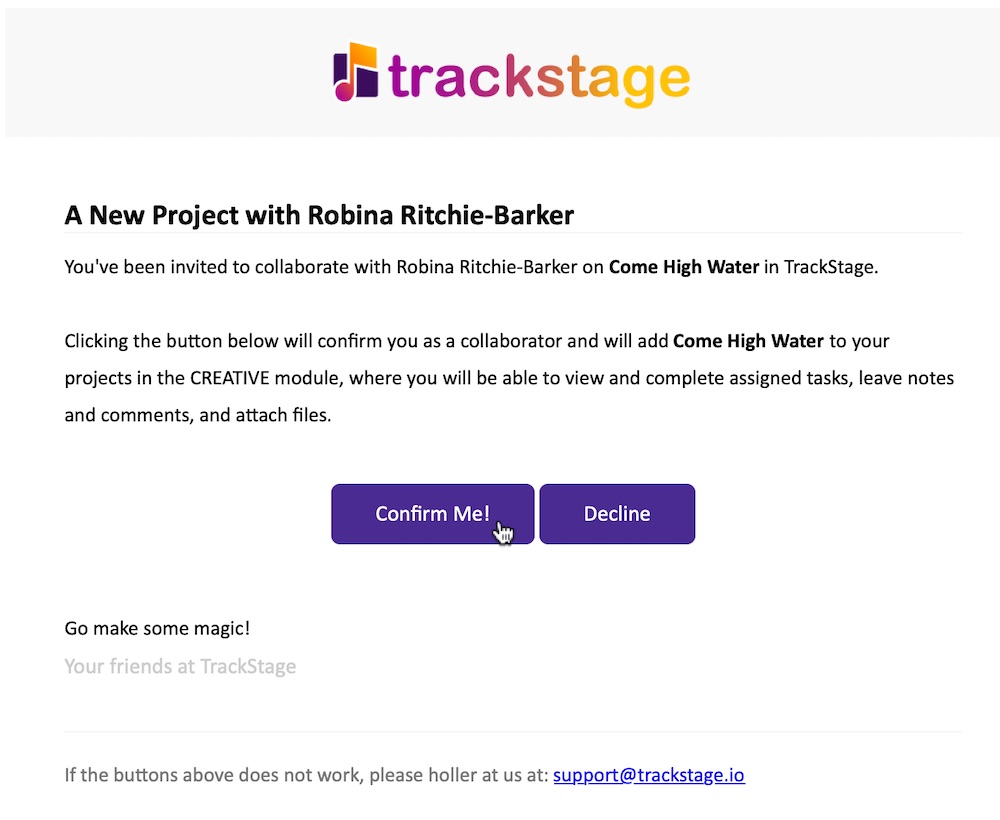
The contact is sent an automatic email inviting them to accept or decline your invitation to collaborate on your project.
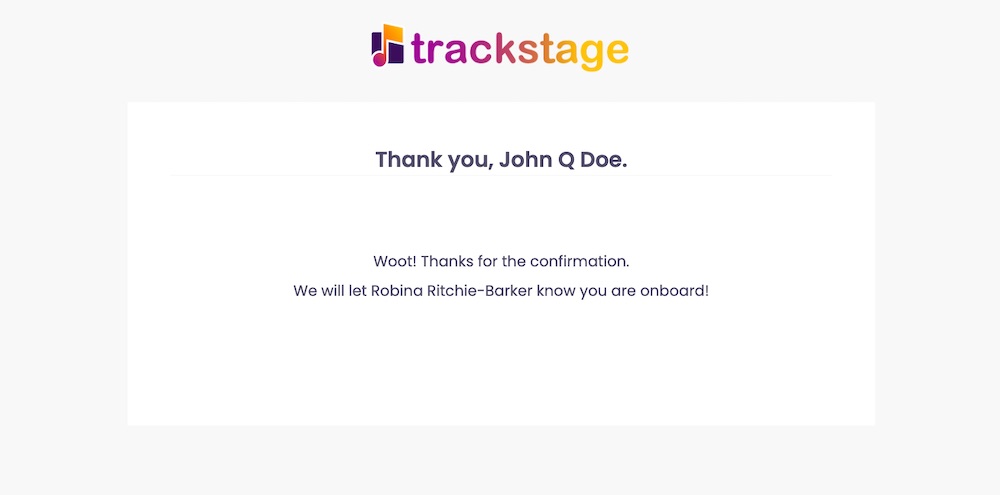
When the contact clicks the Confirm Me! button, they will be forwarded to a Thank You page:
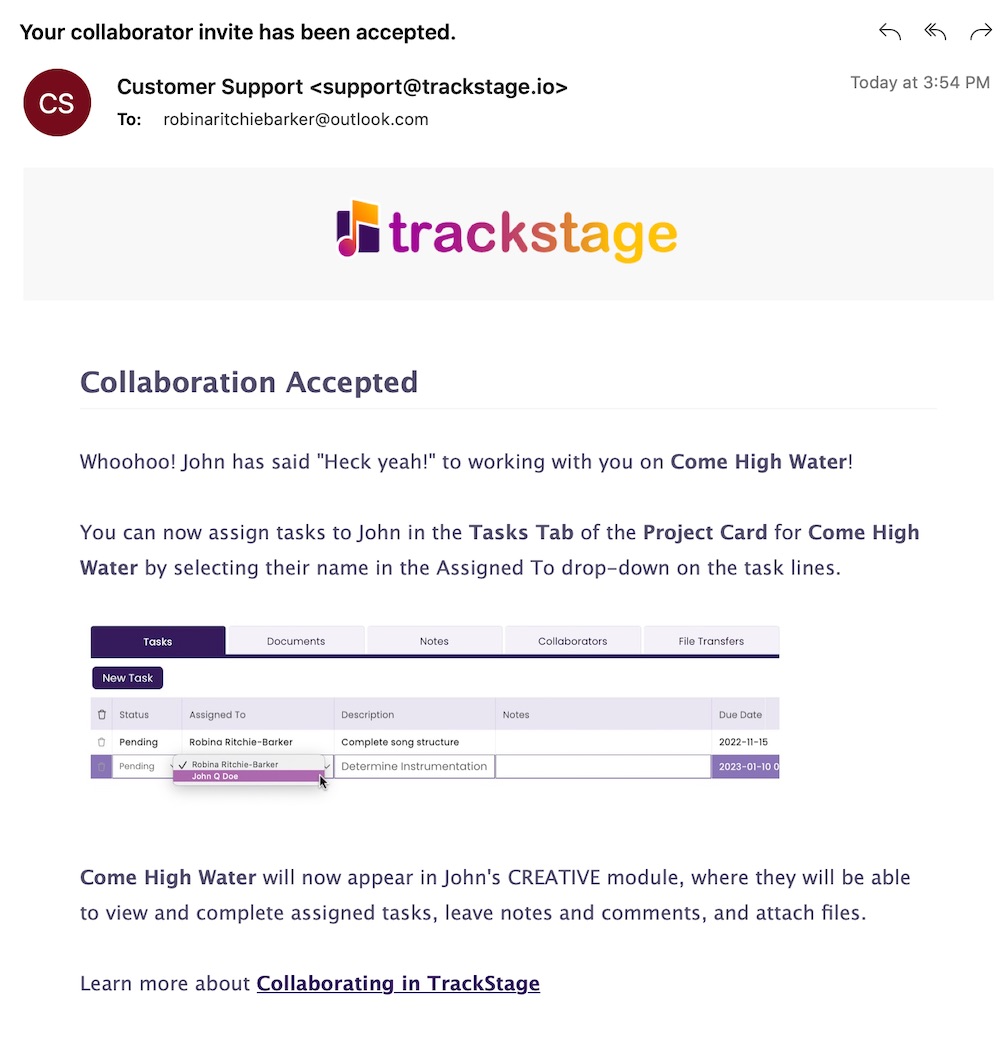
...you'll receive an email confirming the collaboration:
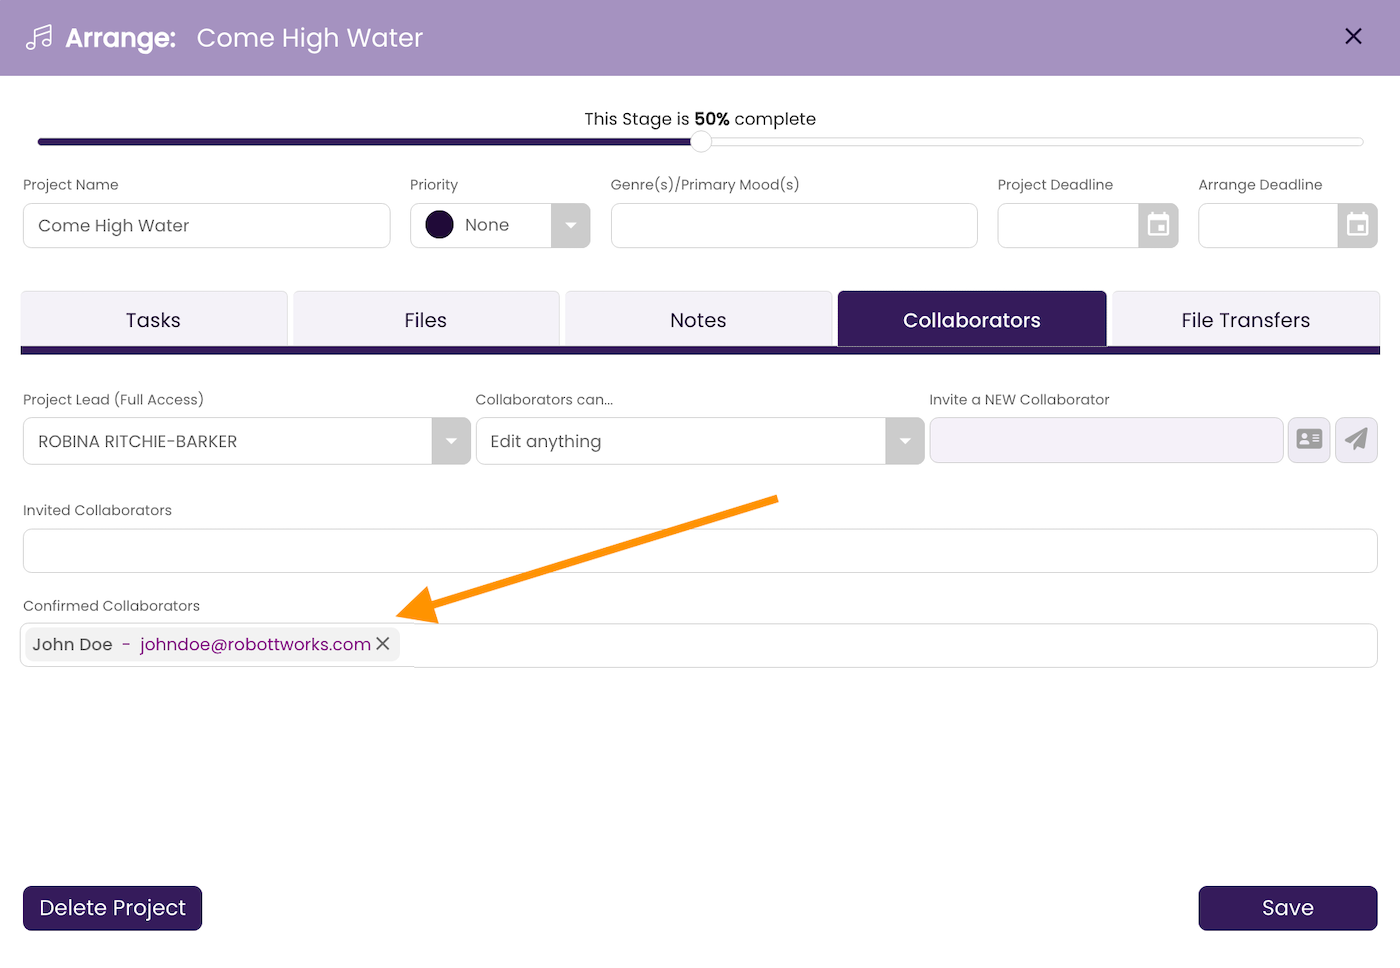
...the collaborator will move to the Confirmed Collaborators field:
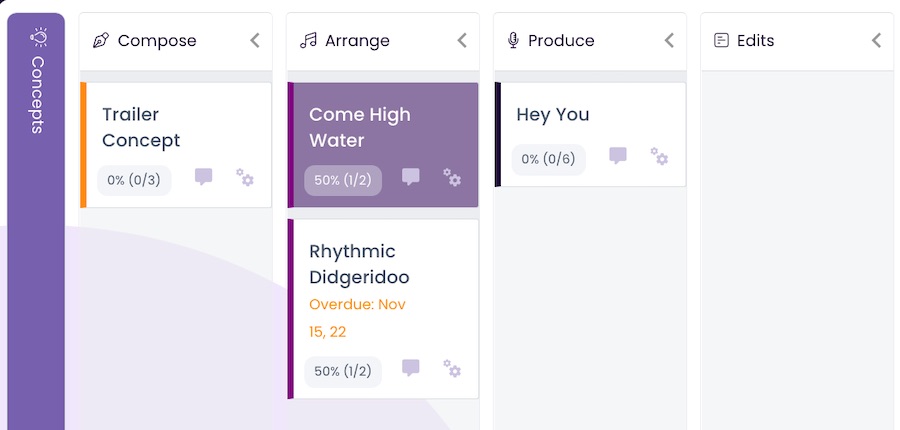
...and the project will show up in the collaborator's Project Board in purple. Purple Project Cards are projects that you don't own, but that you are collaborating on.
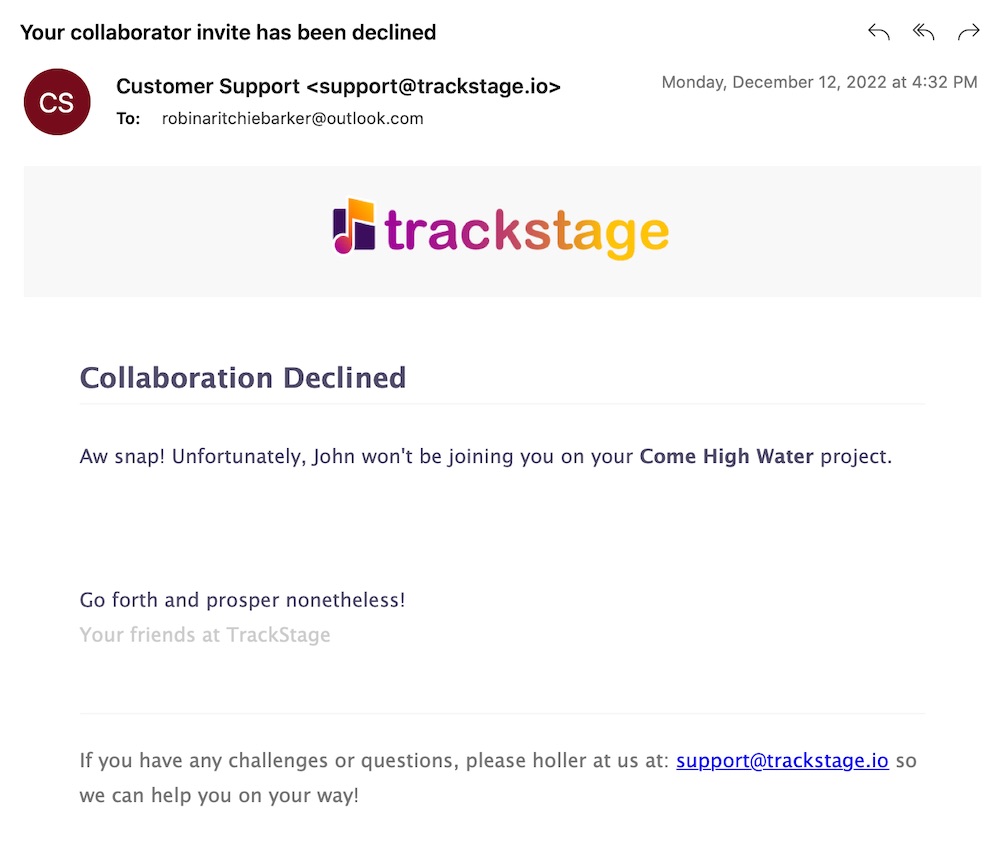
If the contact declines the collaboration, you'll receive an email notifying you that they won't be joining you.
Remove a Collaborator
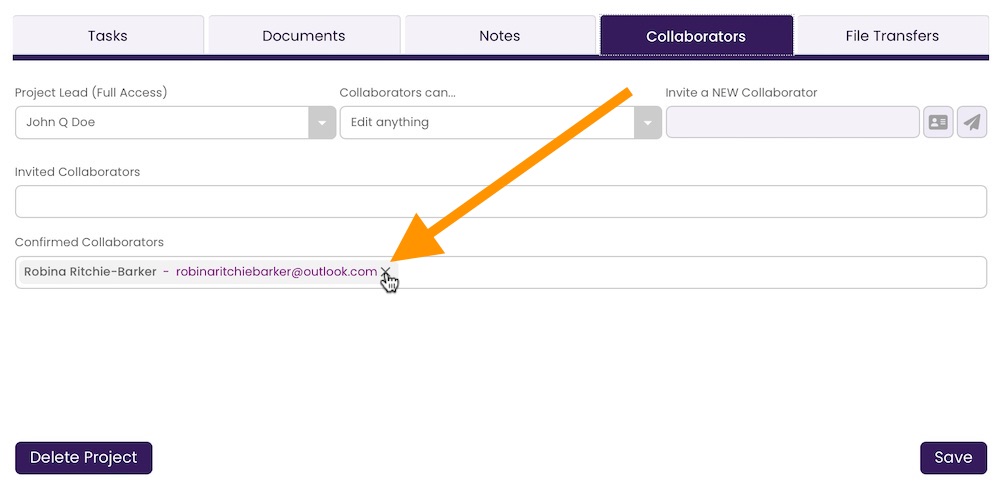
You can remove a collaborator at any time in your project, regardless of their status or the tasks they've contirbuted to.- In the Collaborator Tab, delete the collaborator.
Click on the x to the left of the collaborator's email address. You can remove collaborators from either the Invited or Confirmed fields.
Access Rights for Collaborators
You can elect to allow your collaborators to edit anything in the project, or you can constrain their editing access and keep the project management under your control.Access Rights are set in the Collaborator Tab of your Project and can be set at any point during the Project development, regardless of whether or not you already have collaborators onboard.
There are three different options when selecting edit rights for your collaborators:
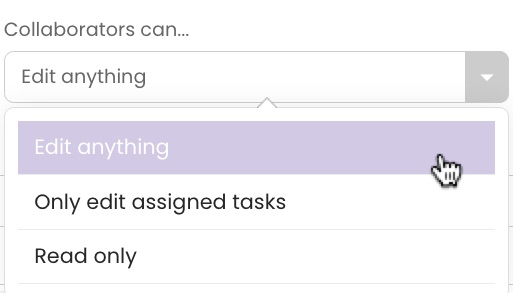
- Edit anything
This allows all collaborators to edit, delete, add, and assign any tasks, and add notes and files, but does not allow them to delete or move the project in the Project Board.
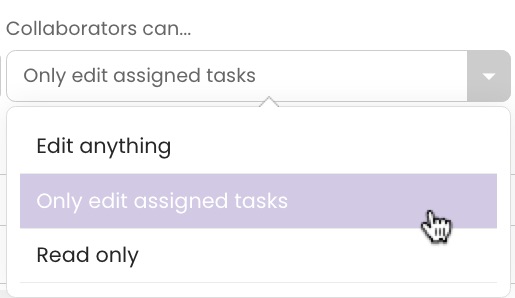
- Only edit assigned tasks
When this is selected, collaborators can only make updates and changes to tasks you have assigned to them and add Notes to the current stage, but cannot make any other edits.
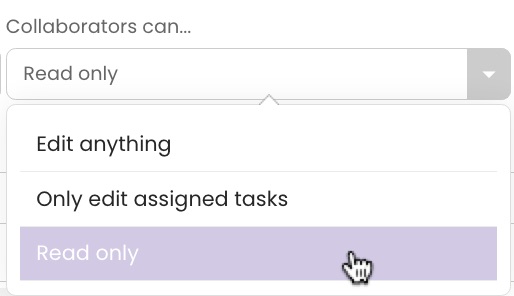
- Read Only
When Read Only is selected, only you can make edits to the Project. People confirmed as collaborators can view the progress and can add Notes to the current stage, but nothing else. This can be handy when you're working on a deliverable for a client and they want to stay apprised of your progress.
Setting Access Rights
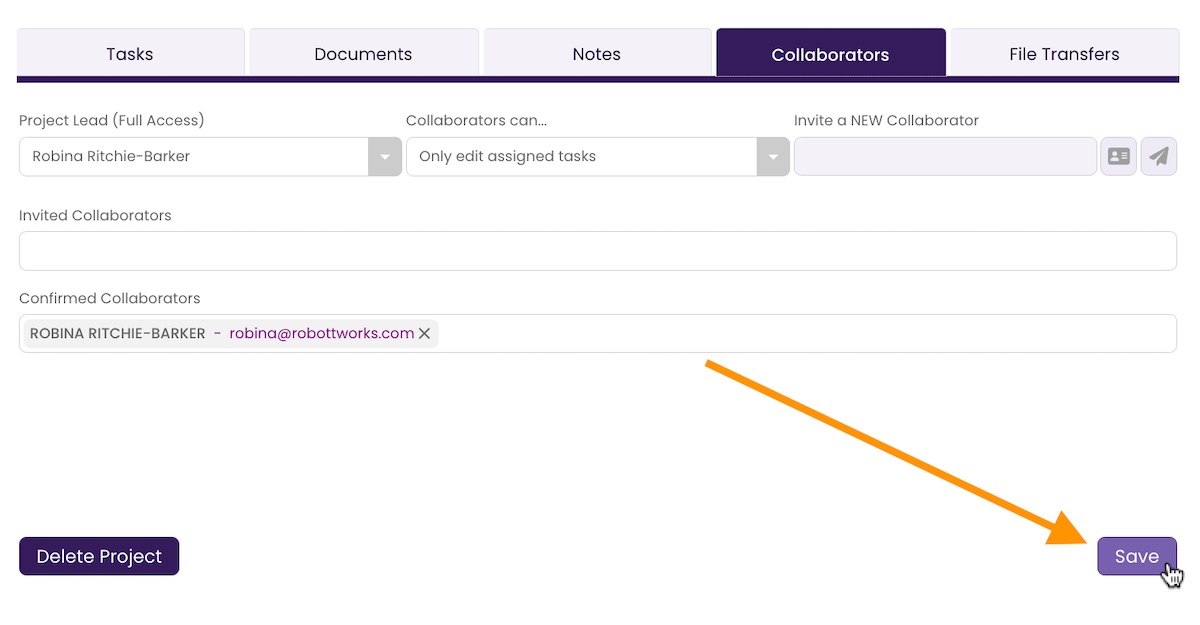
- Set the collaborators' access level.
In the Collaborators can... dropdown menu, select the access level you want for your collaborators. Whatever you select here will affect ALL collaborators.

- Click Save.
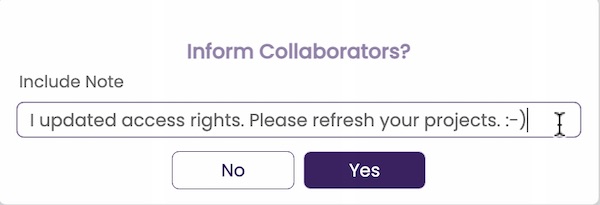
The Inform Collaborators dialog box opens.
- Notify your collaborators of the change.
If you'd like, you can send a broadcast message to all your project's collaborators who are currently online to let them know you've made a change. Enter the text into the Include Note field and click Yes.
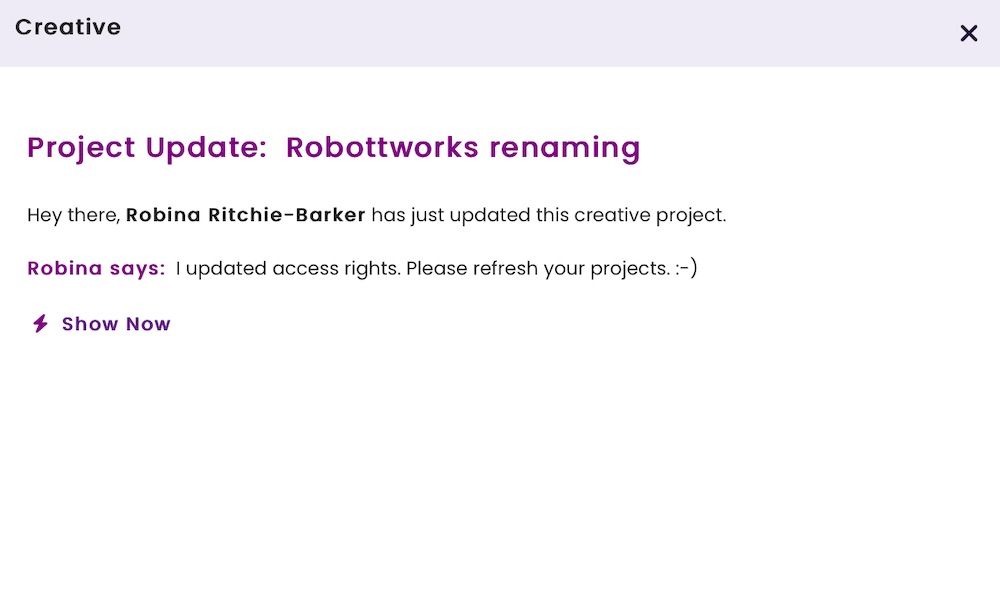
All collaborators that are currently online in TrackStage will get an alert with your message:
Assign Tasks to a Collaborator
Assigning tasks to your collaborators is as simple as a click.- Select the task.
In the Tasks tab, select the task you want to assign.
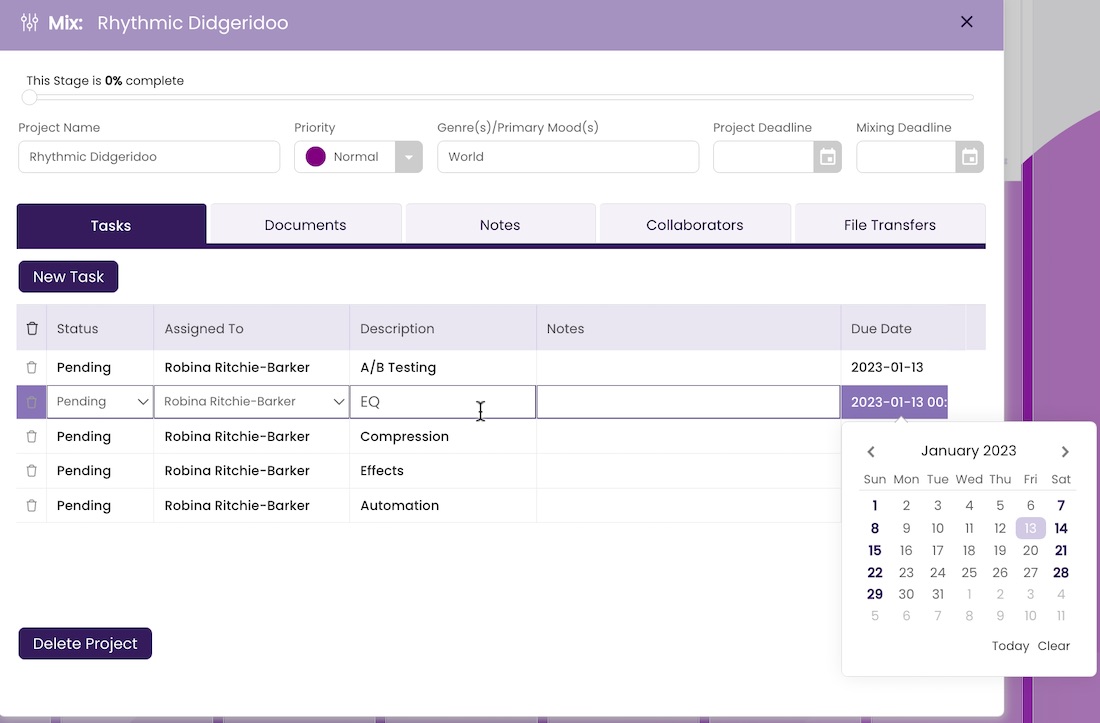
- Choose the collaborator.
Click in the Assigned To colum, and select the collaborator in the drop-down menu.
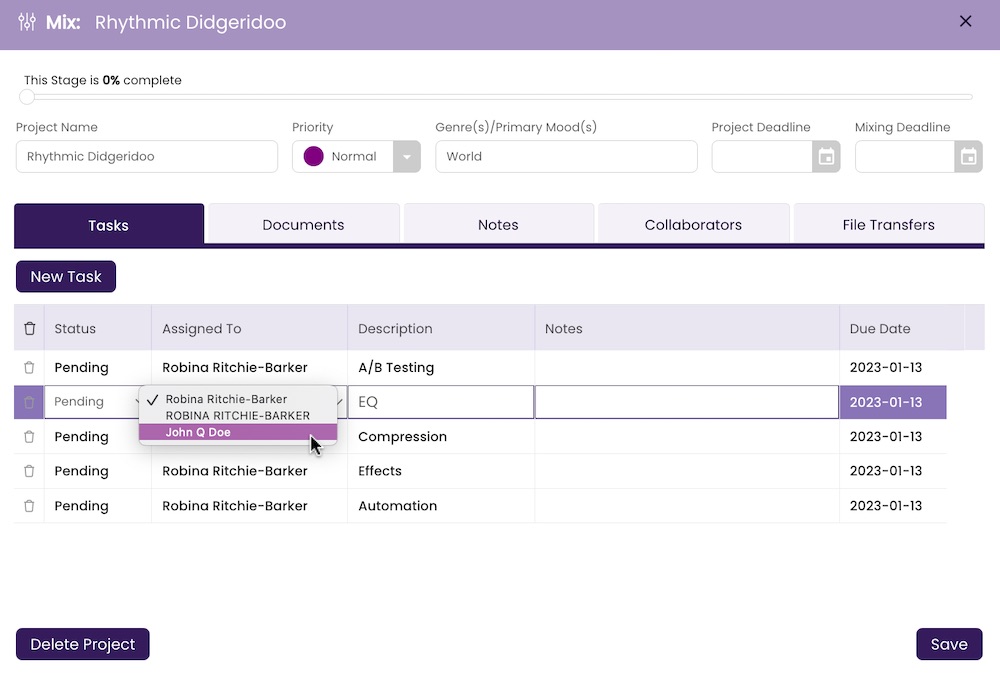
- Click Save.
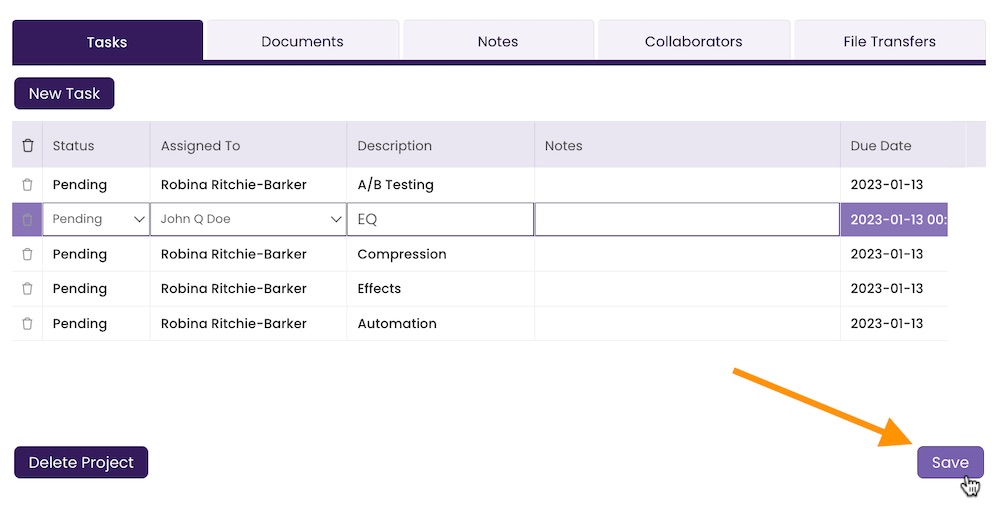
The Inform Collaborators dialog box opens.
- Enter a note (optional) and click Yes.
If you wish to broadcast a message to all collaborators on this Project who are currently online with TrackStage, enter it here, then click Yes.
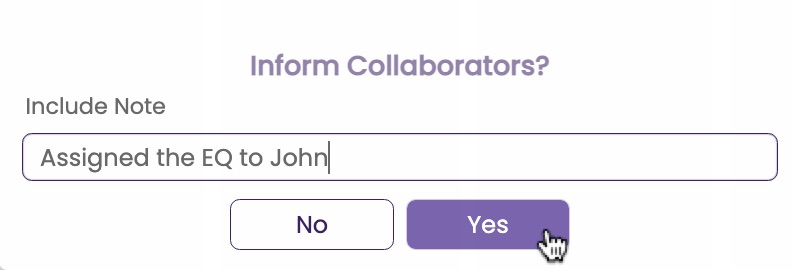
The task now shows as assigned to your collaborator in the Tasks tab, and it will appear in your collaborators' Project Card(s) as assigned to them. Provided the access rights you've assigned allow your collaborators to edit, when your collaborator marks a task as complete, it will show up as completed in your Tasks tab in real time.
Transfer Files to a Collaborator
You can transfer DAW files, audio clips, artwork, documents, or other files to your online collaborators in real time without leaving the project.- Go to the File Transfers Tab.
Collaborators who are online will appear in purple, and those who are currently offline will be in grey.
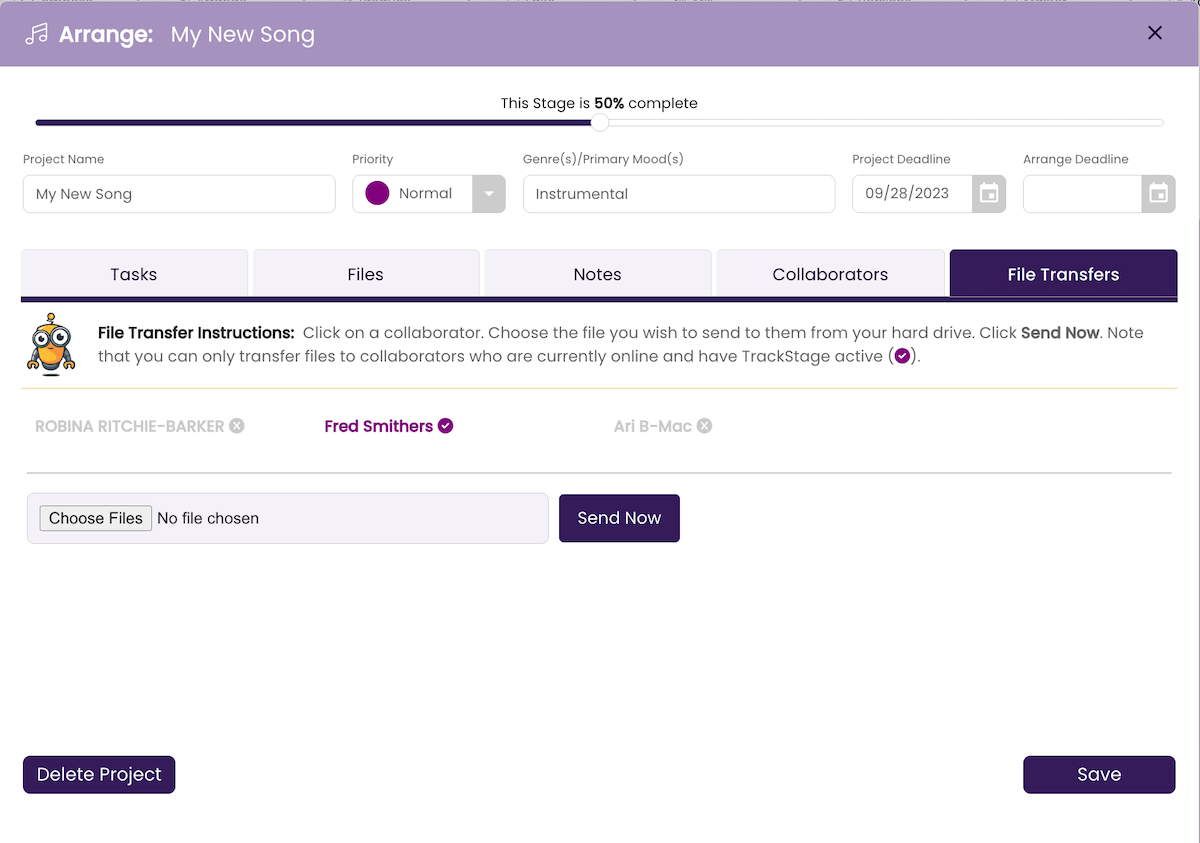
- Select the collaborator you want to receive the file(s).
You can only send files to collaborators who are currently online and in TrackStage.
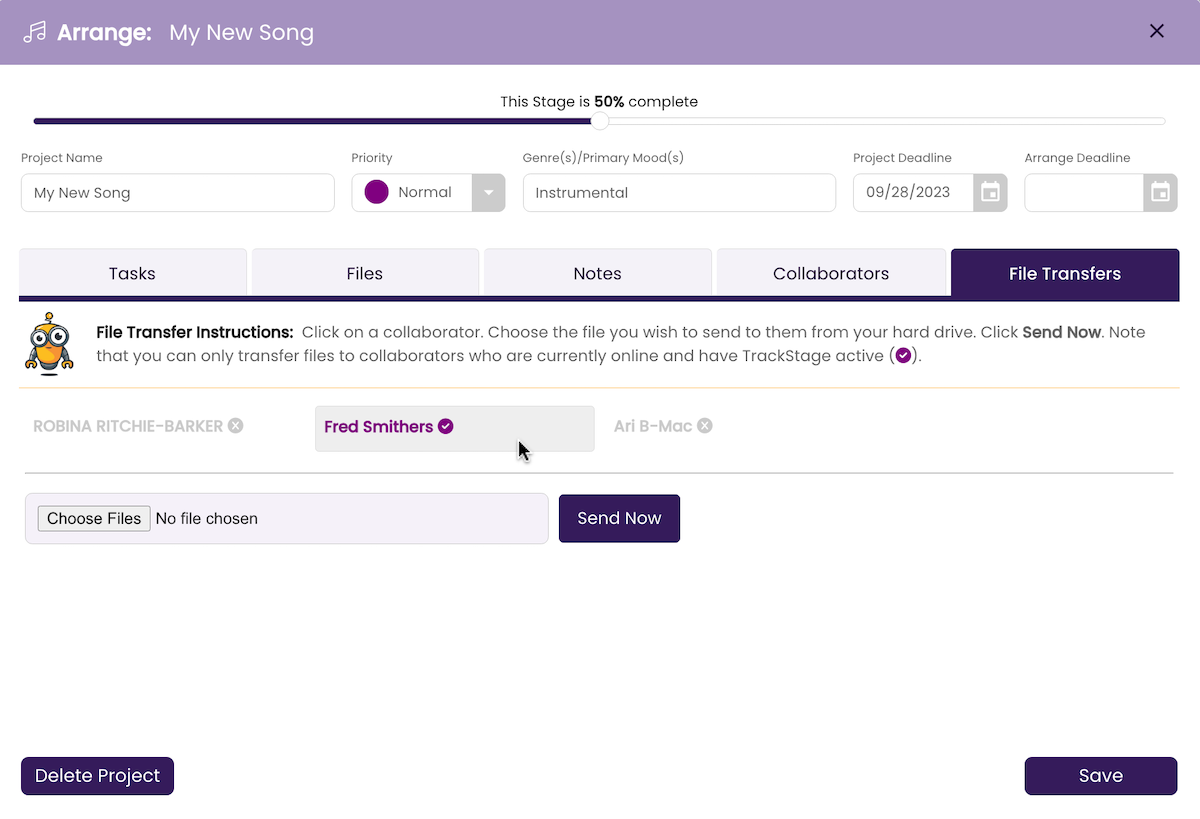
- Click Choose Files.
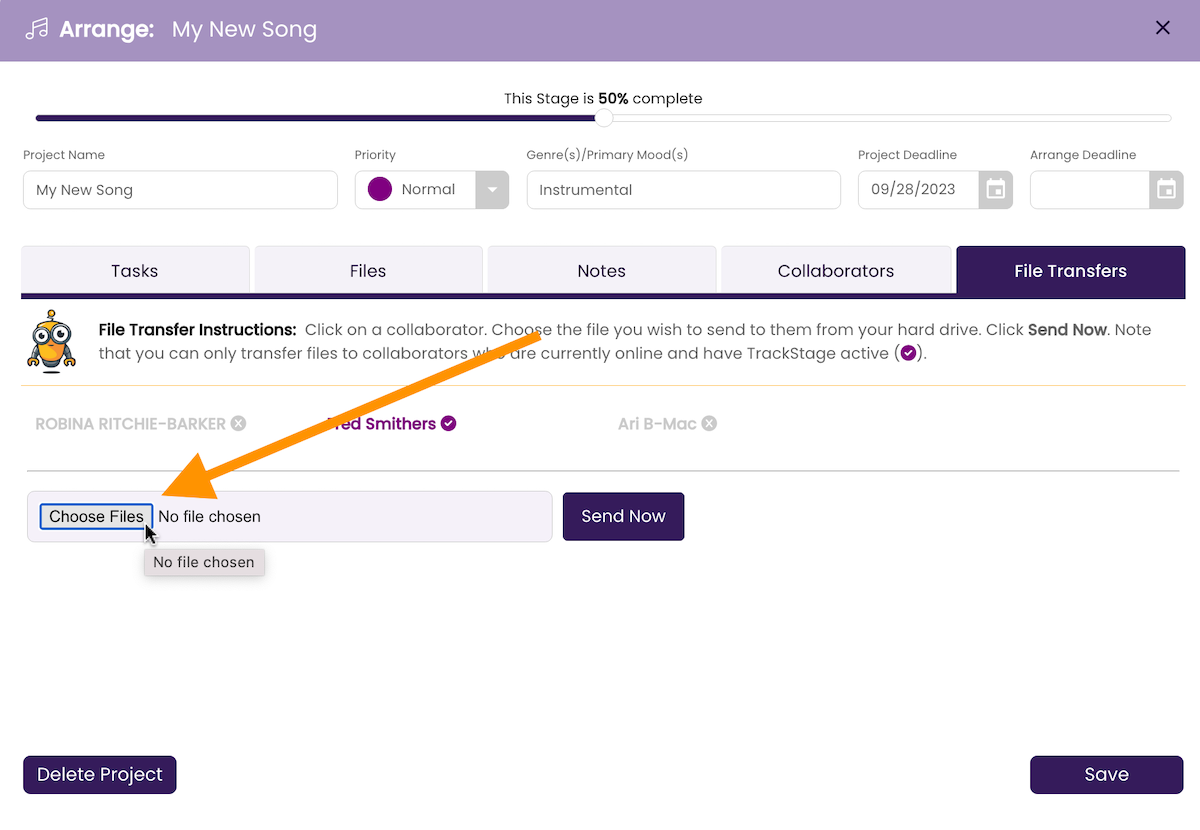
Select the file/document you wish to transfer from your computer.
- Click Send Now.
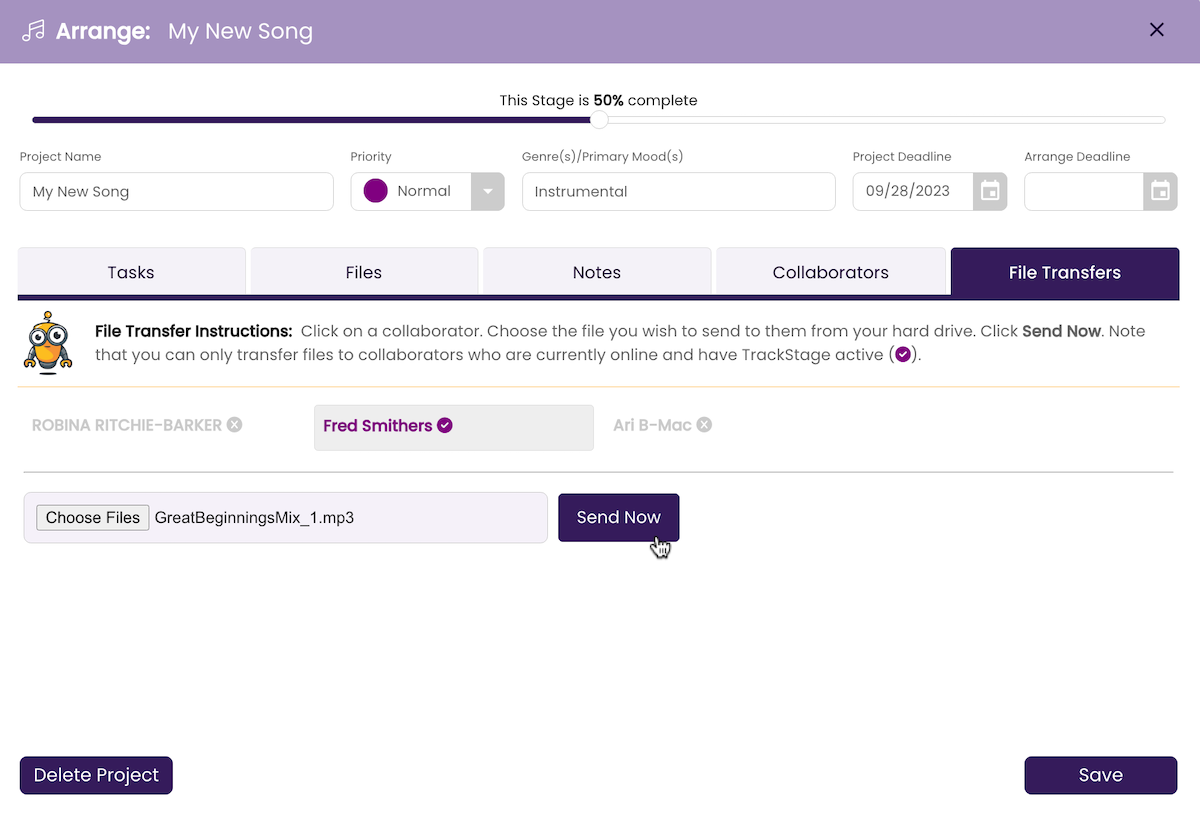
The File Transfer Progress window opens.
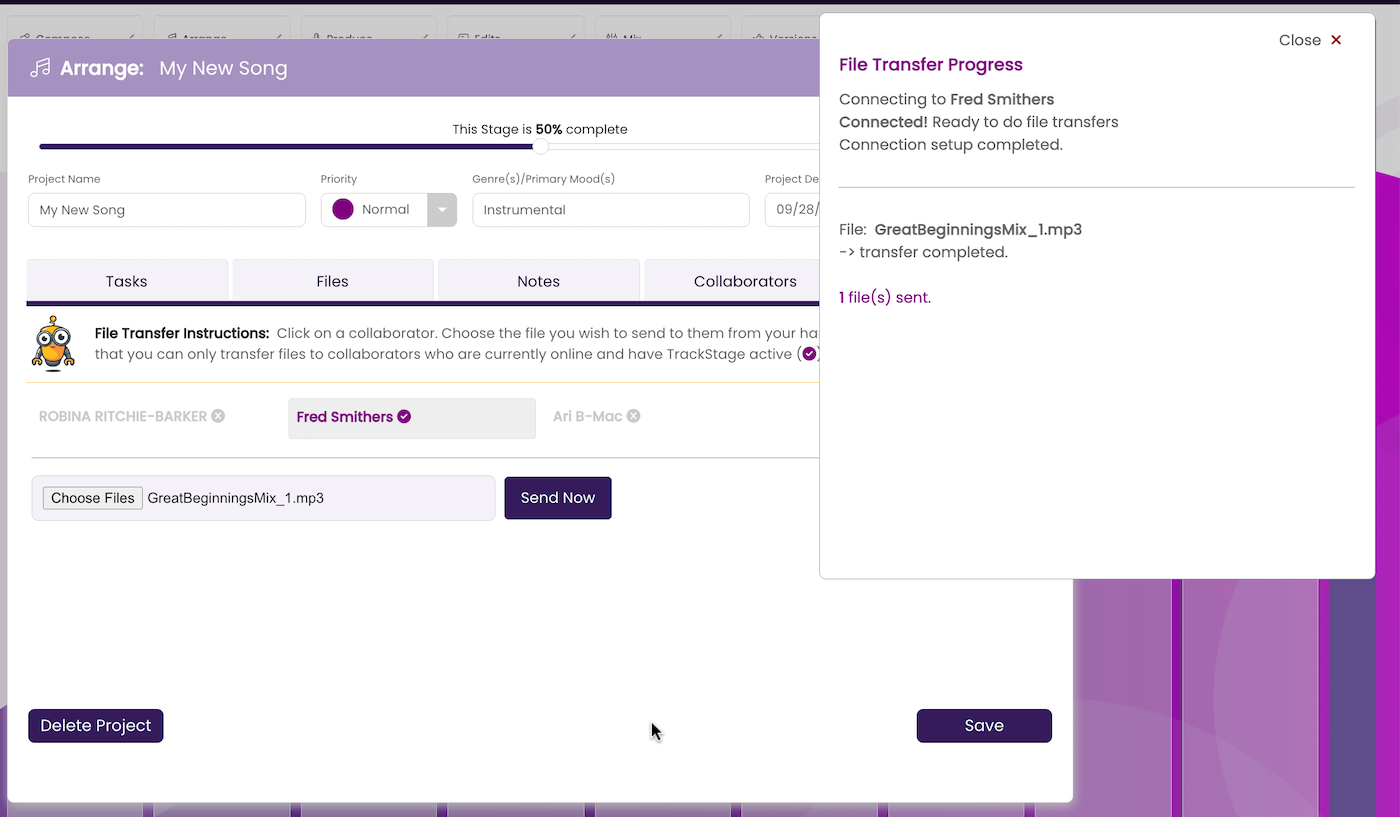
The file is sent in real-time to your collaborator. On the receiving end, it looks like this:
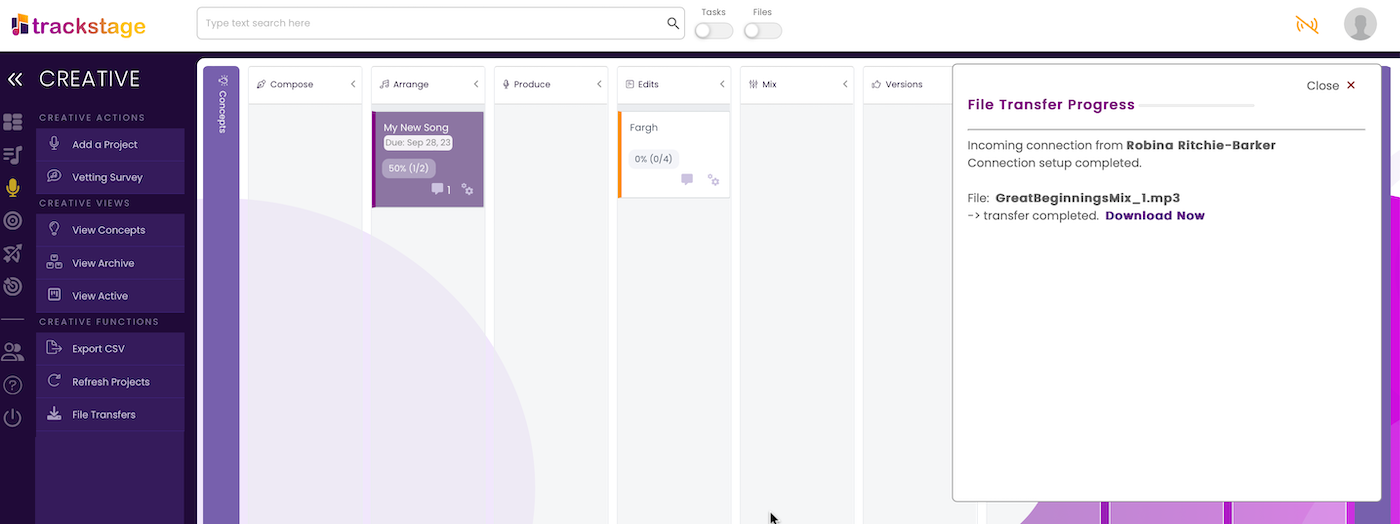
You can continue to send as many files as you like to the collaborator by repeating the above steps.
- Close the File Transfer Progress window when done.
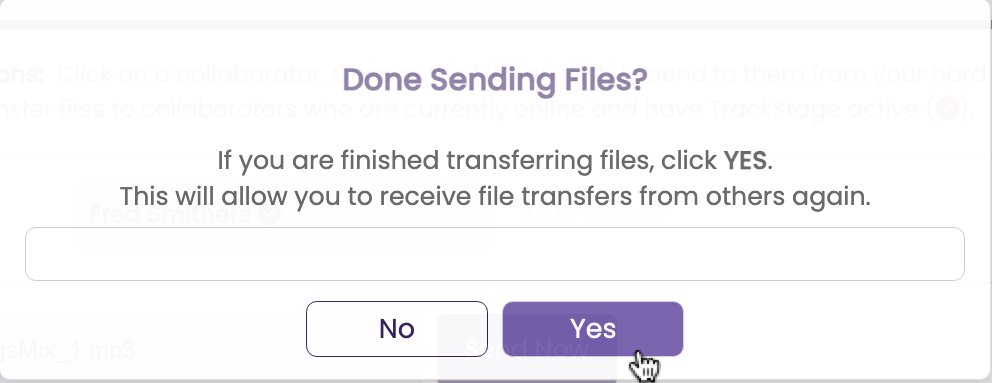
A warning box will appear.
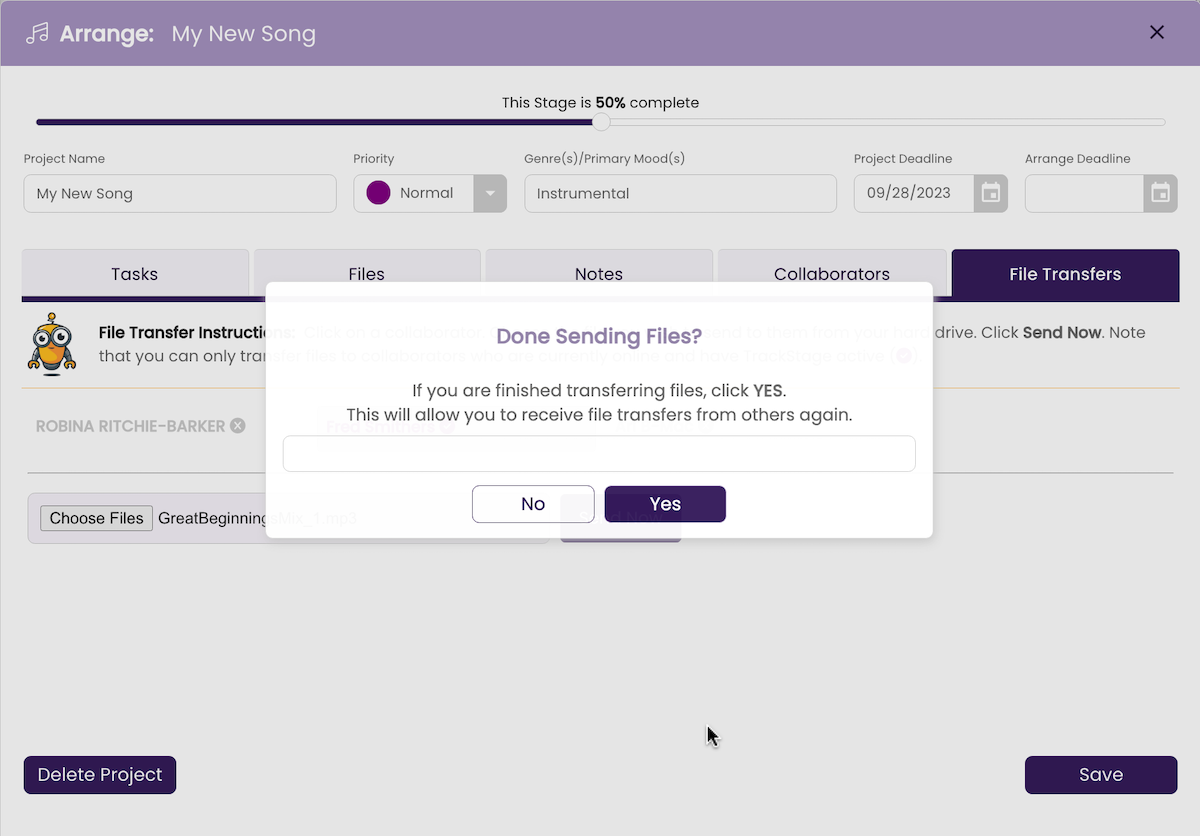
Transfers can only go in one direction at a time, so if you want to open the connection for your collaborators to send files to you, you need close the session.
- Click Yes.
This will close your connection and allow you to receive file transfers.
