The PUBLISHING Tab
Keep a record of the publishing contracts you have signed for this track. See what the terms, splits and reversion dates are and attach the contracts so you have all the important info in one place.
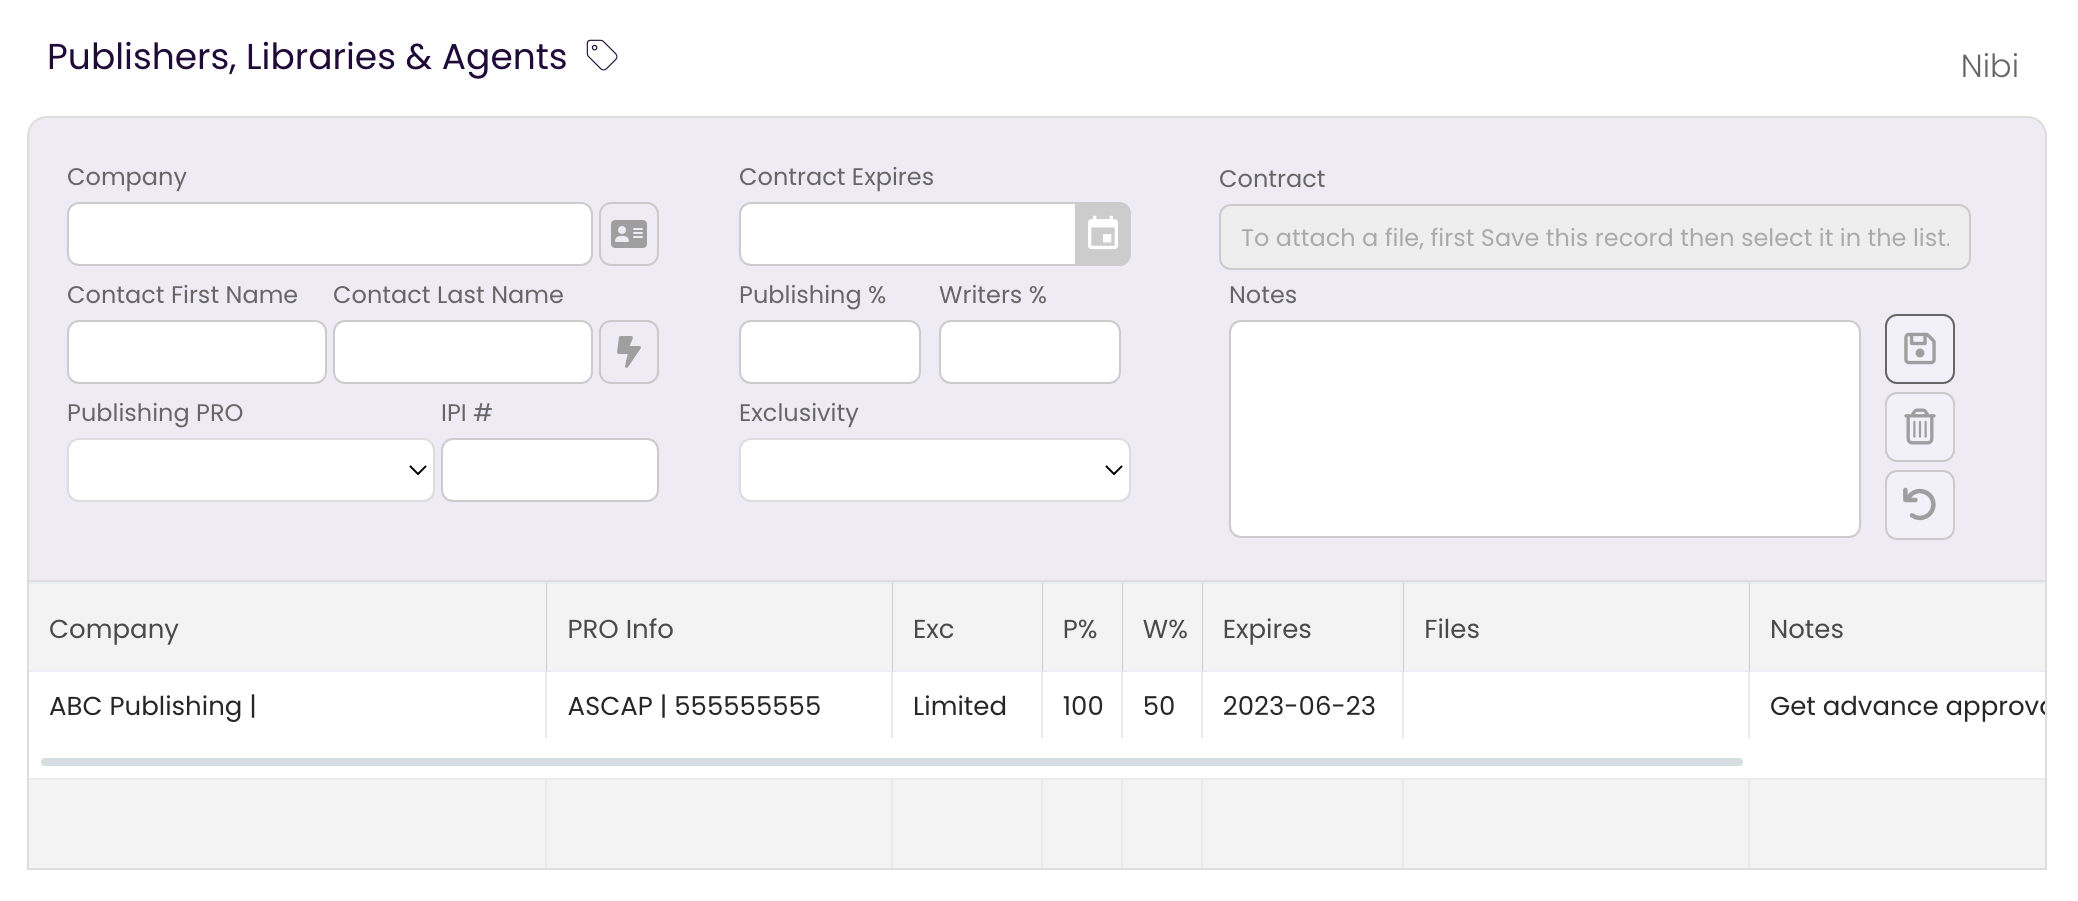
About the PUBLISHING Tab
The PUBLISHING Tab provides a designated space for you to record any parties who have Publishing Rights on your track and instantly view whether a track can be pitched or published by another party. In the INFO Tab, you can also elect to have the information in this tab autofill the track’s metadata to ensure the publishing rights are clear to a music supervisor or other industry professional.
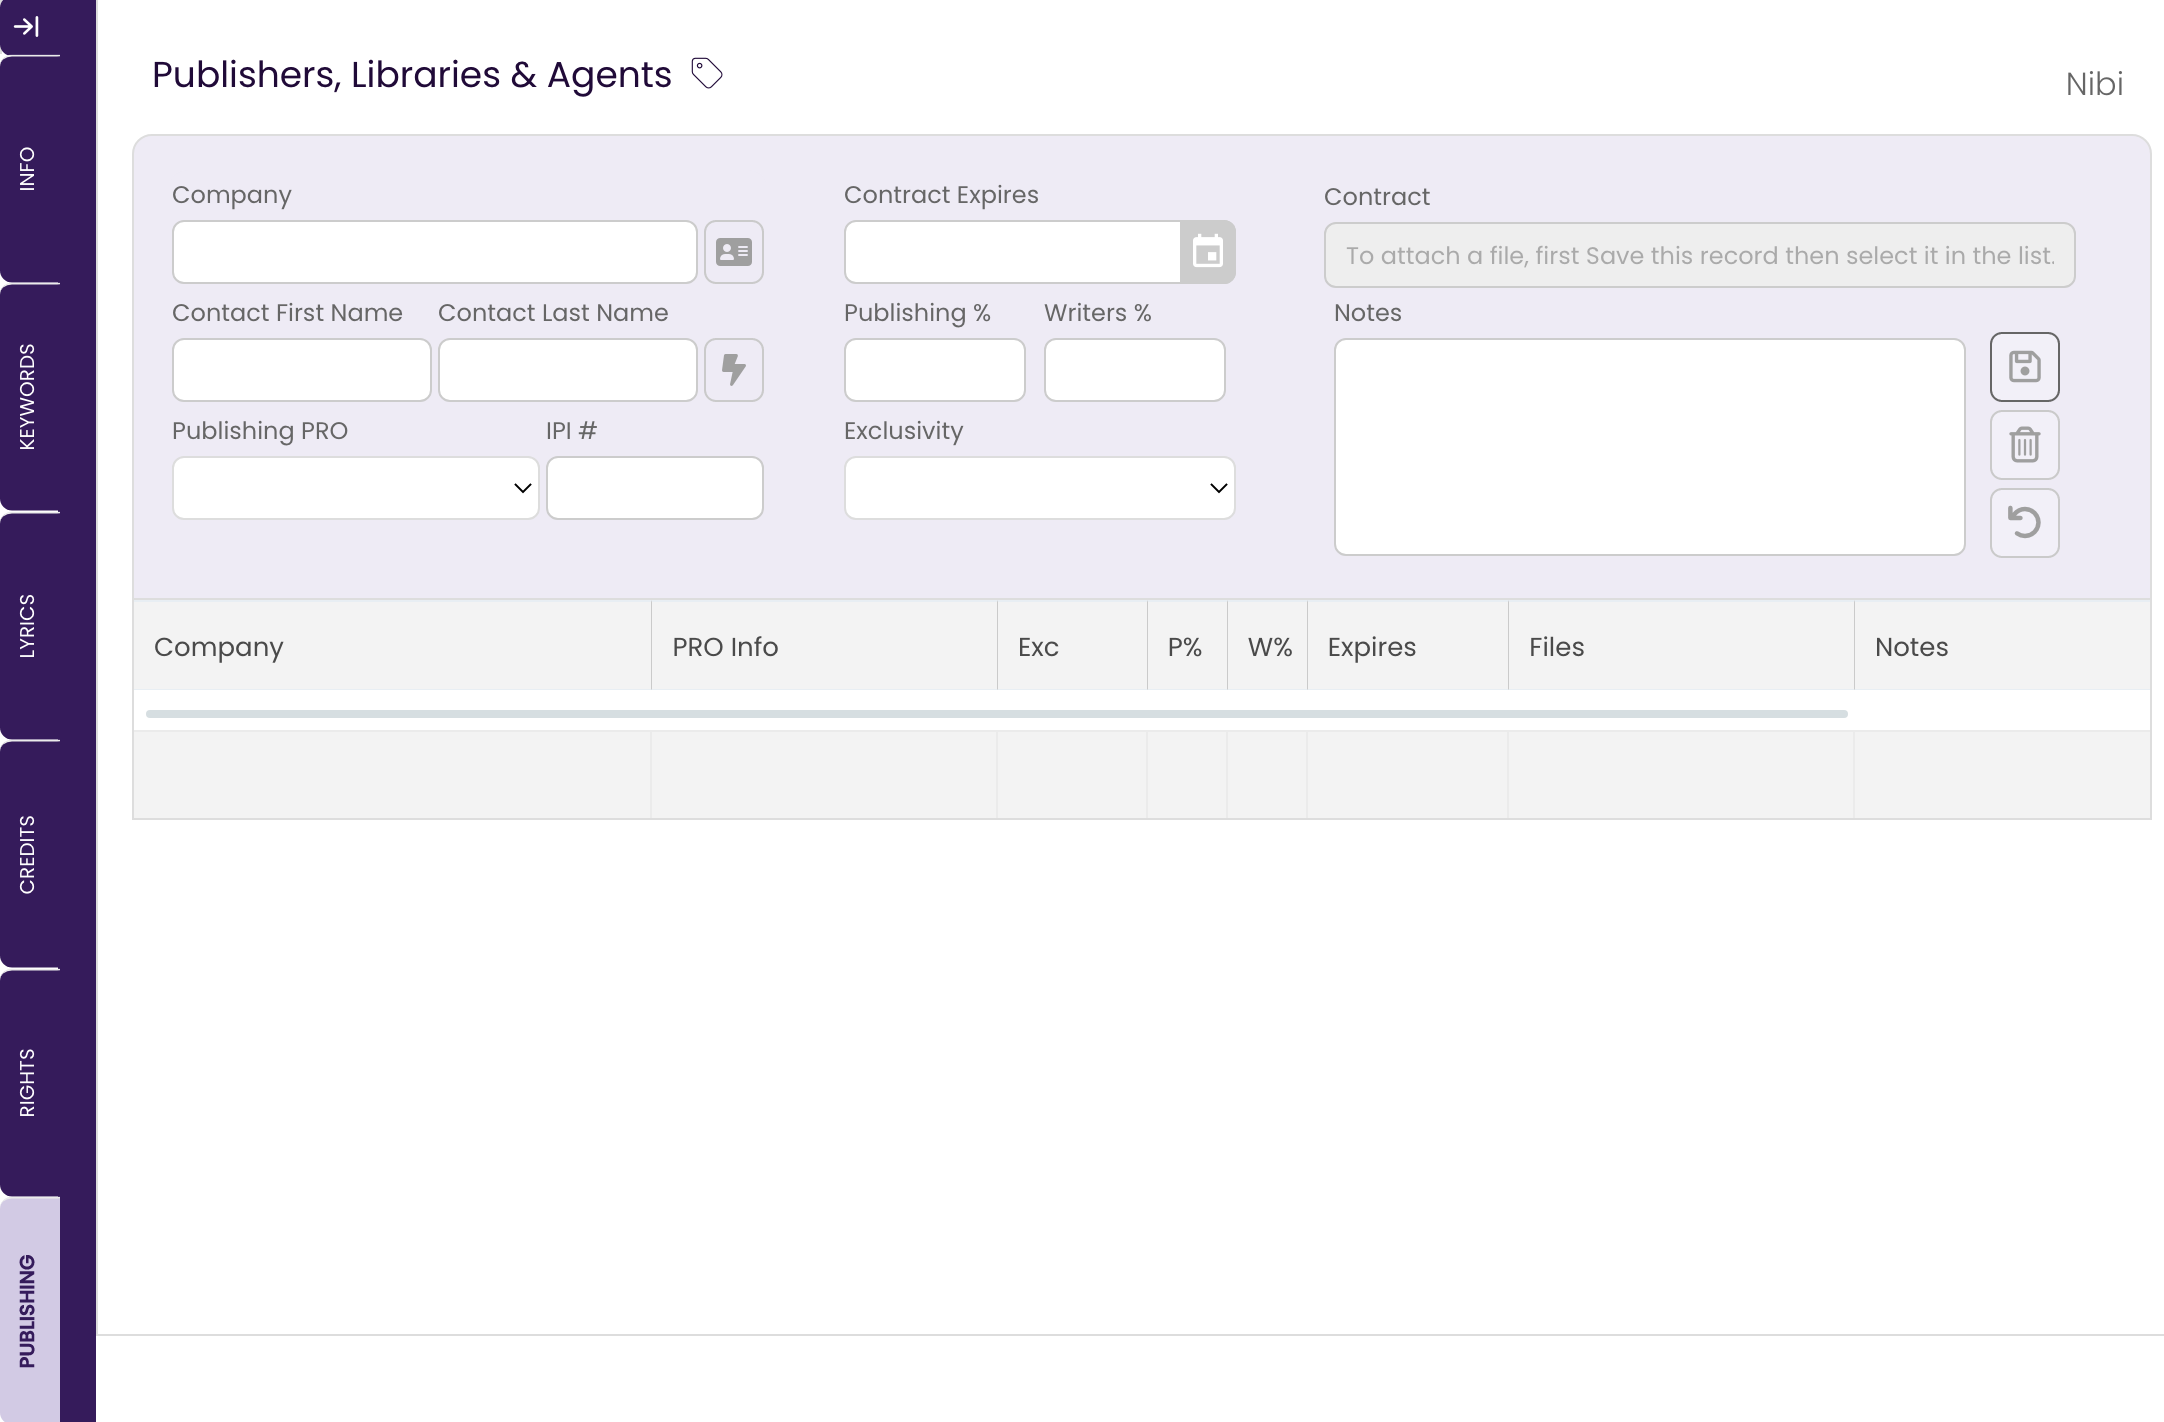
Add a Publishing Rights Holder
Publishing Rights may be held by an actual Music Publisher or they can be held by Sync Agents, Libraries, or Collaborators. Any of these entities can be recorded here.
- Enter the name of the Publisher, Sync Agent, Library, etc.
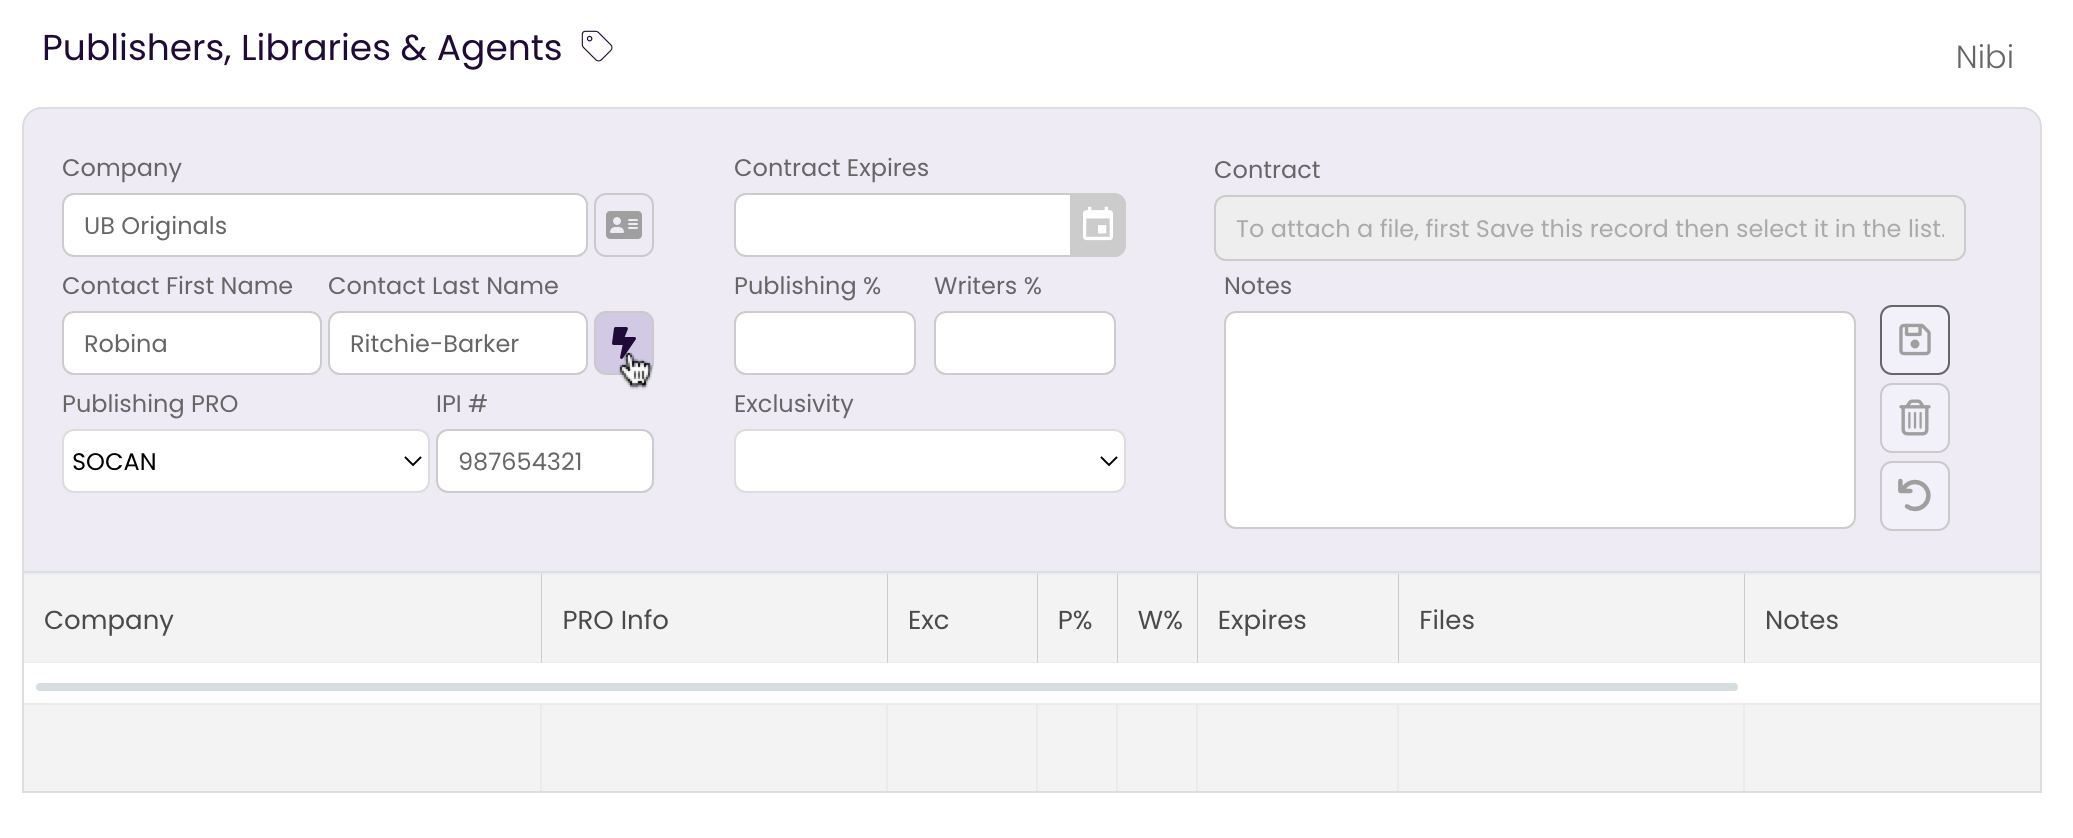
If the party you wish to enter is already in your Contacts List, click on the and select them from the pop-up window, either by clicking on their listing and then clicking the Select button, or by simply double-clicking their listing.
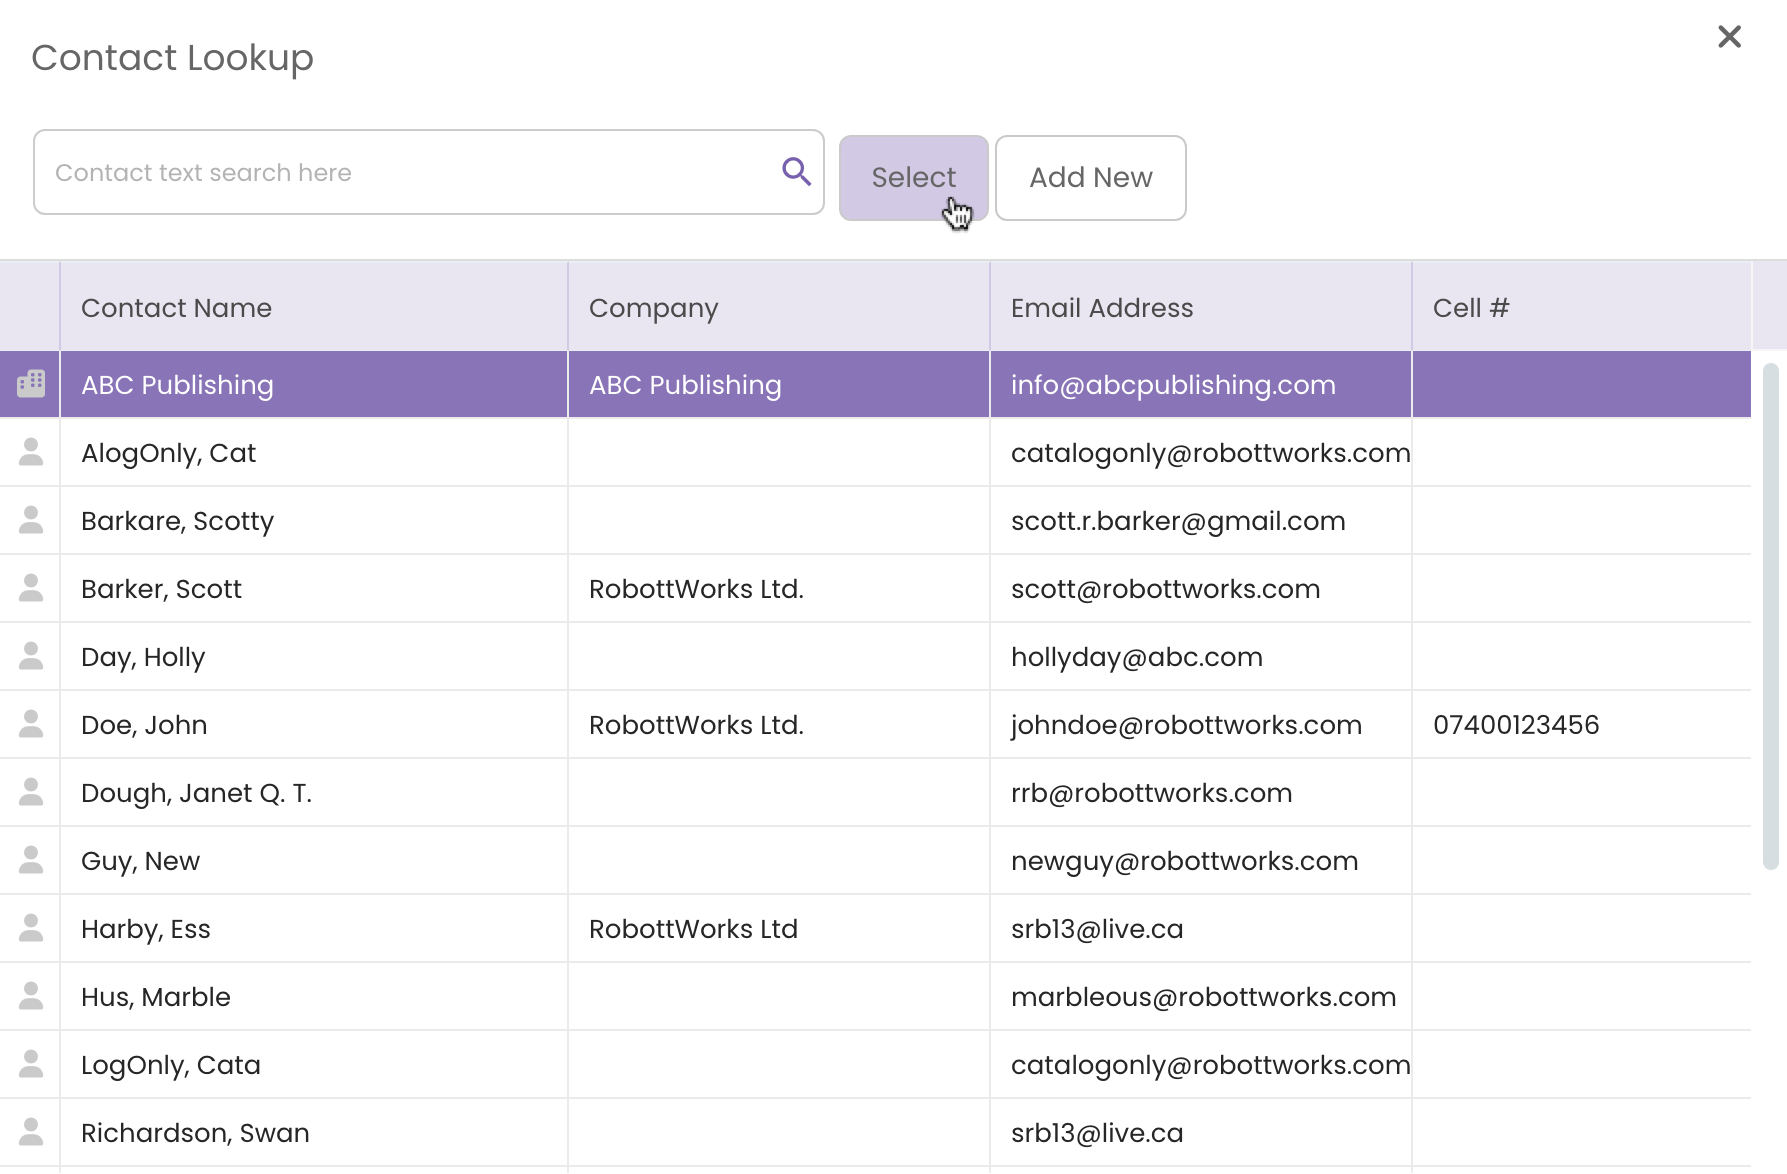
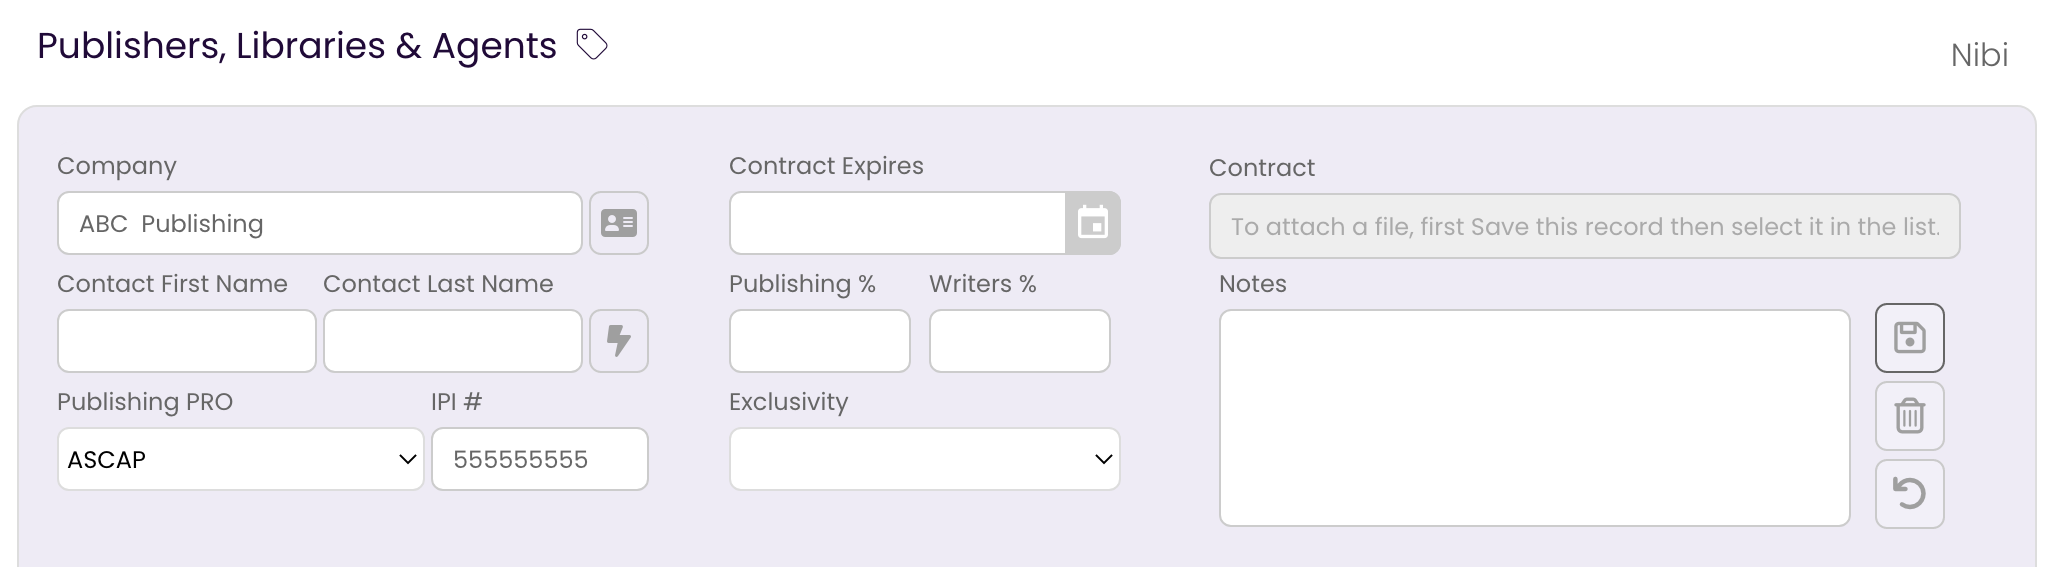
All relevant information will be copied to the Publishing Rights Holder entry.
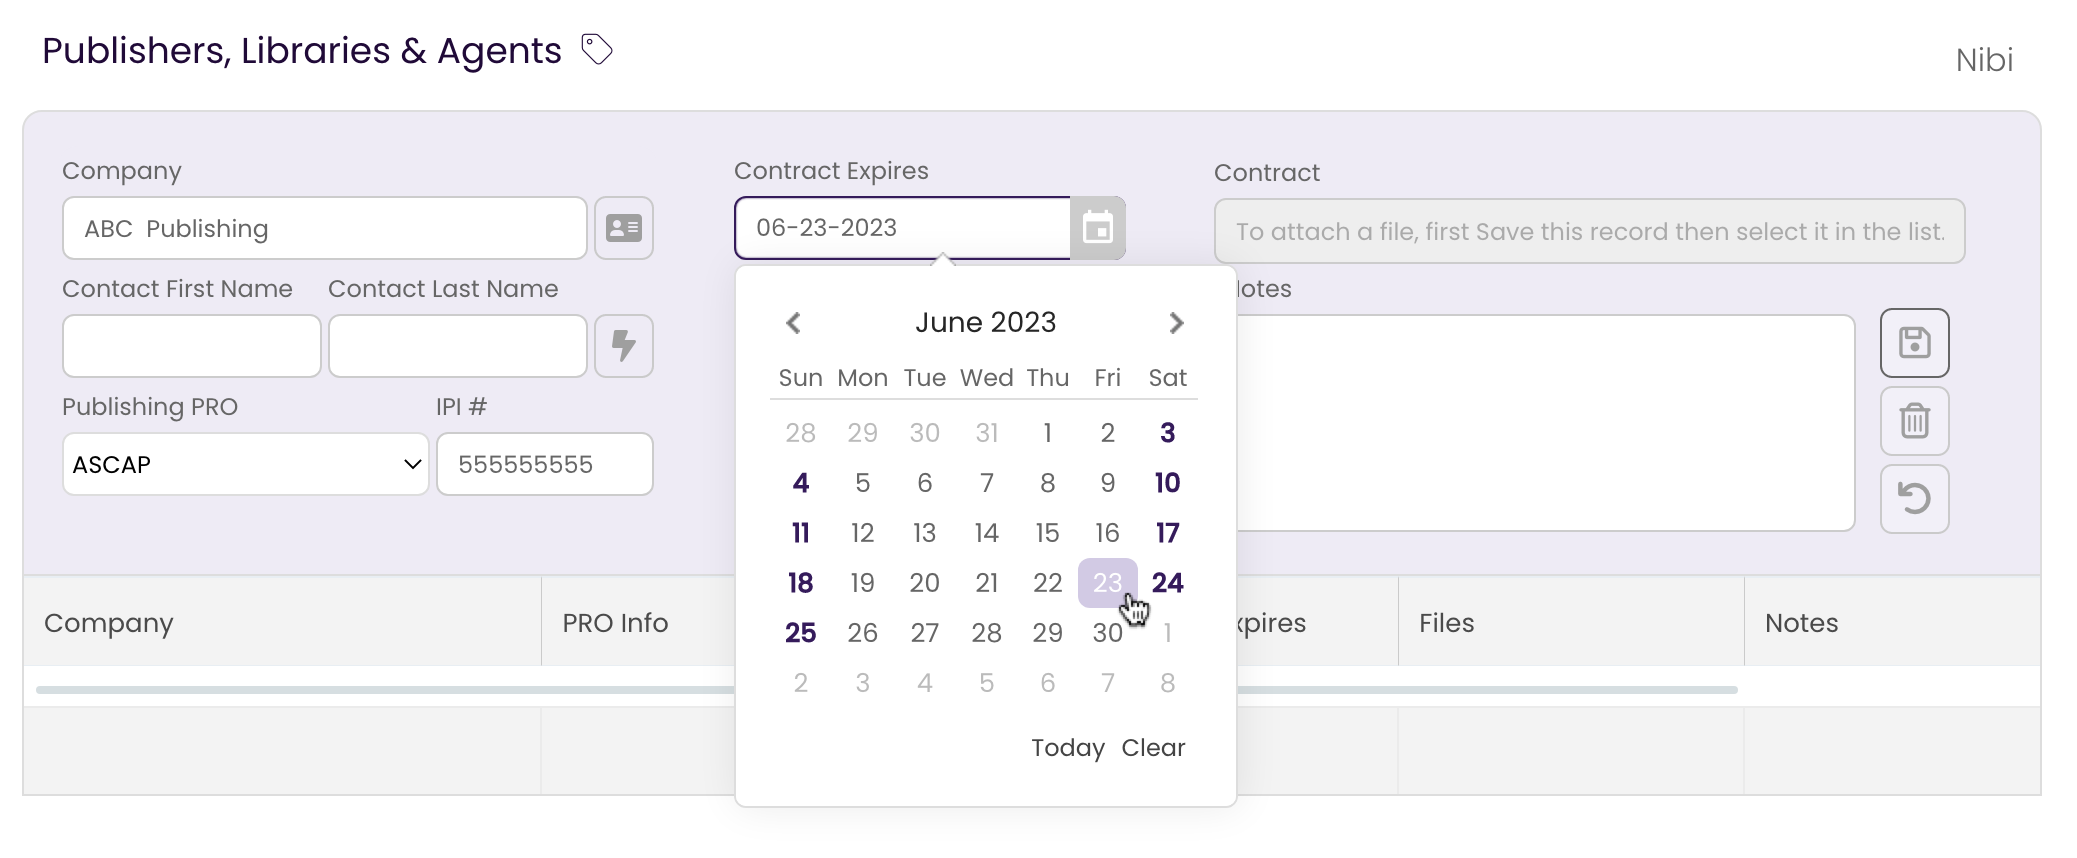
- Enter the Reversion Date for the contract, if applicable.
This will give you an alert notification in the DASHBOARD when the date approaches.
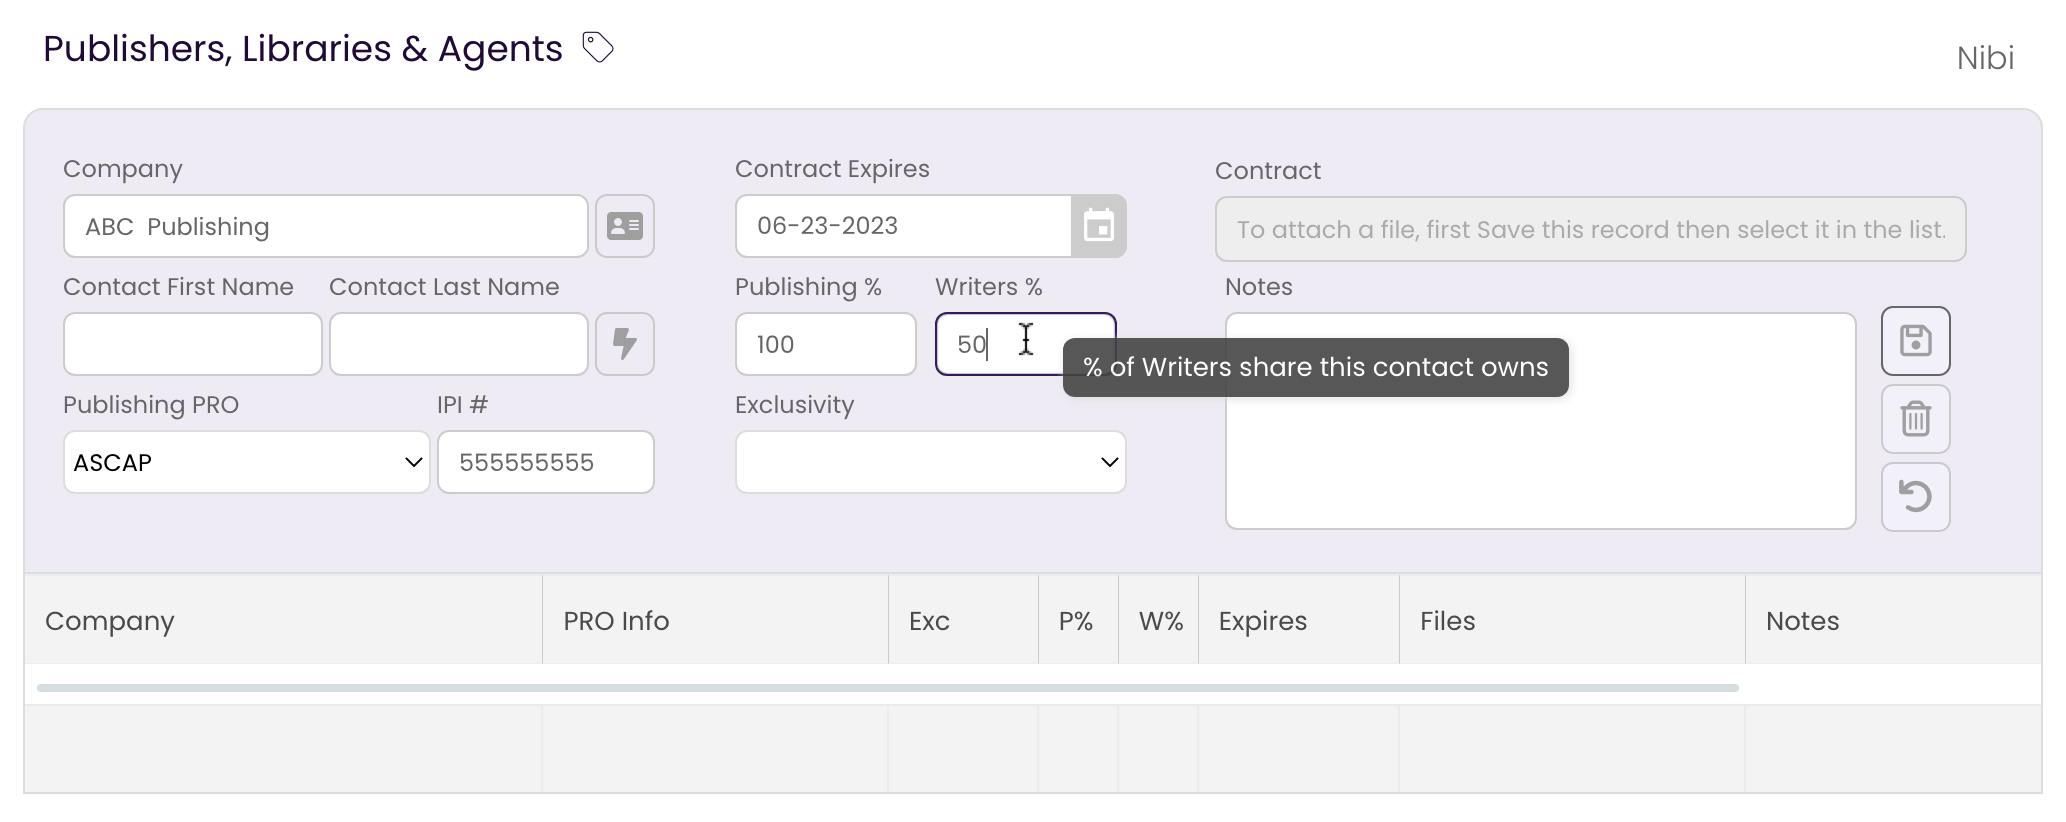
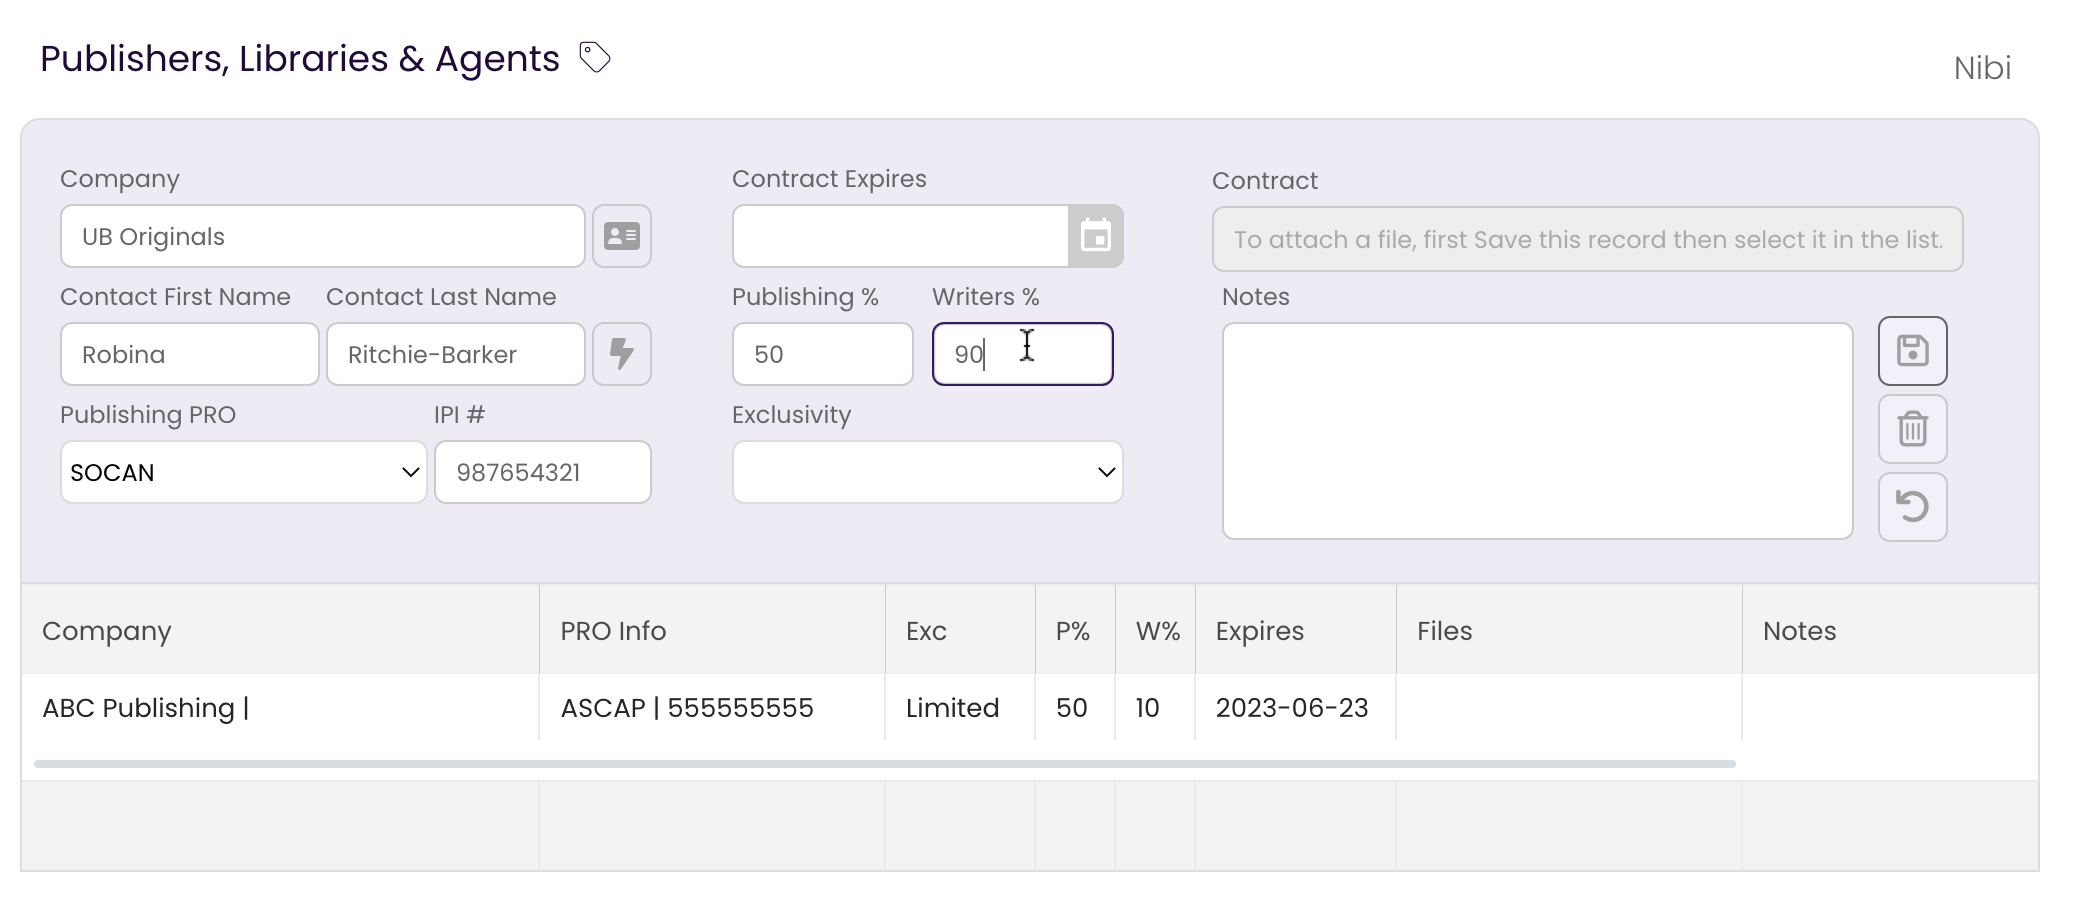
- Enter the Publishing and if applicable, the Writers percent splits.
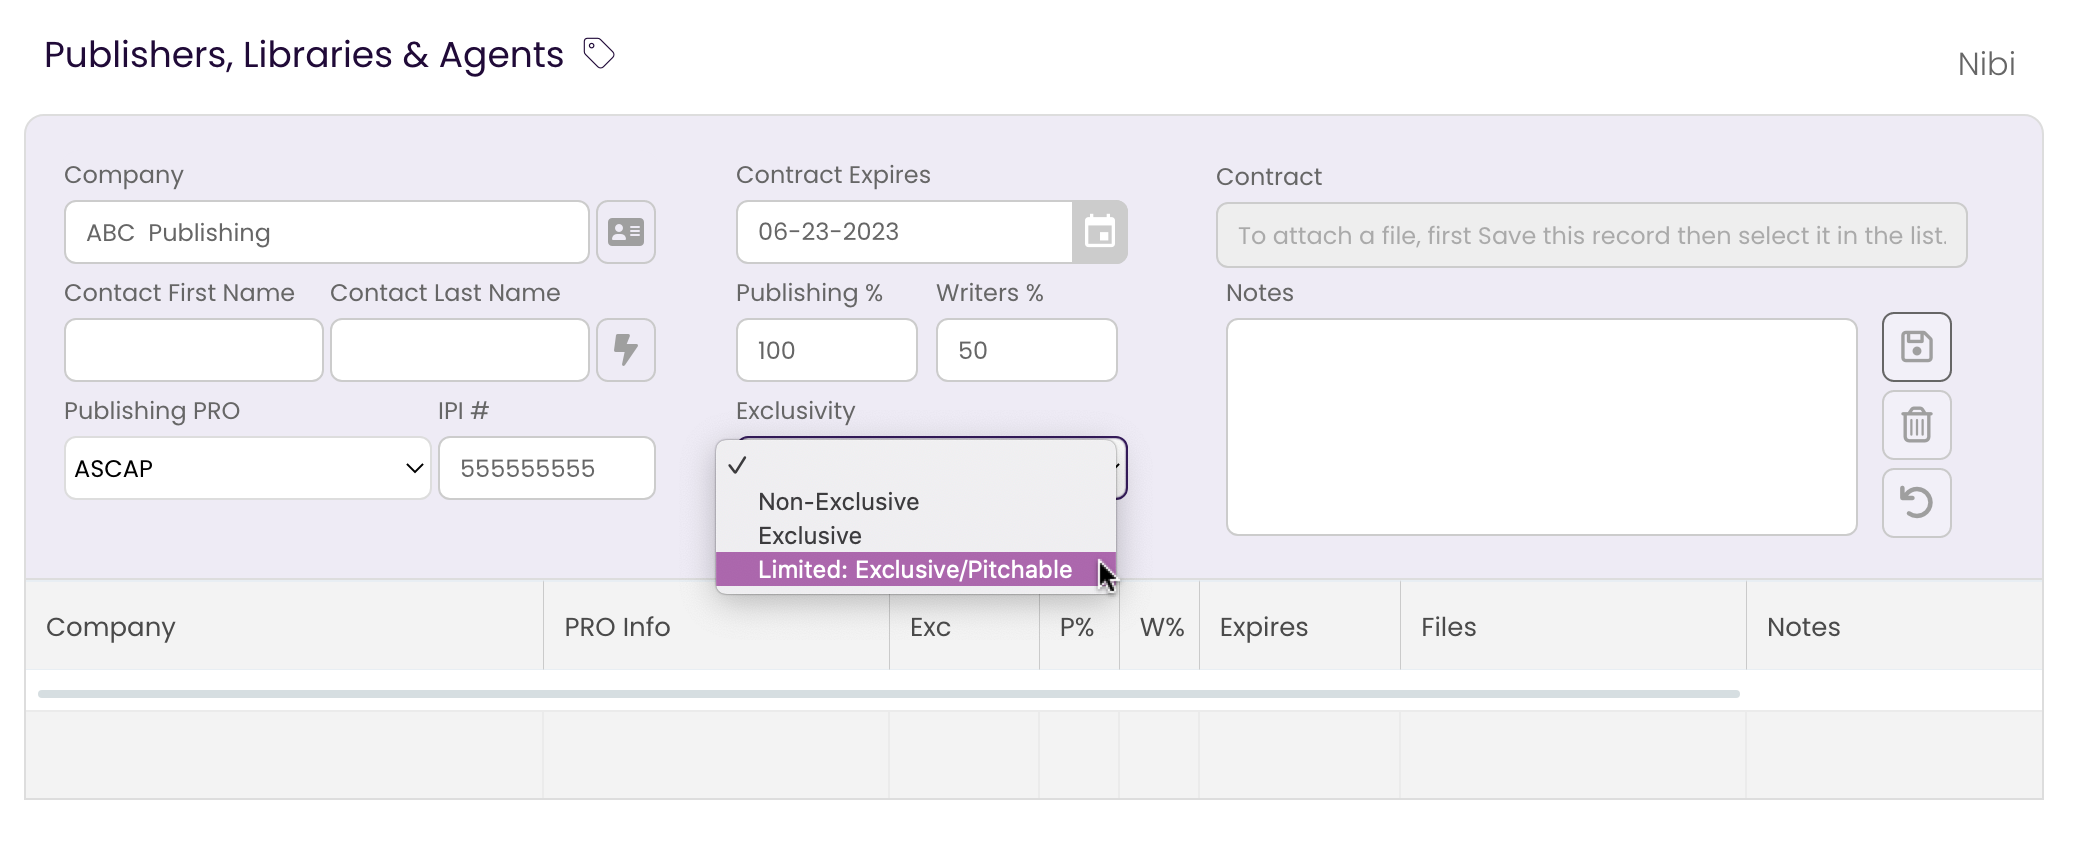
- Enter the Exclusivity for the track as outlined in your contract.
Exclusive: Can not be pitched to any other library, publisher, or music supervisor. All pitching is done solely by Publisher. Track will appear in CATALOG with a icon.
icon.
Non-Exclusive: Can be pitched to any library, publisher, or music supervisor and can be represented by other non-exclusive publishers. Track will appear in CATALOG with a icon.
icon.
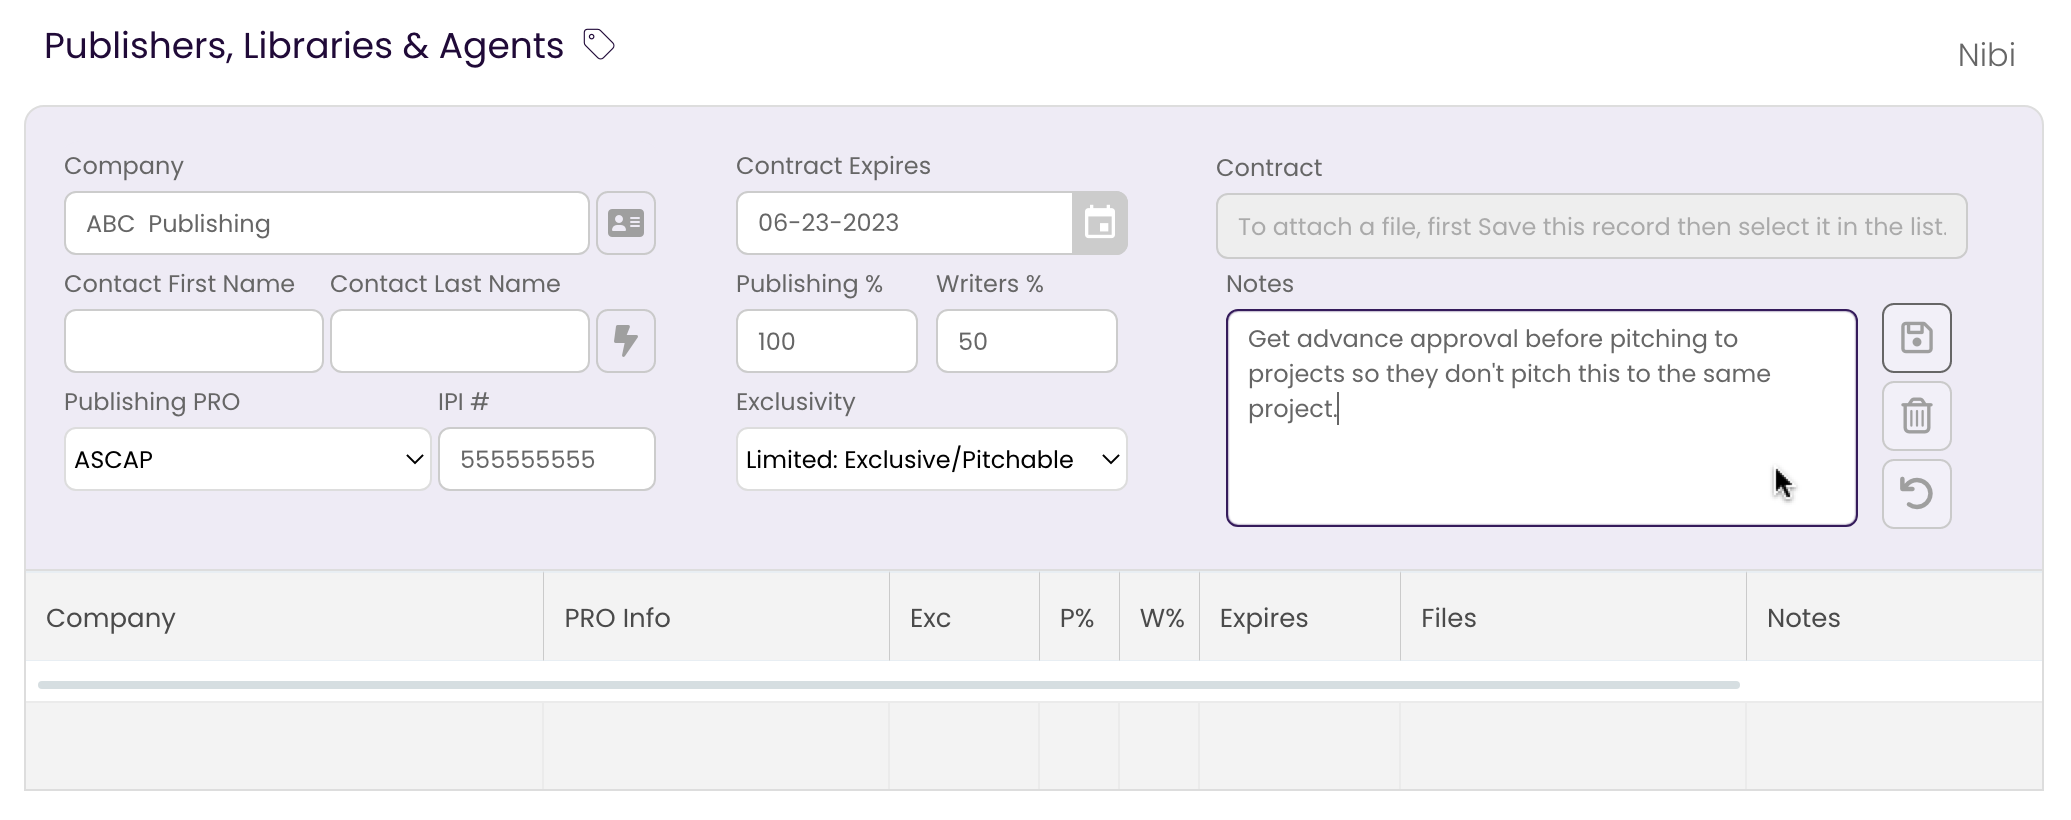
Limited: Can be pitched to music supervisors, but cannot be represented by any other publishing entity. Explain in Notes section whether permission to pitch must be granted by Publisher in advance. Track will appear in CATALOG with a icon.
icon.
- Enter any Notes you wish to add.
This can be a helpful spot to fill in any additional information about the contract.
- If you wish to clear the form at any point, click the
 button.
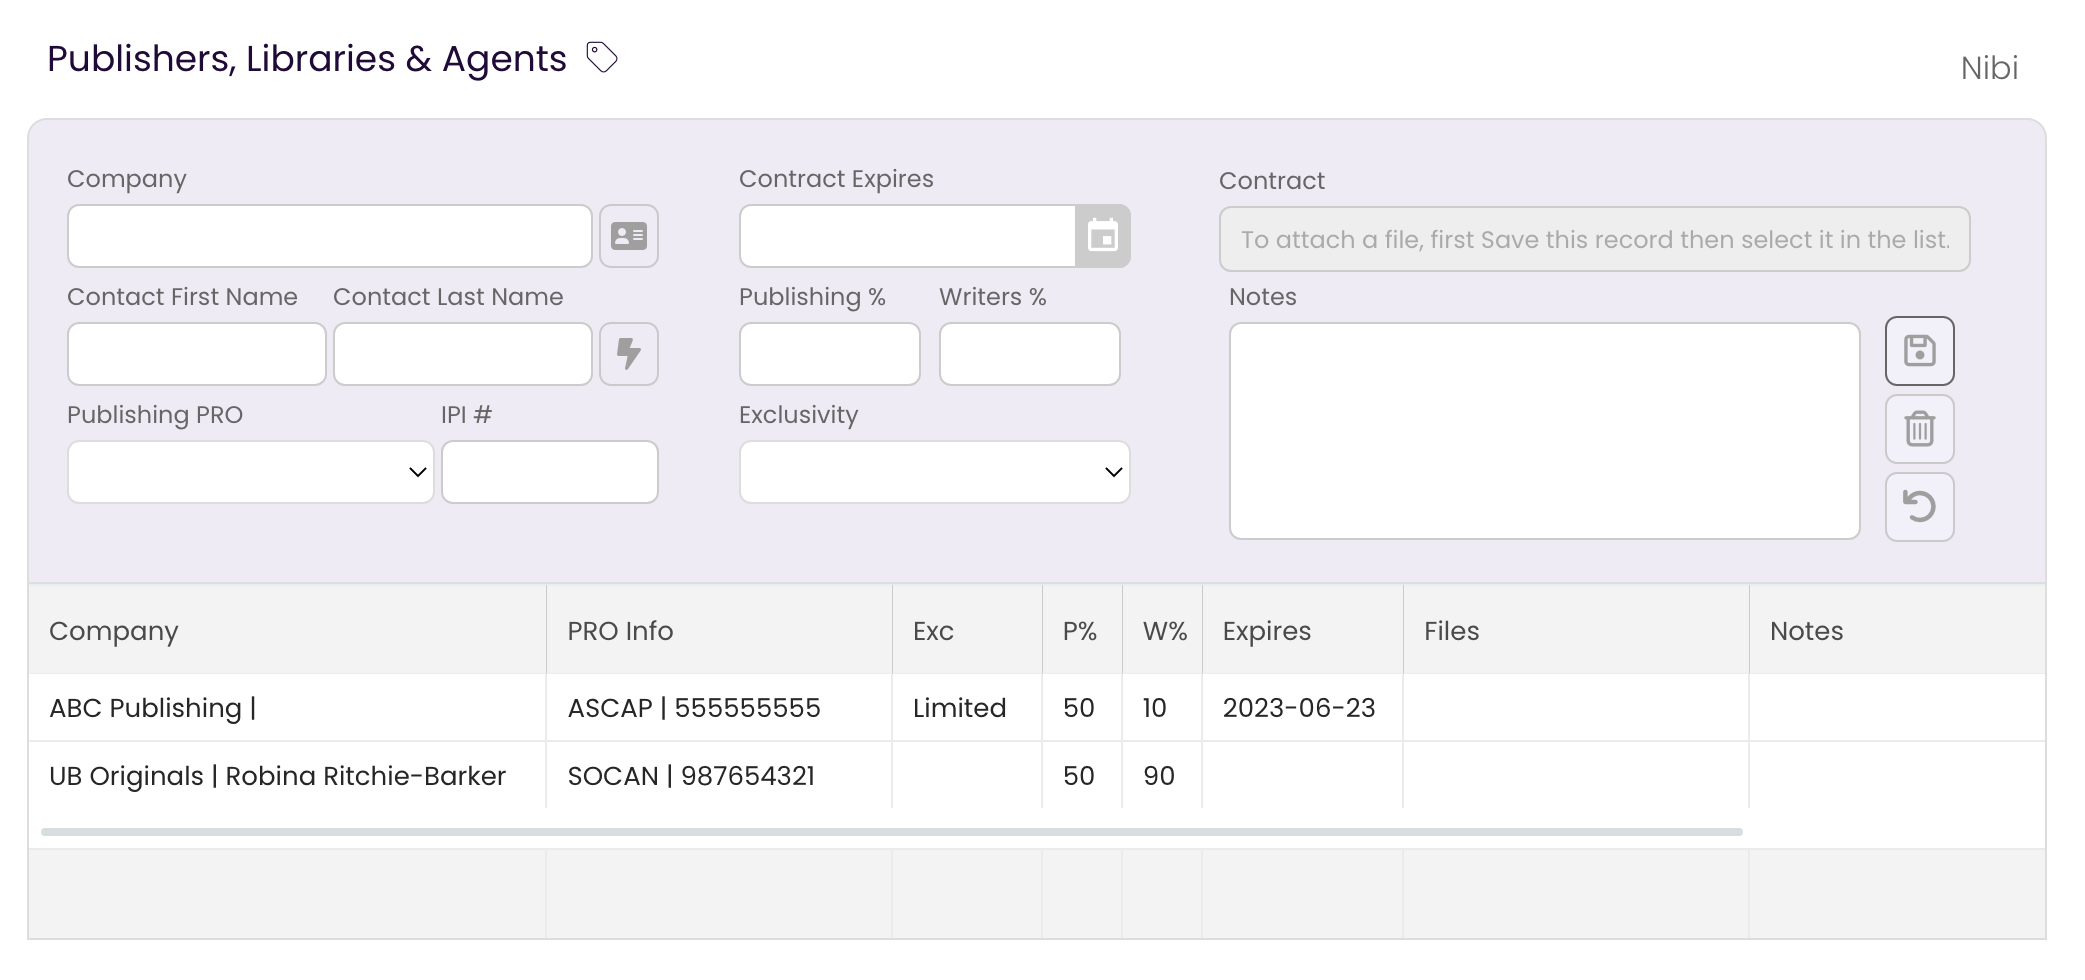
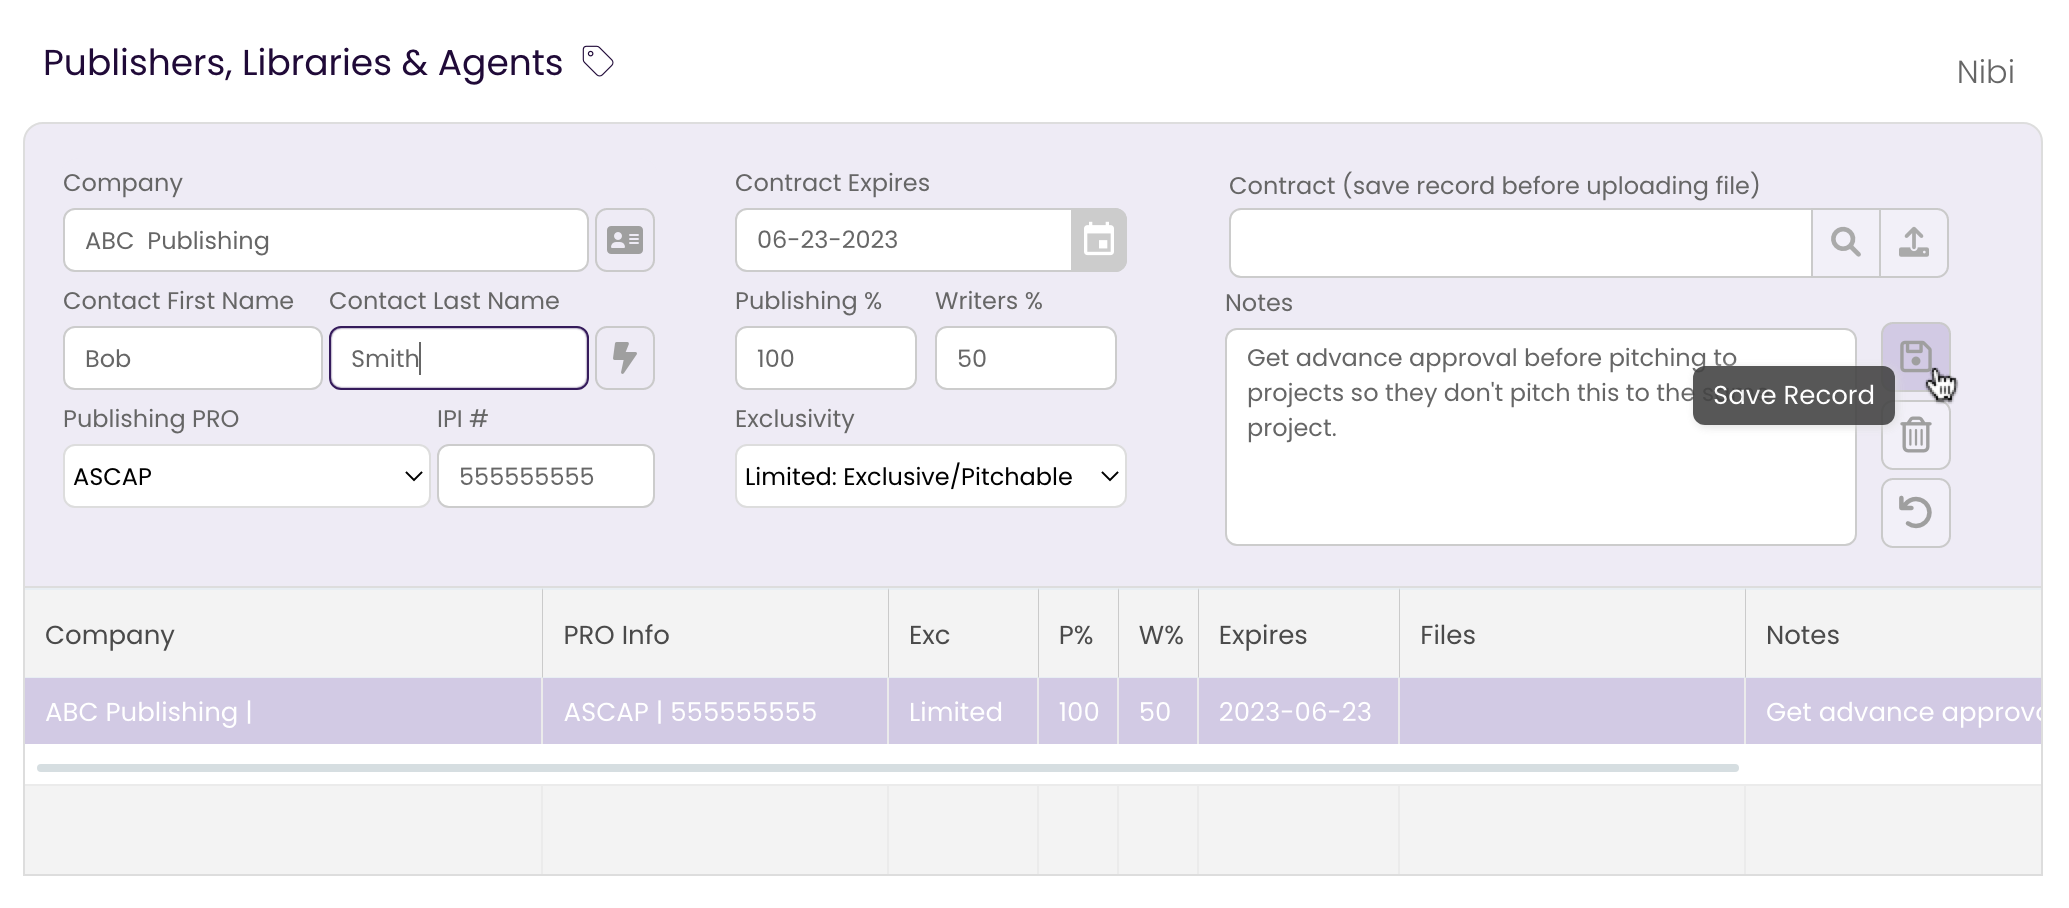
 - Save the record.
Click on the button to save the Publisher record to the list.
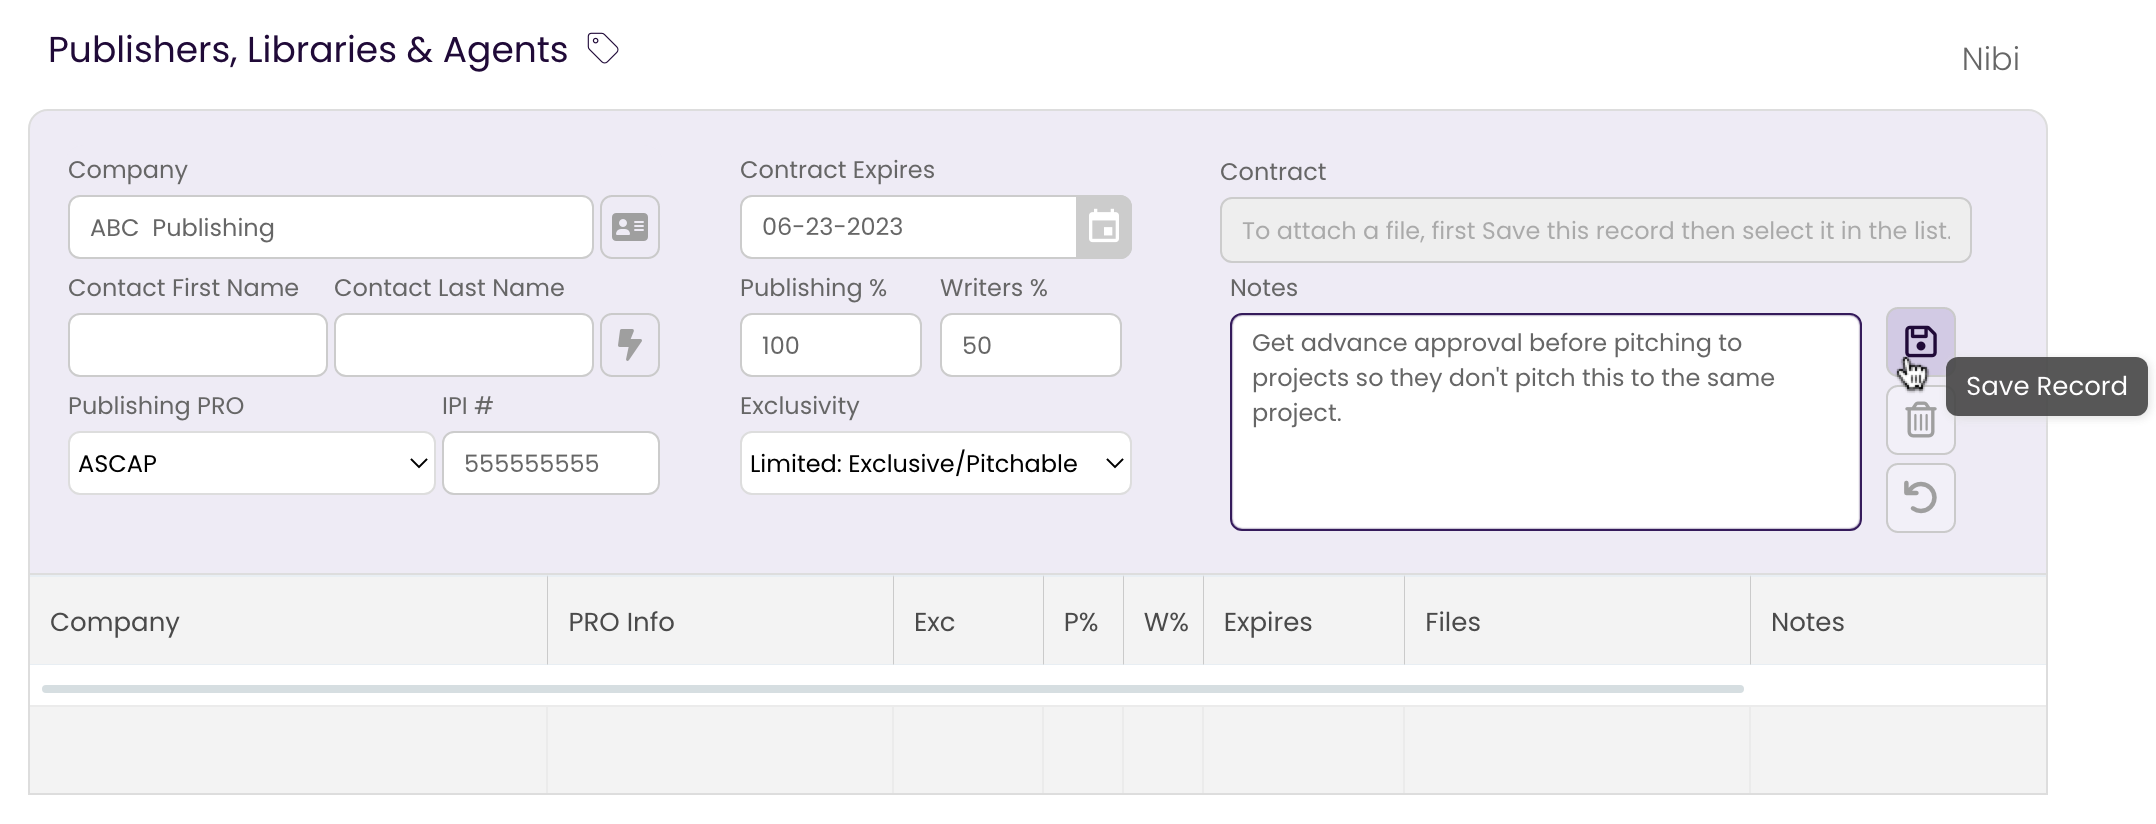
The Publisher's rights information is saved to the list.
Add Your Publishing Entity - or Don't
If you have full rights to your own publishing, it is not necessary to enter your information here. TrackStage will default the publishing rights to the Publishing company that you set up in your User Profile. However, if you share publishing rights with a Publisher or Collaborator, then do specify your split in the Publishing Tab to ensure that the correct splits flow through to the tracks' metadata.
- Enter your name and PRO information.
Click the to autofill your information as it appears in your User Profile. The PRO information that is autofilled will be the Publishing PRO information, not your artist PRO info.
- Enter your share of the Writers and Publishing rights.
Enter this as a number. Don't add the percentage sign.
- Save the record.
Click on the button to save your record to the list.

Your rights information is saved to the list.
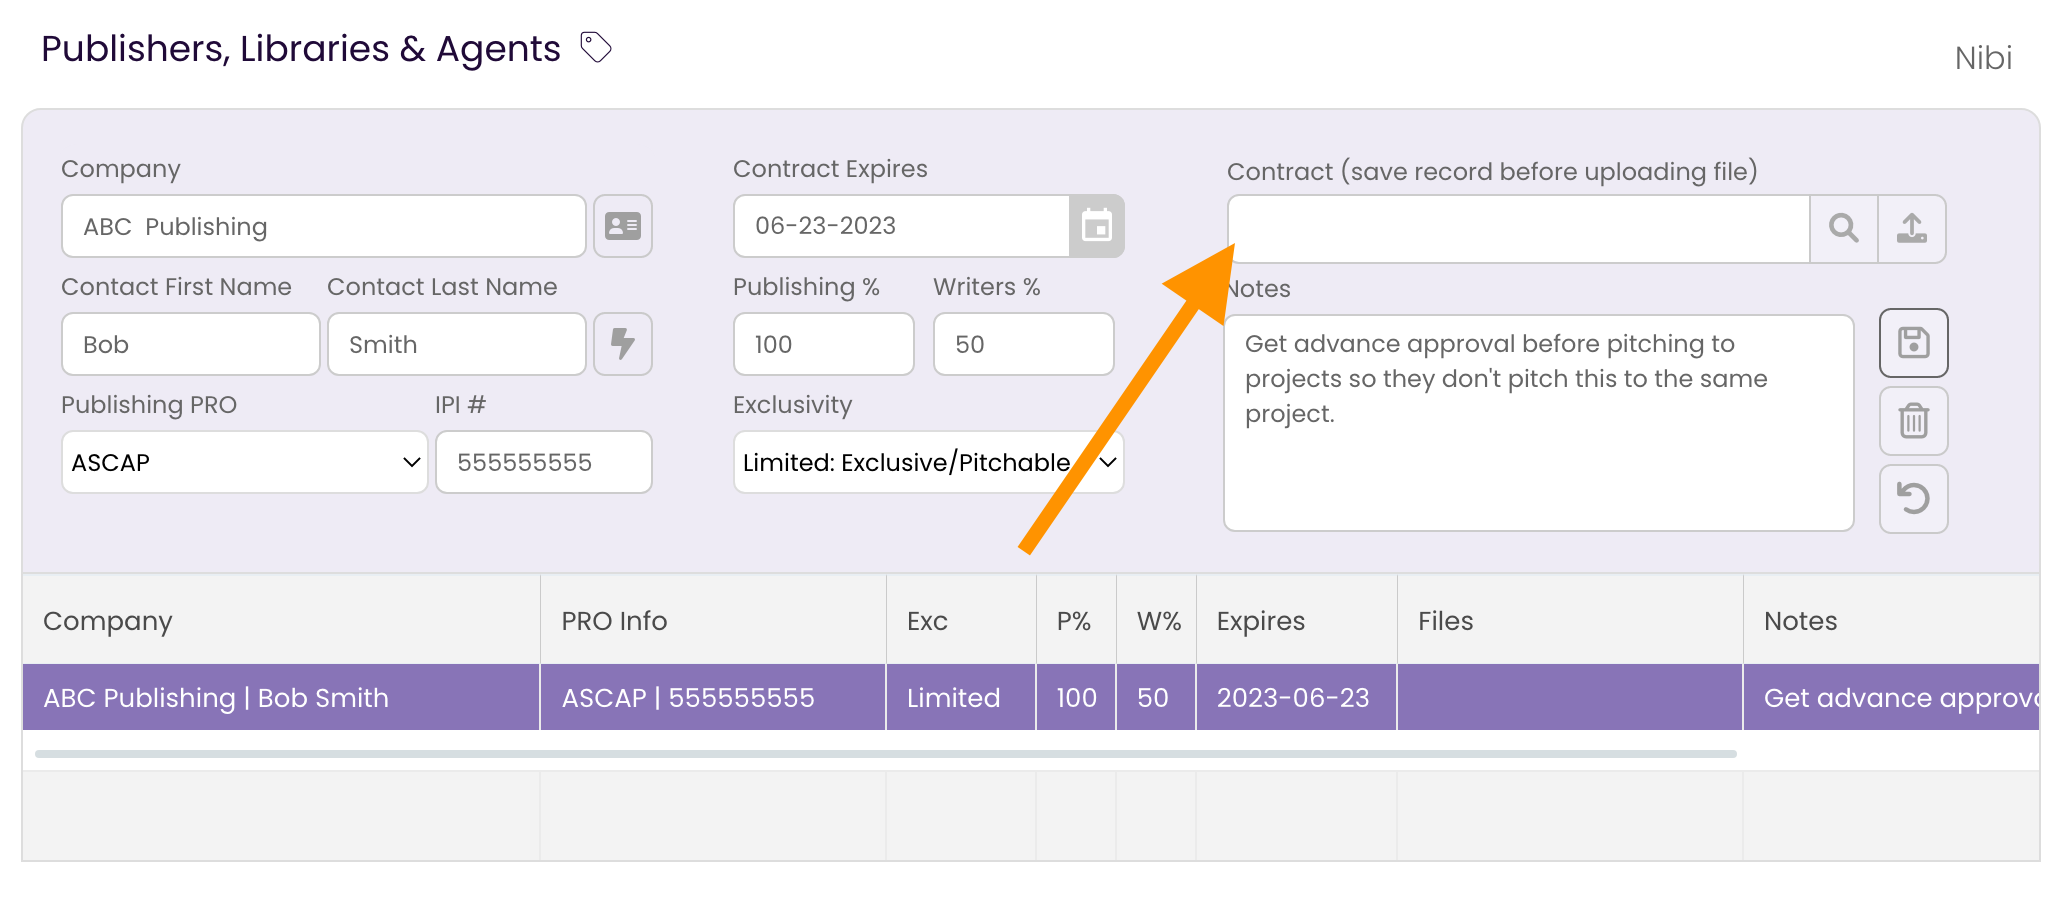
Attach a Contract to a Publishing Rights Holder
Attaching the publishing contract means it will always be easy to find and review at a moment's notice.
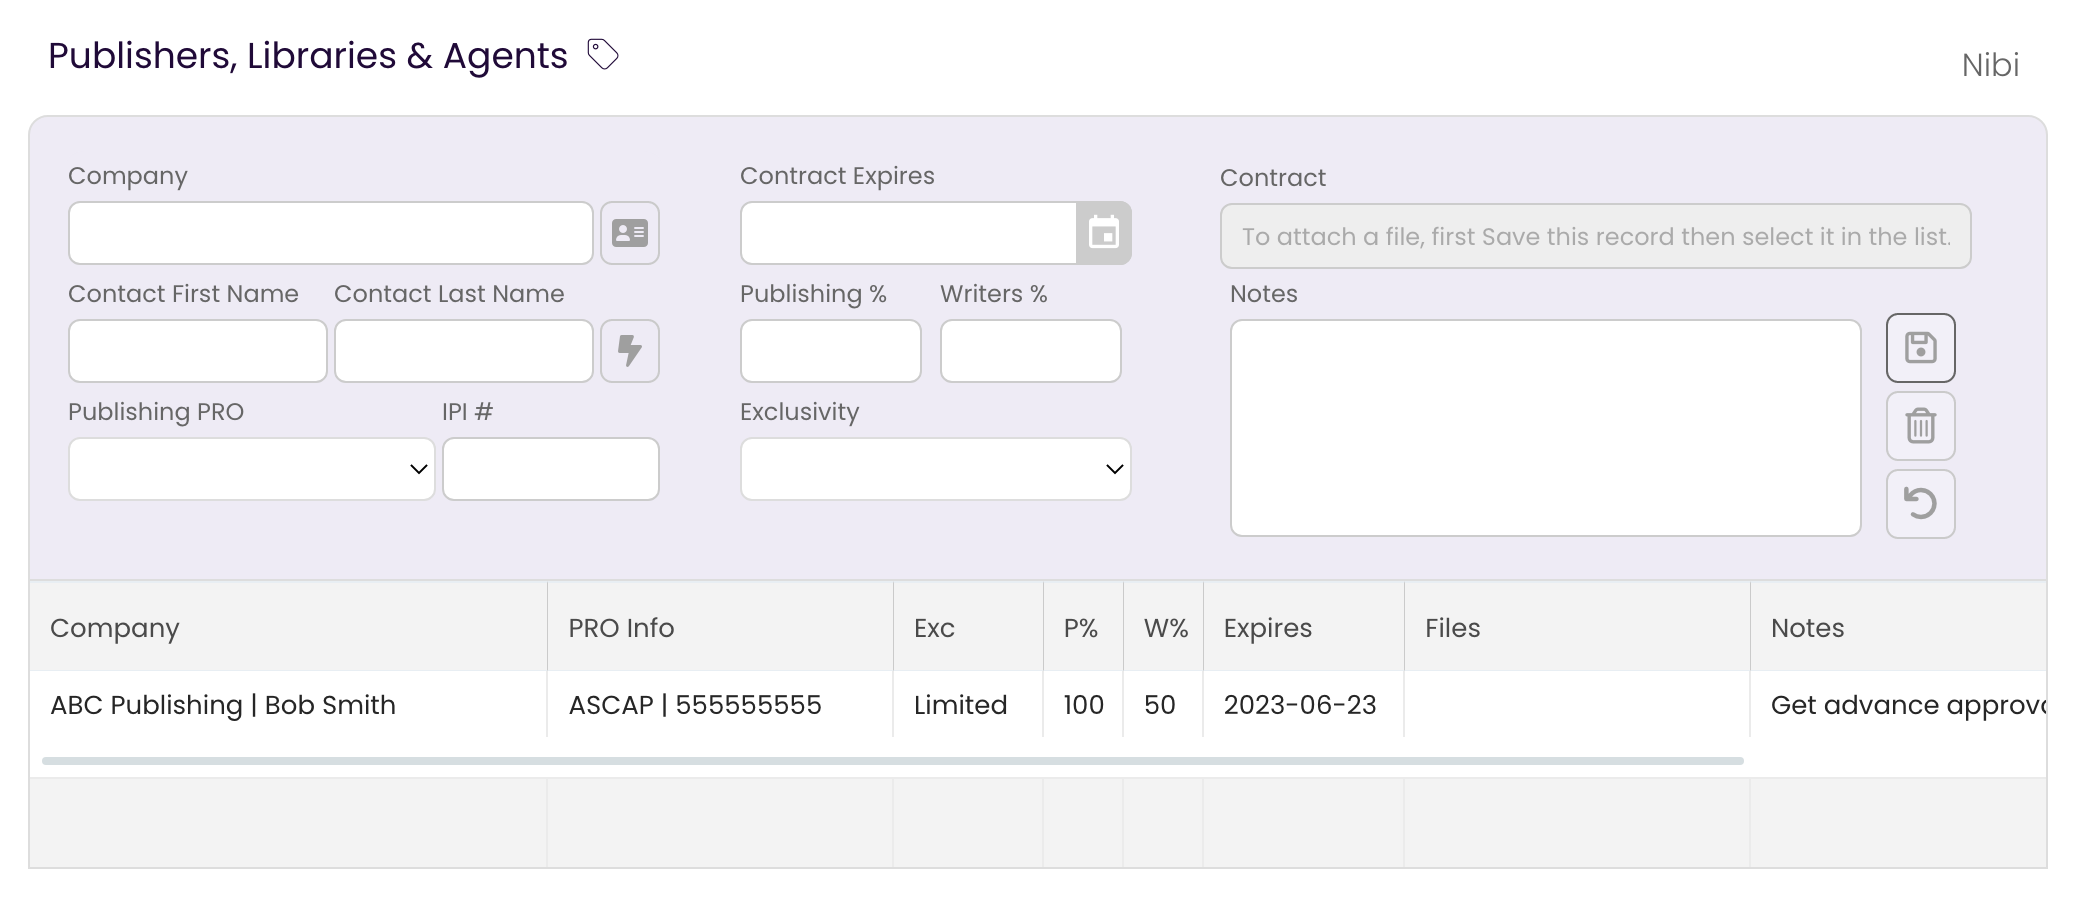
- Select the Publishing Rights Holder you want to add the Contract to.
The Contract field will change to editable once the record is selected.
- Click on the
 button to select a file.
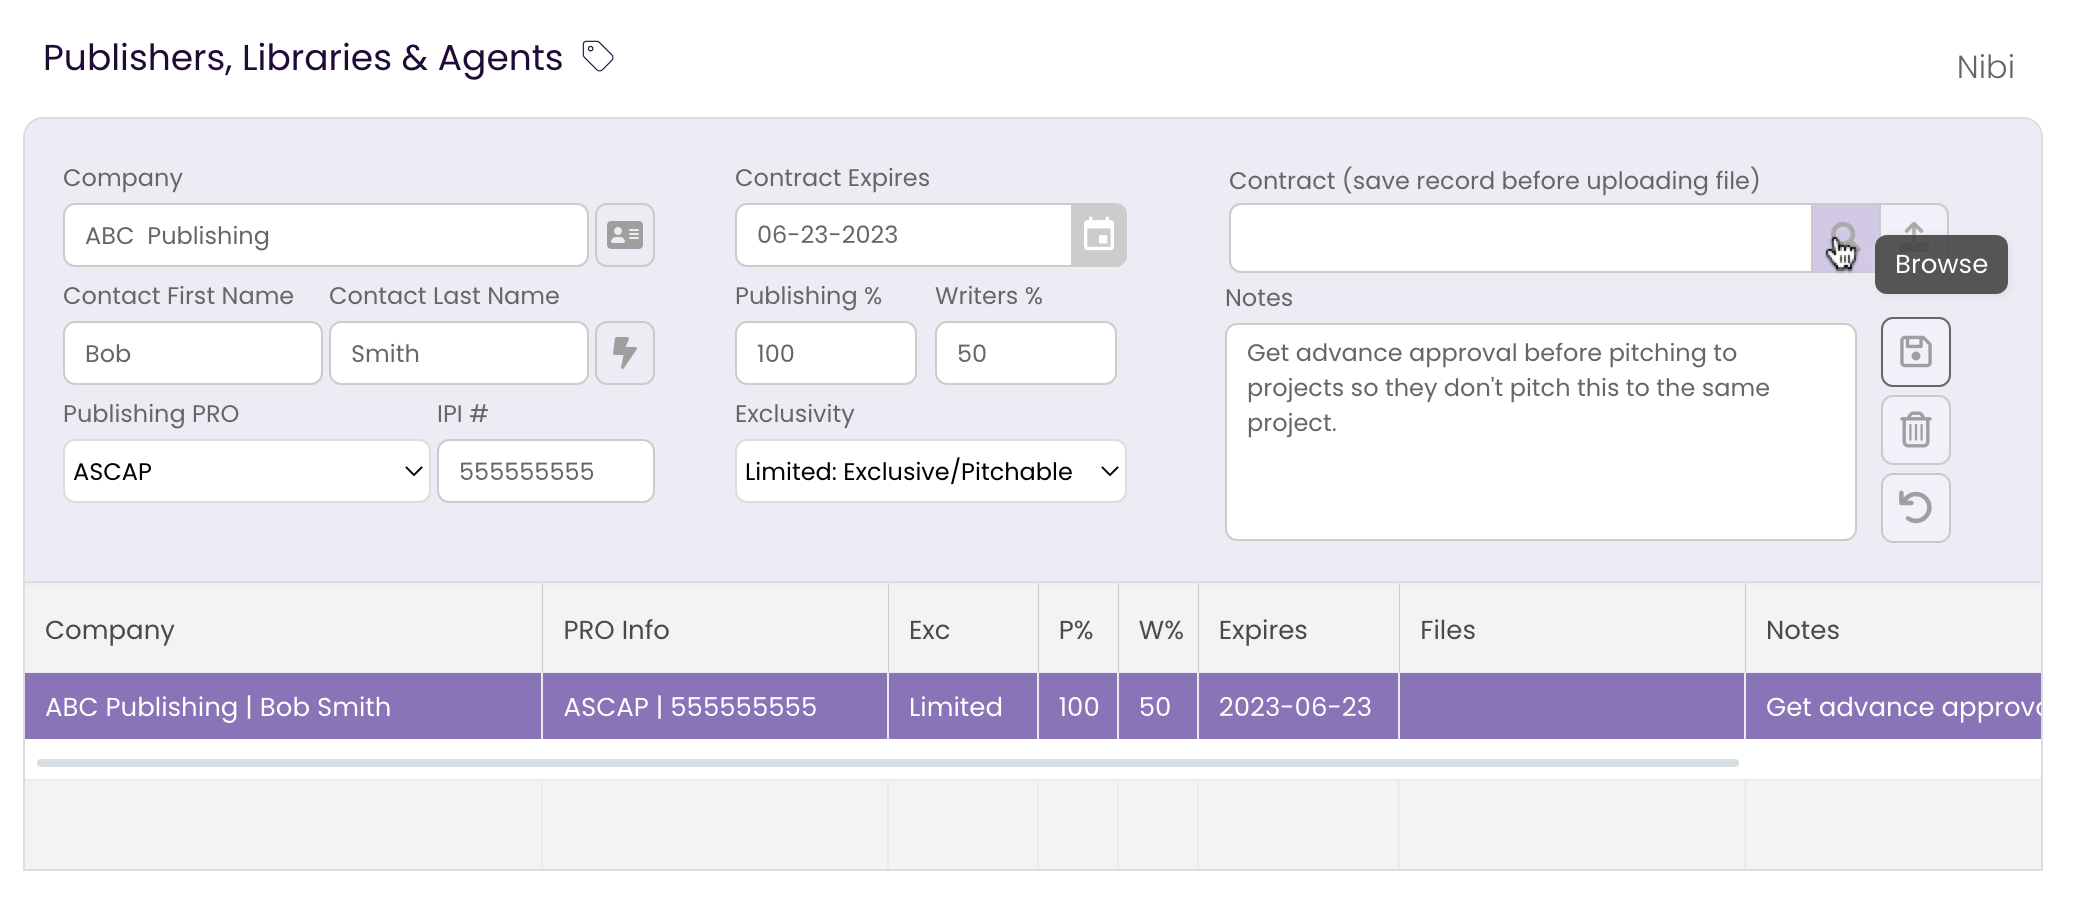
Navigate to the Contract on your computer.
NOTE: Only XLS, XLSX, RTF, PDF, DOC, TXT and DOCX files can be attached here. - Click Open.
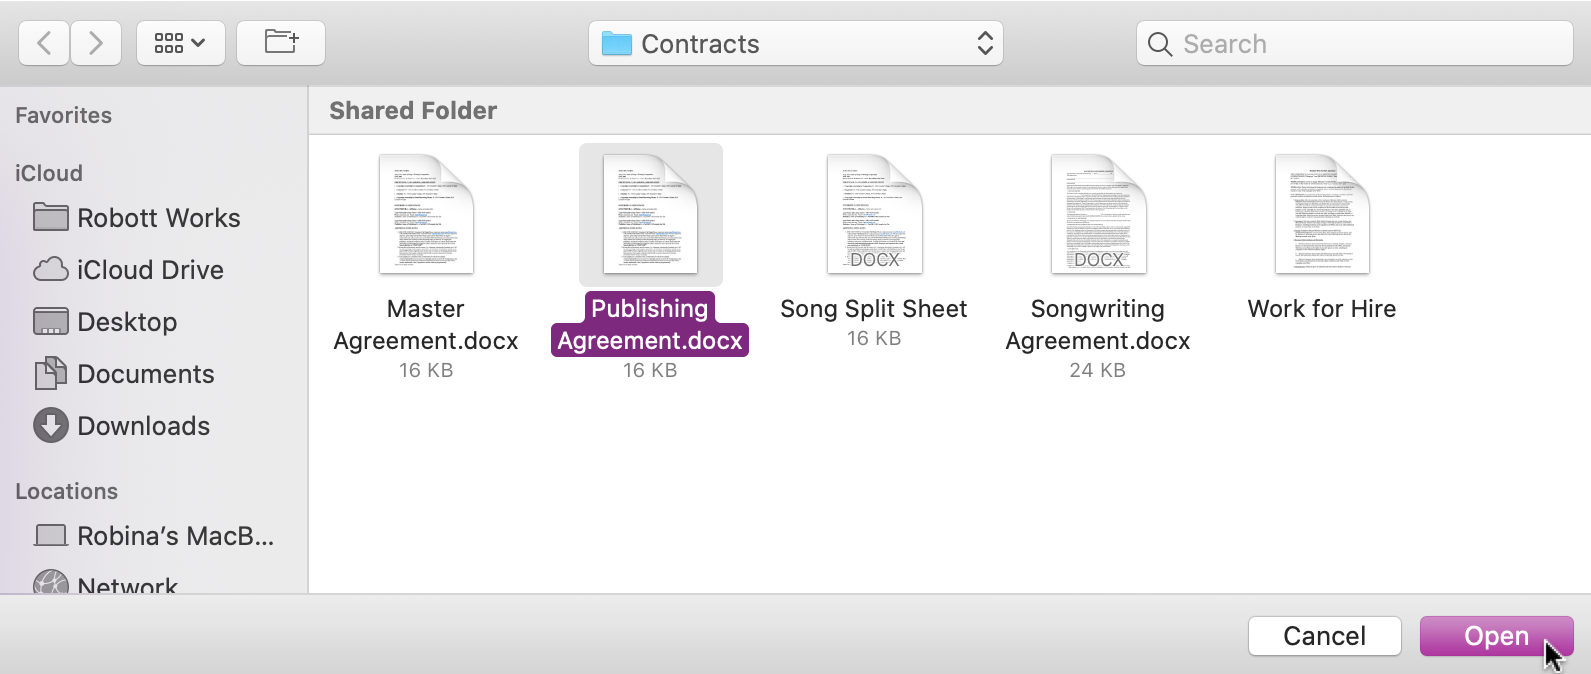
The Contract is added to the Rights Holder record.
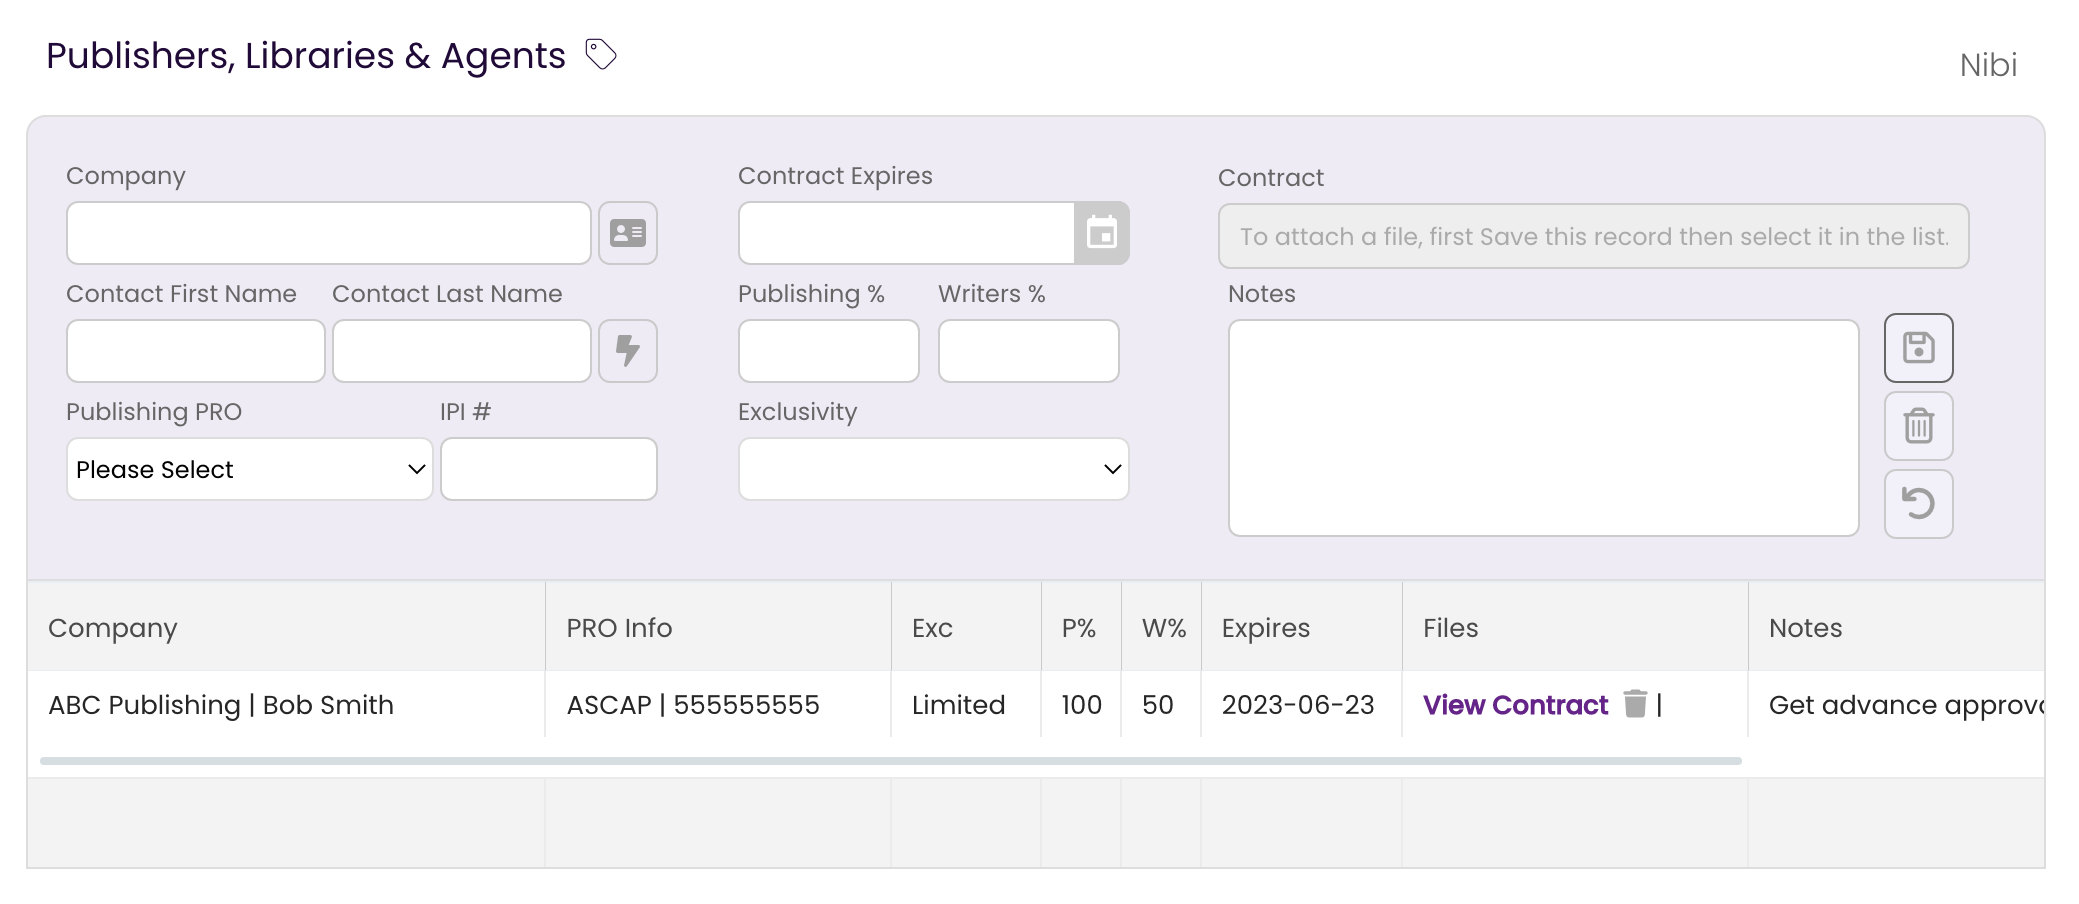
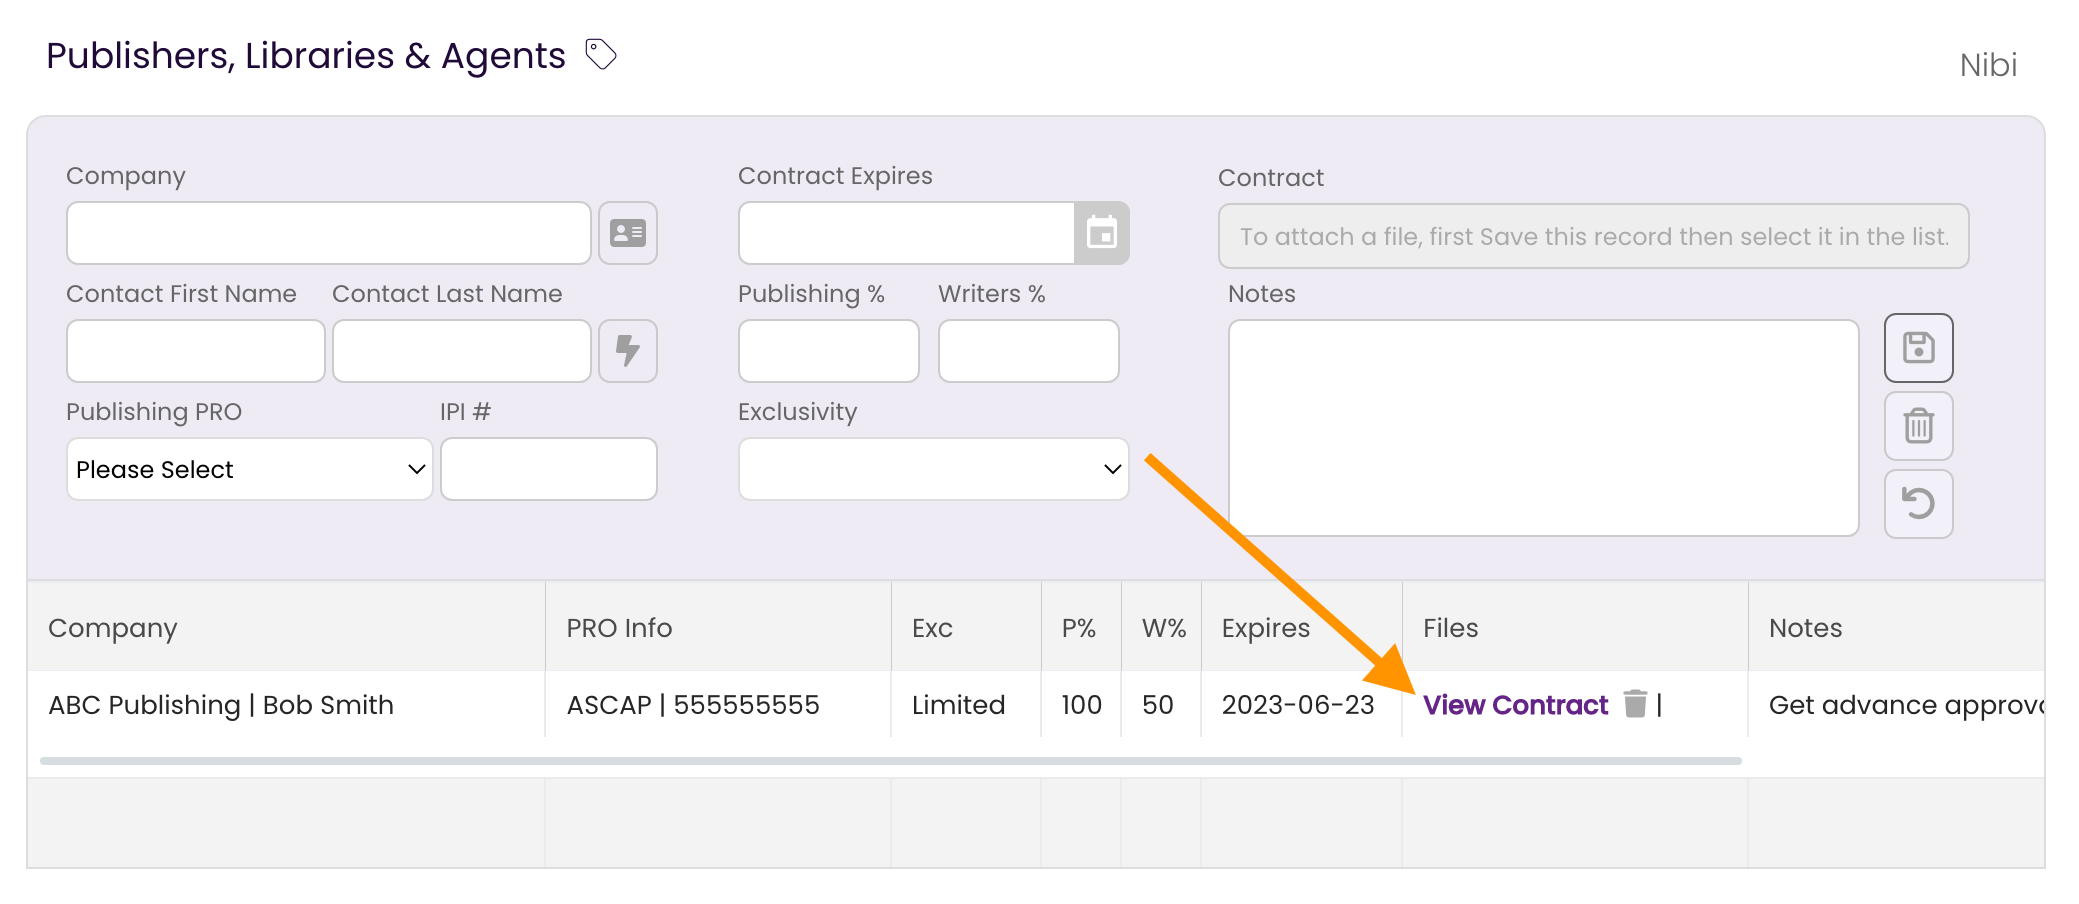
Working with Attached Documents
- Click on View Contract to view the file.
Depending on your operating system, the browser you are using, and the type of document, the file will either open in a browser window for viewing or will be downloaded to the Downloads folder on your computer.
- Click on the trash can next to the View Contract to delete the file.
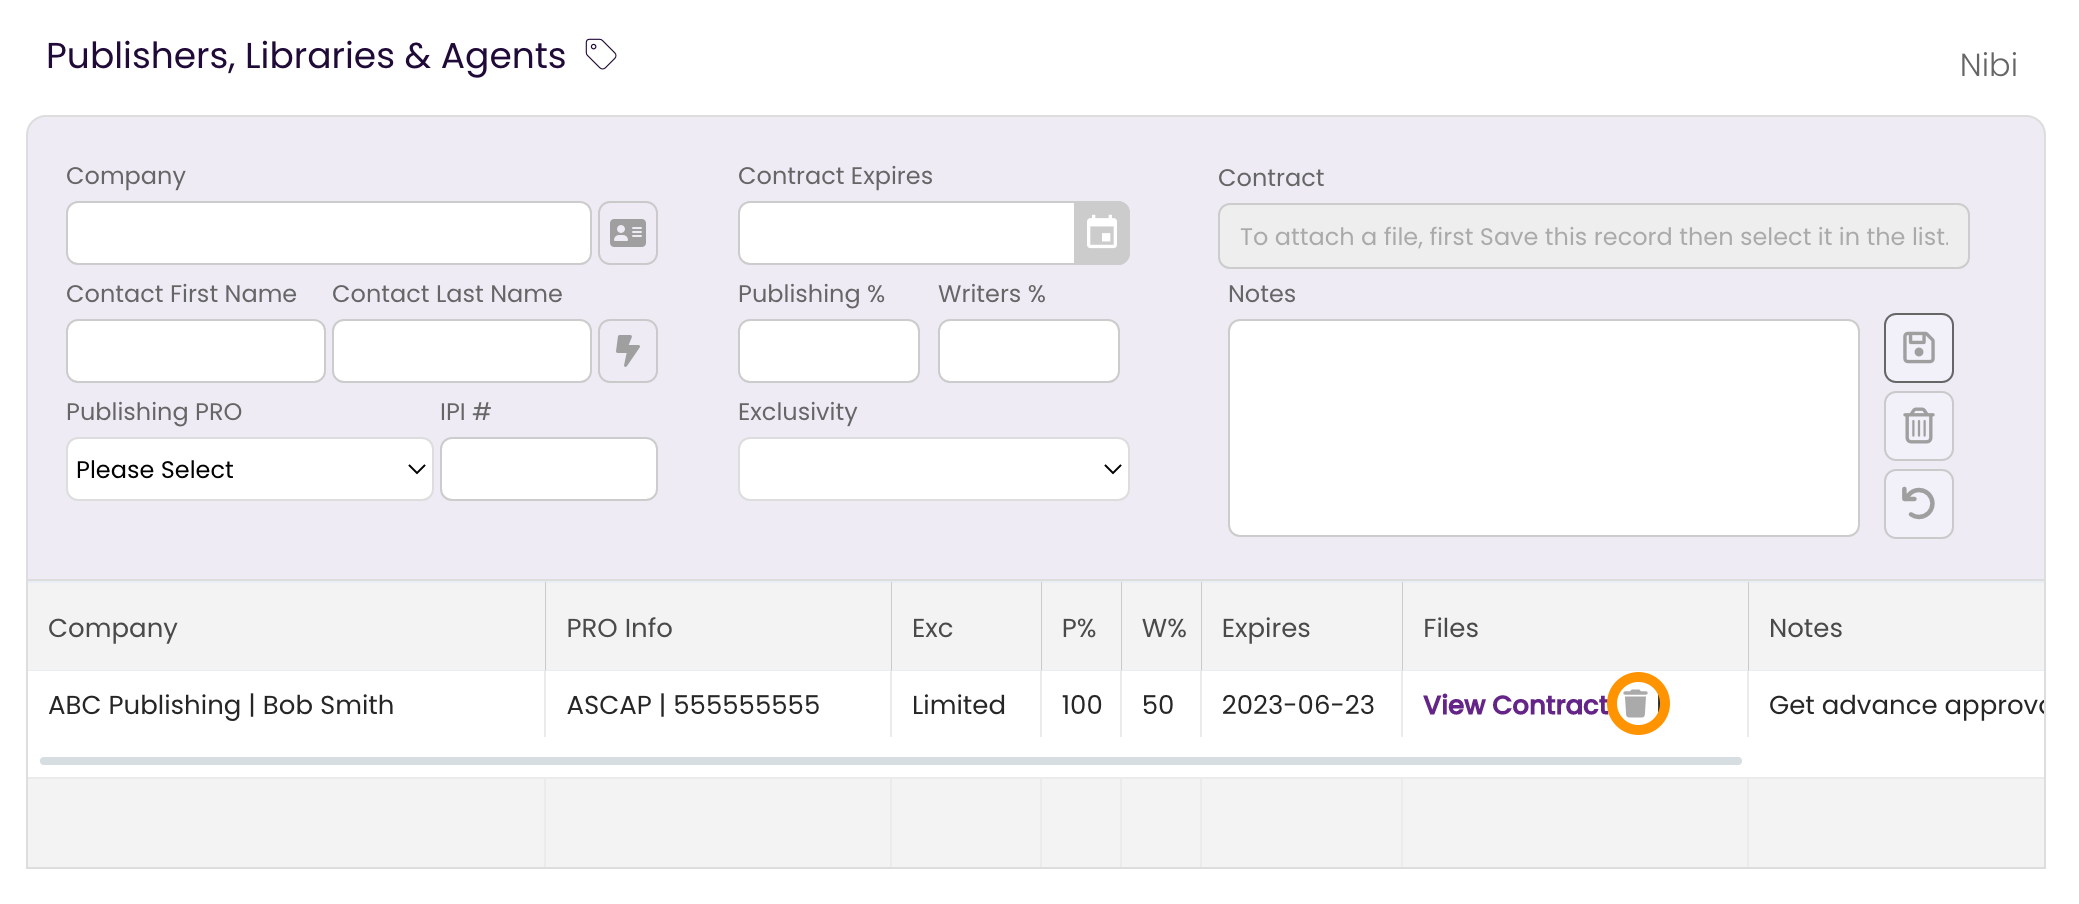
A confirmation dialog will open. Click Ok to confirm and delete the file.
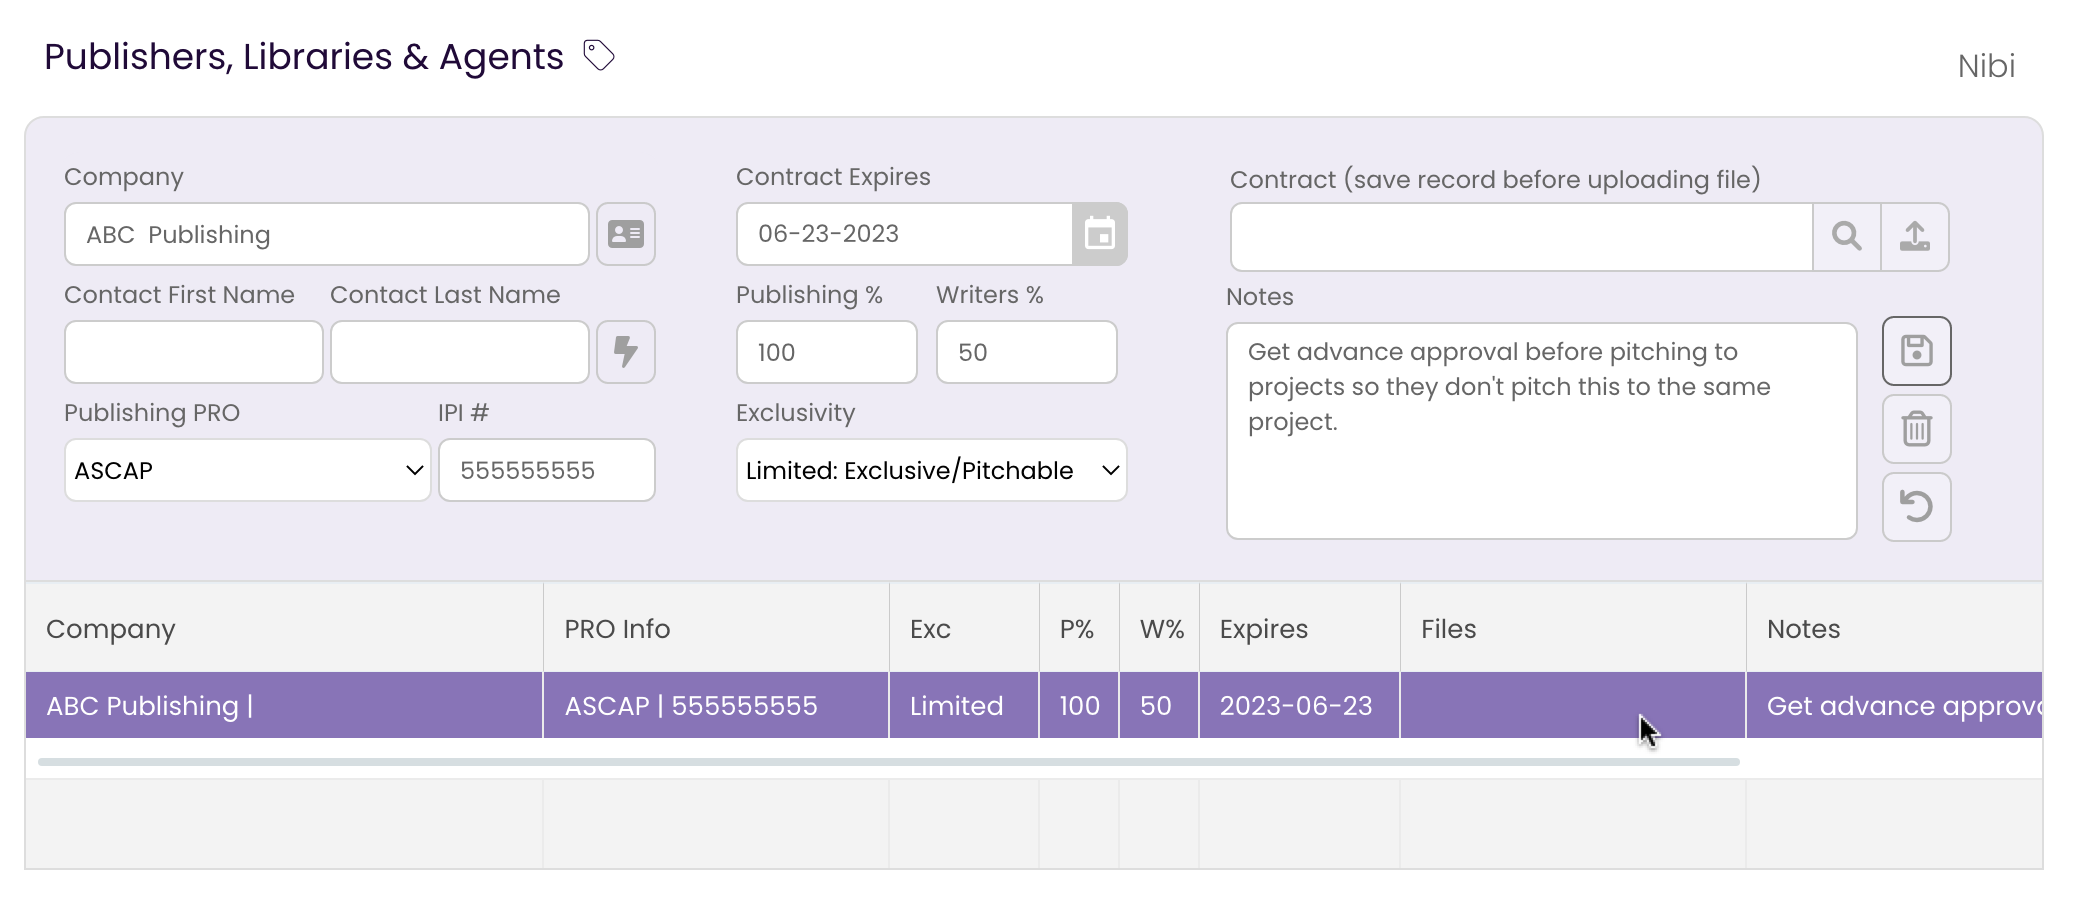
Edit a Publishing Rights Holder
- Select the Publishing Rights Holder in the List.
The form fills with the entered data.
- Edit the Publishing Rights Holder in the Form.
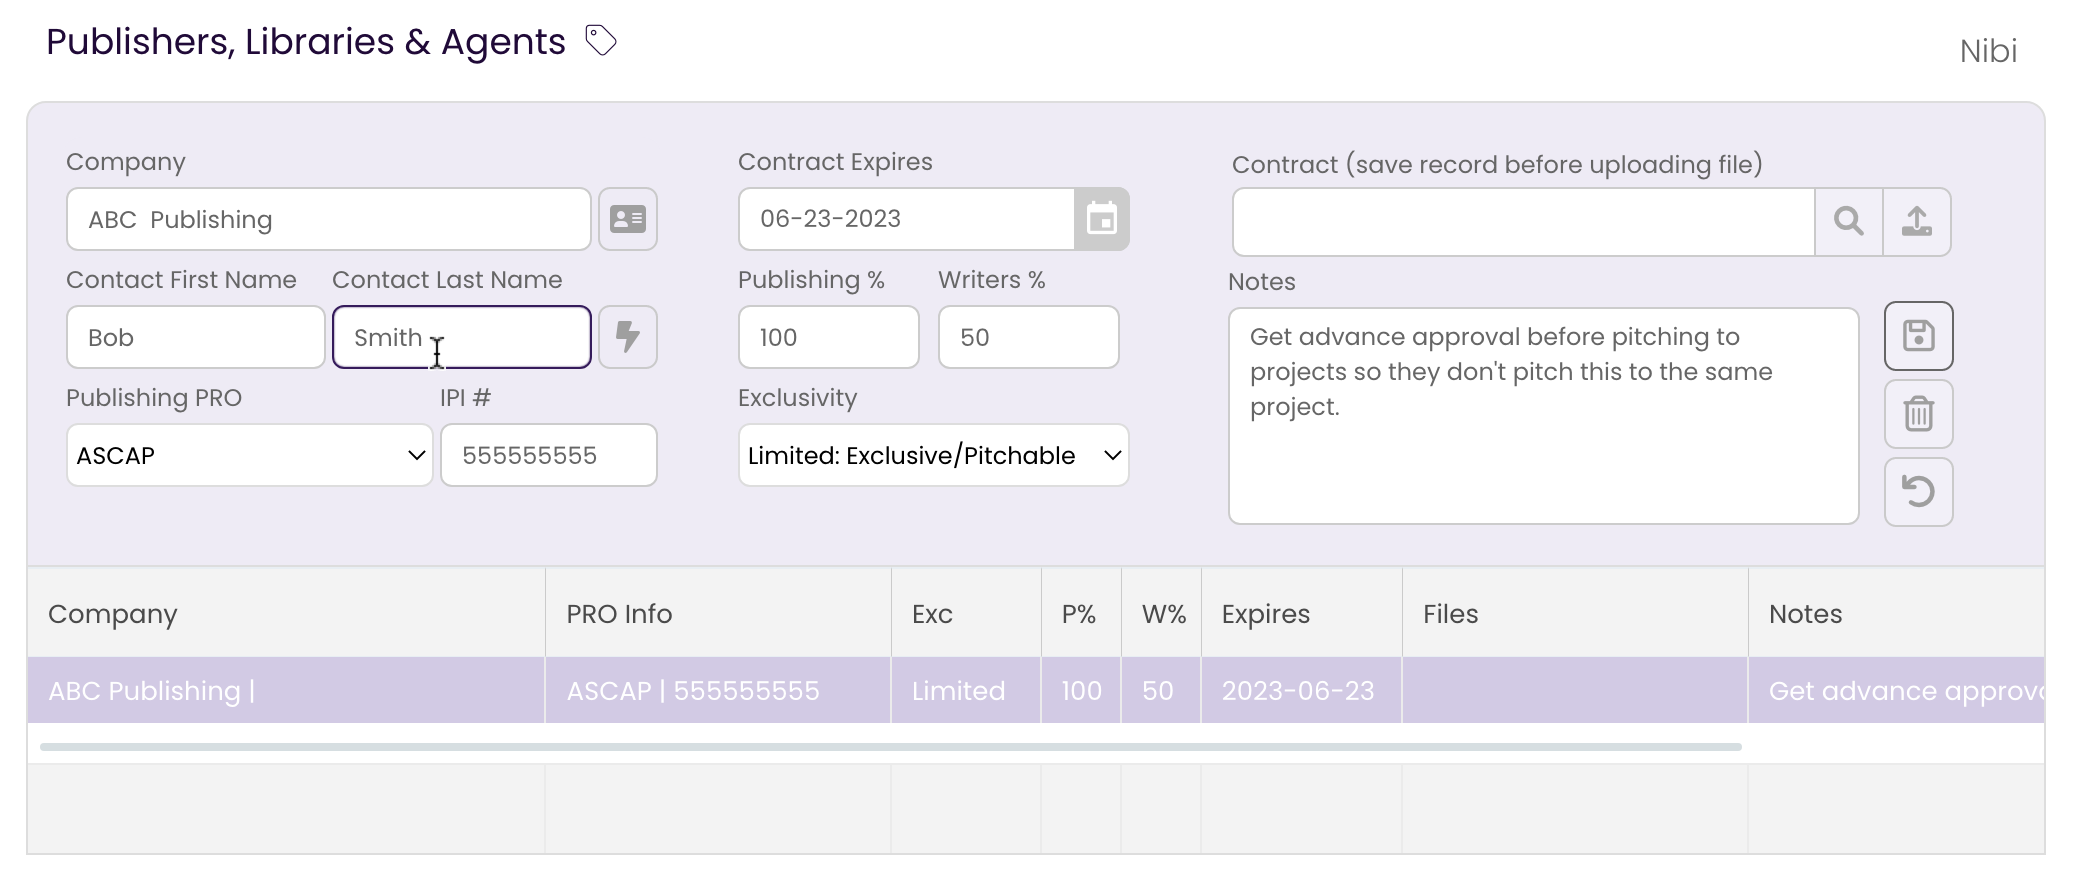
- Save Changes.
Click on the button to save edits to the Publishing Rights Holder record.
The Publishing Rights Holder information is updated.
Delete a Publishing Rights Holder
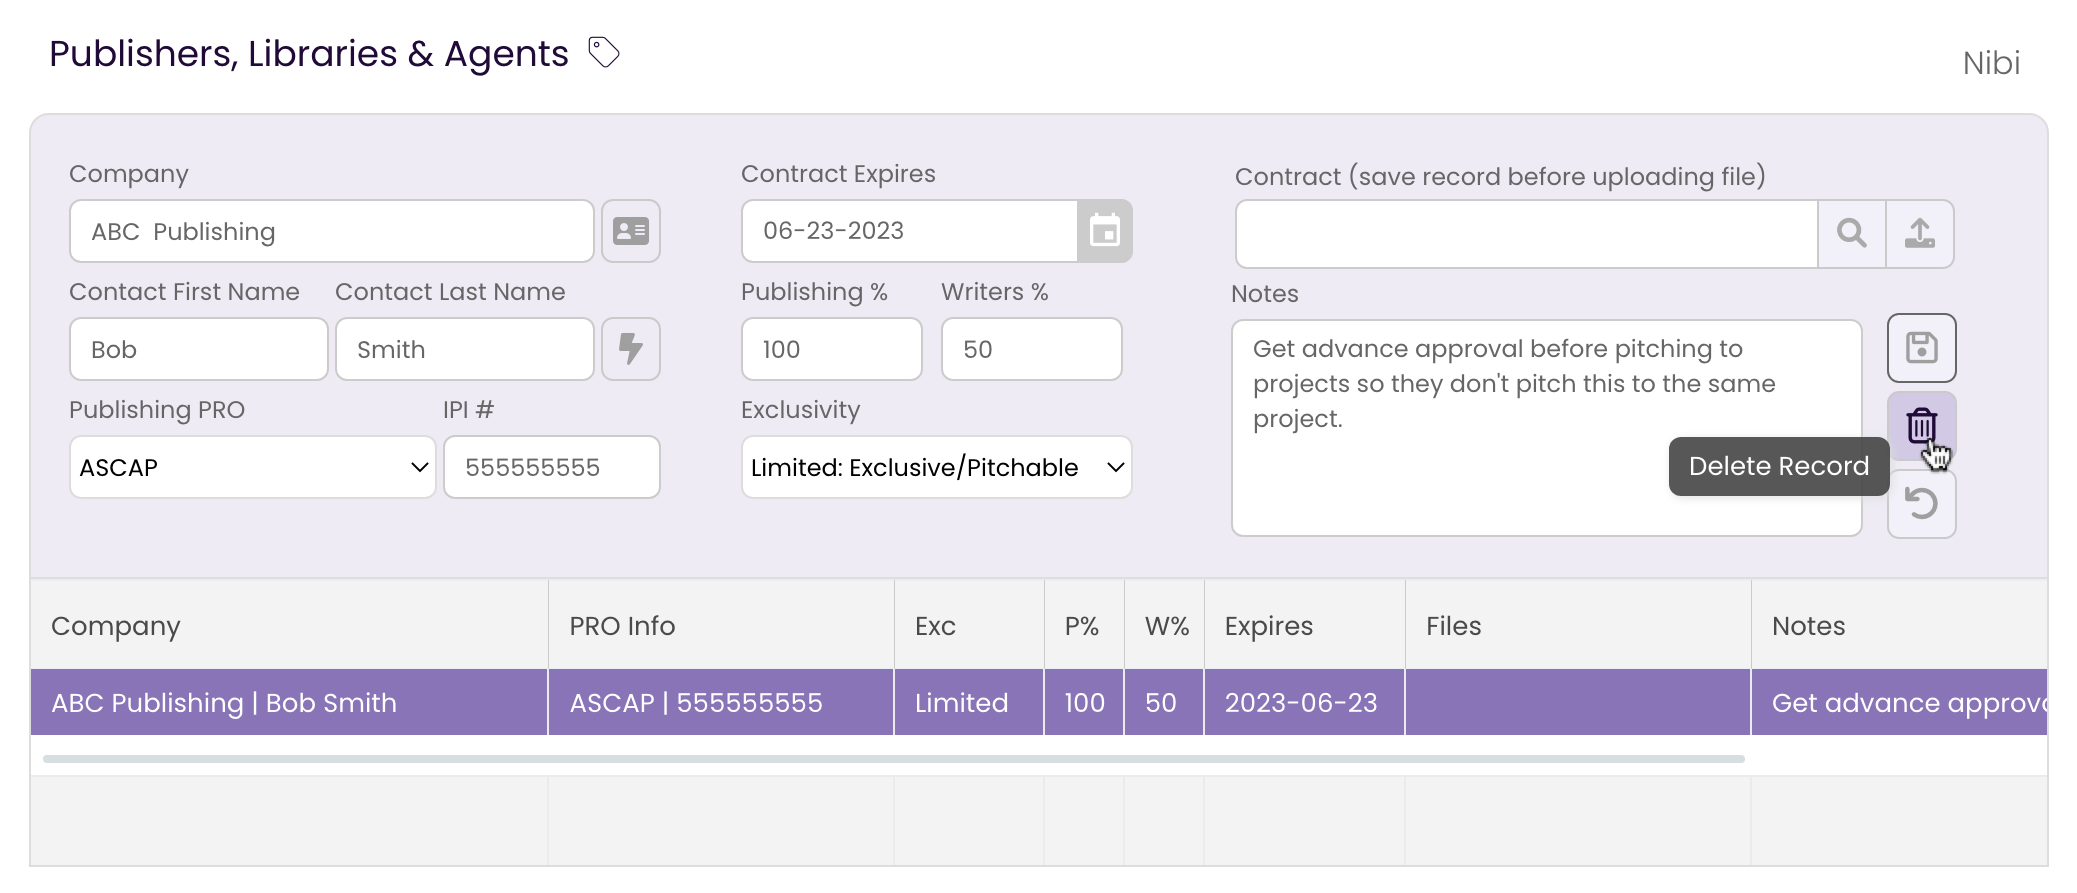
- Select the Publishing Rights Holder in the list and click the
 button.
The Delete Publisher dialog box opens. - Click Ok.
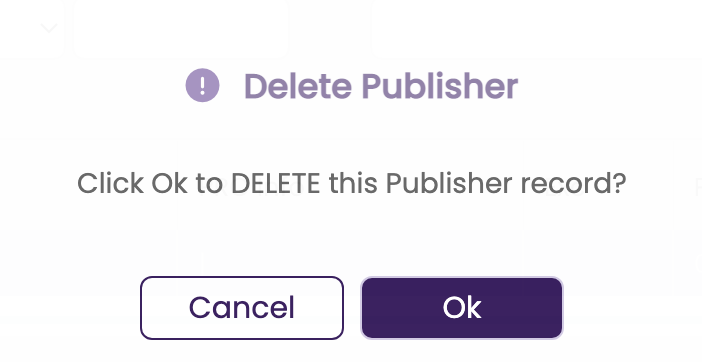
The Publishing Rights Holder record is removed.